The best days of deer season are upon us. Tags are being punched by the day. Meat is being collected by countless hunters across the country. But will that meat be handled properly in preparation for the freezer? A few simple steps will put you on the path to your best deer meat of the year. Here’s a look at how to prepare your deer meat for the freezer…
I will assume you have taken the proper steps to field dress your animal and get the meat cooled down. Now it’s time to get the meat prepared for storage. In most instances, that storage will be the freezer. For the purpose of this article, I am going to focus on preparation for the freezer.
Before I get too far into the details, there is always the possibility of taking the meat to a locker or butcher to de-bone and package for you. If you are not comfortable tackling it yourself, this is a great option. Typically if you call around and ask different locker plants, you can get a list of costs and options. I would advise that you check with your local butchers before committing to this option. I have noticed over the past few years that there seems to be less and less locker plants willing to take whole or quartered animals. If you find one willing, this may be the best option for you.
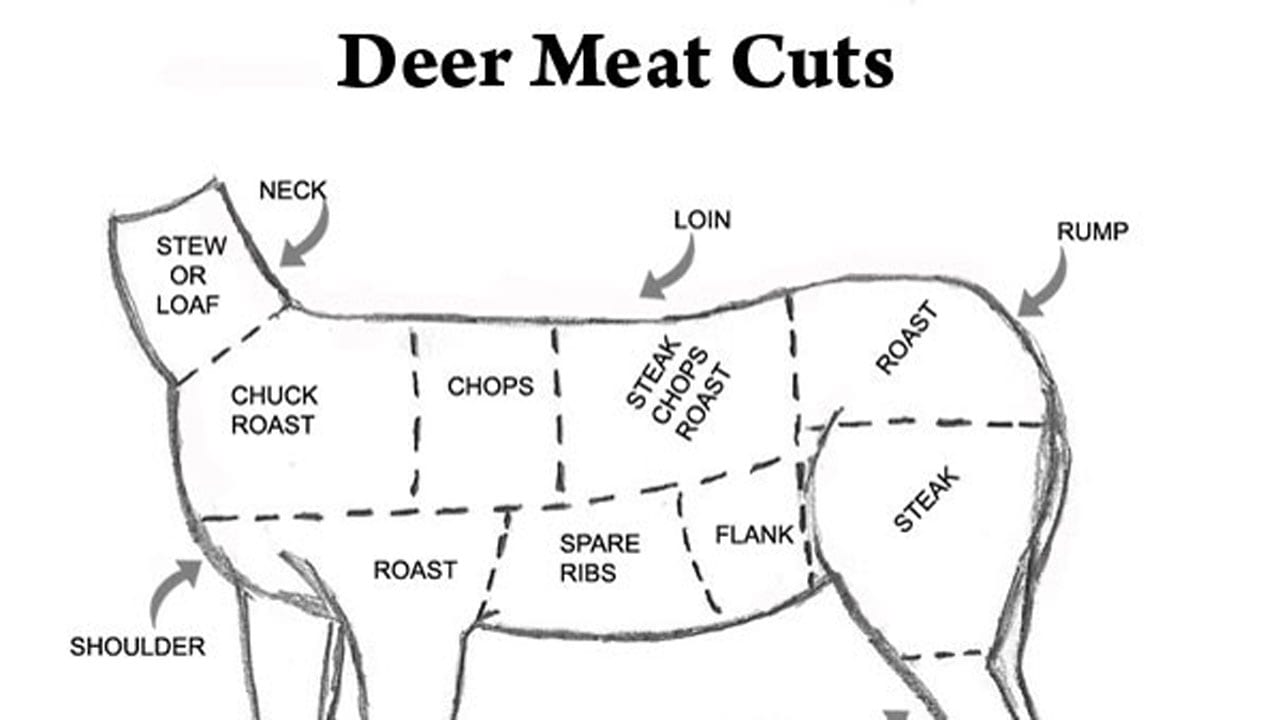
Cutting guides are helpful in determining where you make your own cuts when deboning your animal.
With the hide of the animal removed, and the meat cooled down, there are a couple different options to prepare the meat for the freezer. One option is to quarter the animal and place large pieces in the freezer. This isn’t a bad option if you have a walk-in cooler, a very large freezer only dedicated to quartered wild game, or multiple freezers. If any of those scenarios are possibilities, you can simply place the two hind quarters, the two front quarters and the center ribcage cavity in the freezer. There would be five fairly large chunks of animal carcass in the freezer or cooler, but you would start the preservation process. If you have ever visited a locker plant, you would see a similar situation in their walk-in coolers. However, for the majority of us, this approach is not really an option.
The more typical scenario, and the route I usually take, is to quarter the animal and work on each quarter individually. If you are not familiar with specific cuts of meat, a quick google search will reveal all sorts of instructions on how to properly carve up your animal. I like to start with the front shoulders. You can simply lift the front leg perpendicular to the body and cut right behind the shoulder blade. This will remove the entire front shoulder. If you want to save roasts or steaks, there is a small area of the front shoulder to do so, but I typically focus on the hind quarters for that. With a real sharp knife, carefully remove all the meat from the shoulder and leg bone. Try to make sure all of the skin is removed from the meat pieces and any residual hair is also removed. Repeat this same process on the opposite front shoulder and place the meat pieces into manageable sized packages.
Once the front shoulders are finished, I like to move to the tenderloins next. There are two sets of loins (backstraps) on a whitetail, the interior and exterior. The exterior are the larger and easier to remove. Simply take your sharp knife and work down the spine from just above the tail to the base of the neck. As you cut the meat away from the spine, it will usually separate from the bone with a slight pull of your hand. Continue to work down the spine until you hit the upper level of the ribcage. As you pull the meat back, use your knife to help the meat separate from the top of the ribcage. Eventually, the entire loin will pull away from the body and you should have one long, thick cut of meat. You can then slice the loin into individual steaks or you can leave the loin whole for the smoker or grill. Repeat this same process on the other side of the spine to remove the second exterior loin. The interior loins (tenderloins) are located inside the ribcage. To remove them, I usually get both hands up in the ribcage. With one hand holding the loin and pulling toward me, I take my knife in my other hand and make a cut near the tail end of the loin. With a little force, the interior loins should almost pull right out. If not, just use your knife to help release any tissue that is preventing the loin from coming out. Repeat this on the opposite side of the spine.
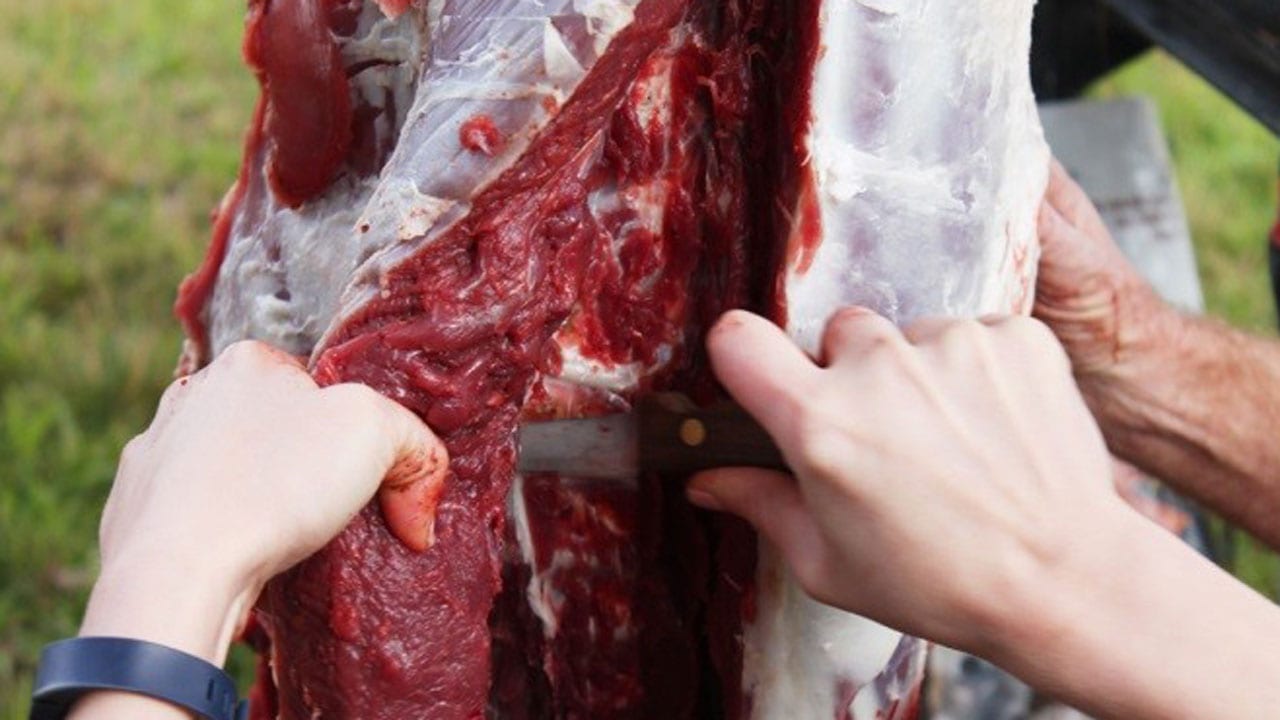
As you pull the meat back, use your knife to help the meat separate from the top of the ribcage.
After the loins are removed, I move to the hind quarters. This is where you will want to make cuts for roasts. Depending on what size you want the roasts will determine how many you get out of the hind quarter. Once the roasts are removed, you can leave them as thick roast cuts or you can slice them into nice large steaks, whichever you prefer. After the roasts are removed, I remove the rest of the meat of the hind quarters in manageable pieces for final processing. Repeat this same process for the opposite hind quarter.
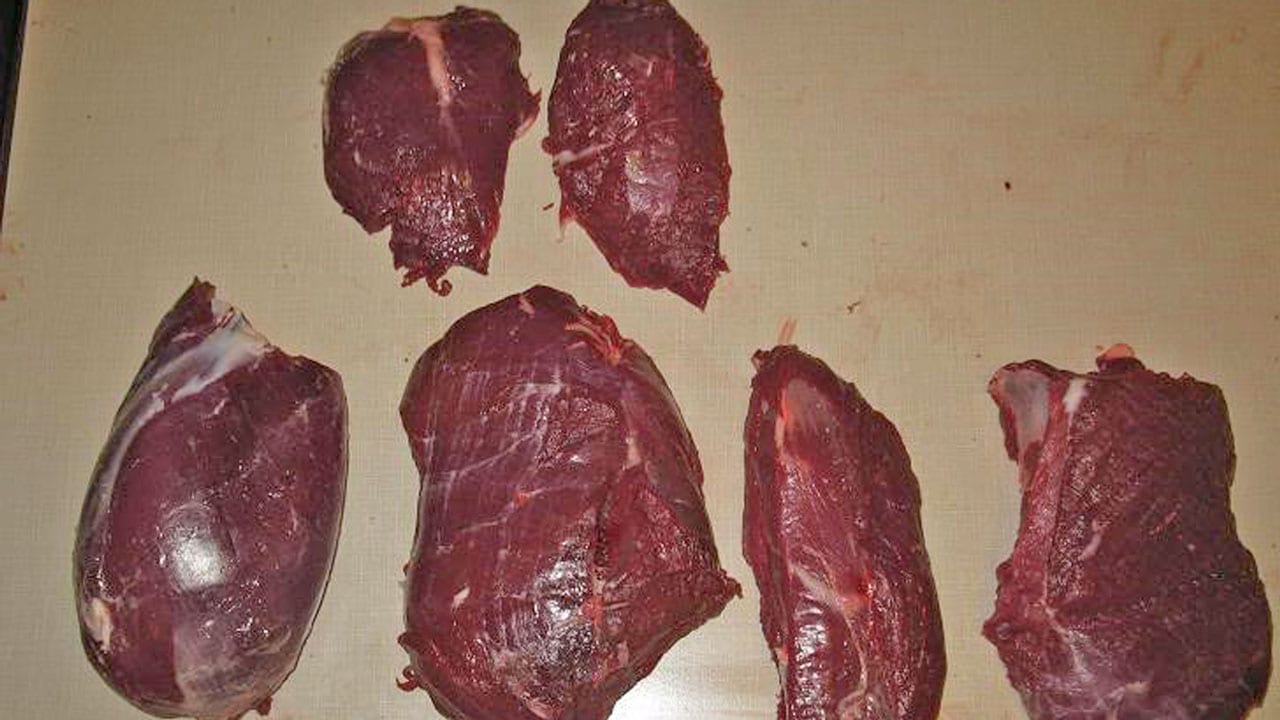
Try to make sure all of the skin is removed from the meat pieces and any residual hair is also removed.
The remaining piece of the animal carcass is the ribcage and neck area. I like to remove the meat around the neck area in small chunks for future processing. If you happened to harvest a mature buck, there can be a fair amount of meat in the neck section. Once the neck is cleaned up, take your knife and follow each rib from top to bottom. These long, thin slices of meat work great for making jerky. After the loins are removed, the neck cleaned up, and the ribs all cleared out, there shouldn’t be much meat remaining. Any that is, I like to add to the processing pile of meat.
Now that you have finished deboning the meat from the animal, it’s time to package for the freezer. If you are going to process some of your meat (either yourself or at the locker plant) you will want to put that meat in a separate container. That container or package can be anything from a small pail with a snap on lid to Ziplock bags to food saver packages. My entire family usually process our meat together so we tend to store our meat in large bags that are then stacked in the freezer. Whatever storage mechanism you use, keep the processing meat separate from your roasts, steaks, jerky etc. Label your freezer bags with the type of meat and the date. This will help keep your freezer organized and ensure you and your family are enjoying fresh meat.
The preparation for storage stage might seem daunting, but if you can convince a fellow hunting buddy to help out, it doesn’t take very long to completely debone and package a whitetail. Plus by doing the work yourself, you know exactly the preparation and packaging that was done to preserve the meat you will be enjoying at the dinner table. With a freezer full of fresh venison, now it’s time to plan out your favorite recipes.