You’ve spent countless hours planning and preparing for that out-of-state hunt. You scouted your hunting areas, hung tree stands, practiced shooting your bow every evening throughout the entire summer and
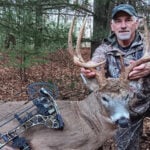
A well placed shot leads to a short blood trail and swift recovery.
have everything in place for that dream hunt. Far too often, us hunters forget about preparing for the sequence of events after the arrow leaves the string. In order to ensure healthy food on the table for your entire family to enjoy, there are a few key steps you need to take. We are going to detail that sequence over the next couple months in a three-part series called, “Meat Mission: Field to Freezer.” The first step in that series is how to break down your animal after a successful recovery.
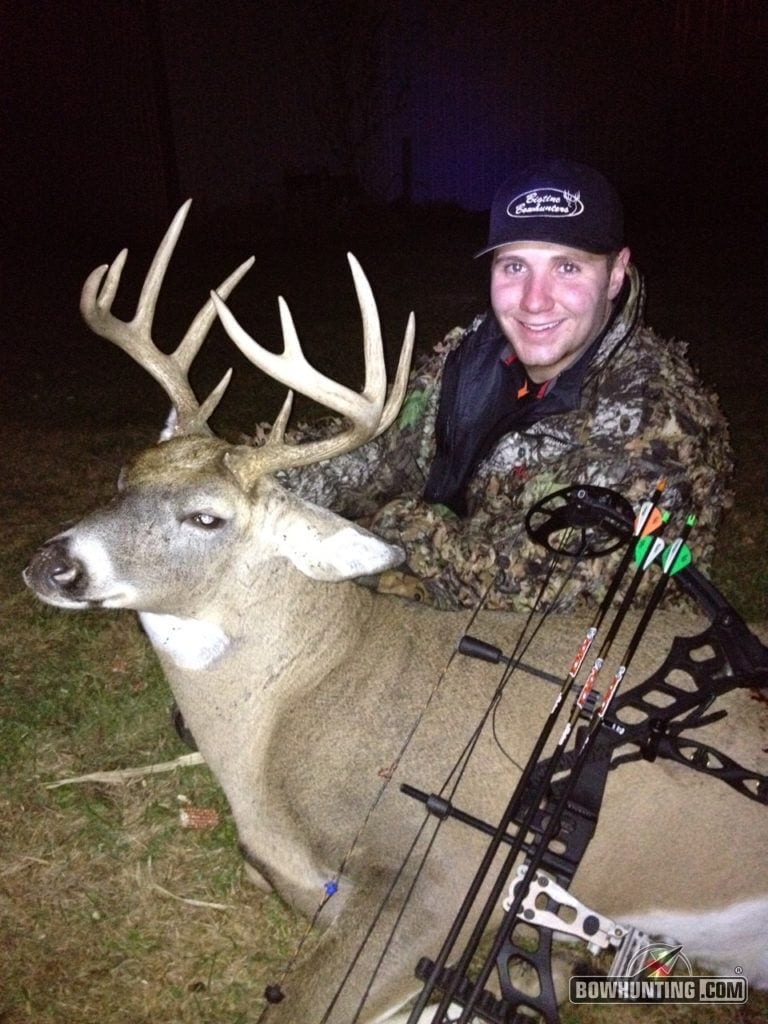
You’re perched fifteen feet up in a Cottonwood tree along the banks of a small river. Just as the sun slips below the horizon, you hear the splashing of a deer crossing the river behind your stand. You reach for your bow, position for the shot, draw back as that mature buck steps into your lane, bury your pin behind his shoulder, slowly press the release trigger and watch as the arrow disappears right where you held your site pin. A short blood trail leads to you kneeling down next to the buck of your dreams. You snap a bunch of photos and replay the entire series of events to your hunting buddies. What a feeling of accomplishment! That’s fun and
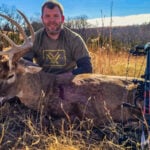
Meat preparation begins at the recovery site.
exhilarating piece of the hunt. Now, it’s time to get to work.
The time of year you are hunting determines how quickly you need to take action. If you are hunting whitetails on opening day in North Dakota, you will most likely be hunting in summer-like conditions with temperatures souring above 80 degrees. Or you might be hunting late season in Minnesota where the temps are unbearably cold. Either way, it’s always a good idea to start the process as soon as possible. Once you have properly placed your harvest tag on the animal, it’s time to field dress it.
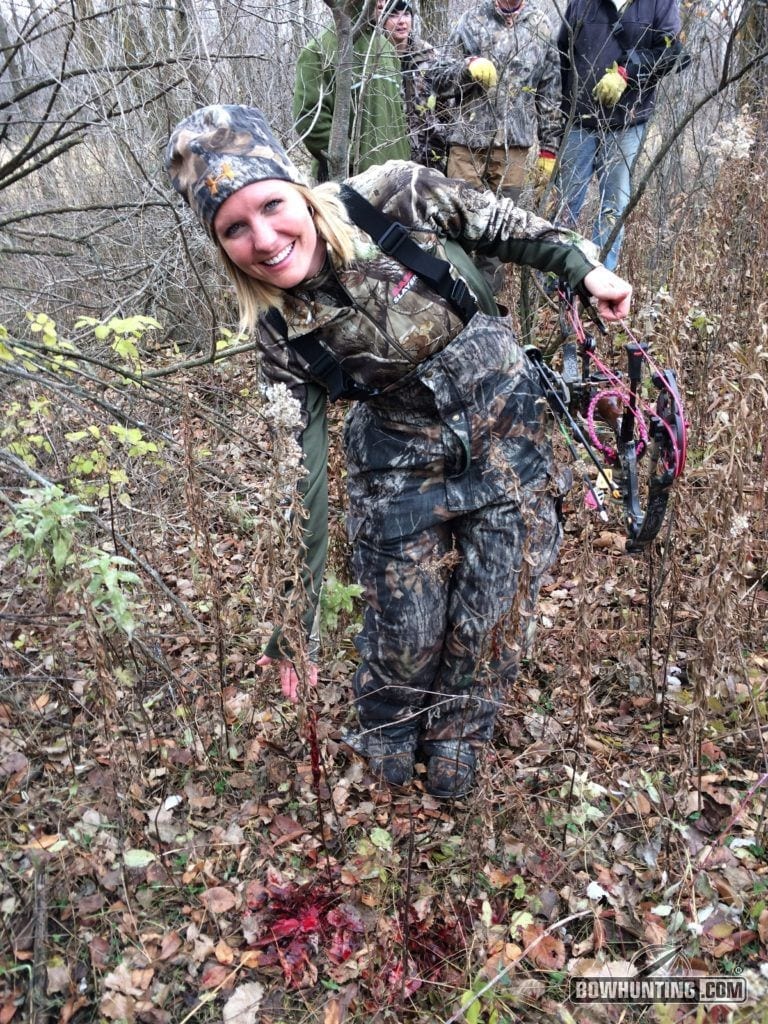
One trick I have learned over the years of hunting and harvesting whitetails is to place the animal’s head slightly downhill. This allows the organs and internal cavity contents to move towards the head and keep the area you are going to be working in less cluttered. Once you have the animal positioned properly, start the field dressing process. Without going into explicit detail on the steps and sequence of field dressing, you basically work your way from the tail to the neck. After all the cutting and prep work is finished, spin the animal so the tail is downhill and empty the chest cavity. In order to get non-gamy tasting venison, the meat needs to be cleaned and cooled as quickly as possible.
Once the field dressing is complete and the chest cavity emptied, you need to wash the animal out. If you happen to be hunting near a river or small stream, simply place the animal into the running water and make sure the water gets into the chest cavity so it can clean out the residual effects of field dressing. If you do not have a body of water near your hunting location, this step will have to wait until you get home, back to camp or the hotel. A garden hose with really cold water works really well as you can spray inside the chest cavity. Continue to wash the chest cavity out until you see clear water running out of the animal.
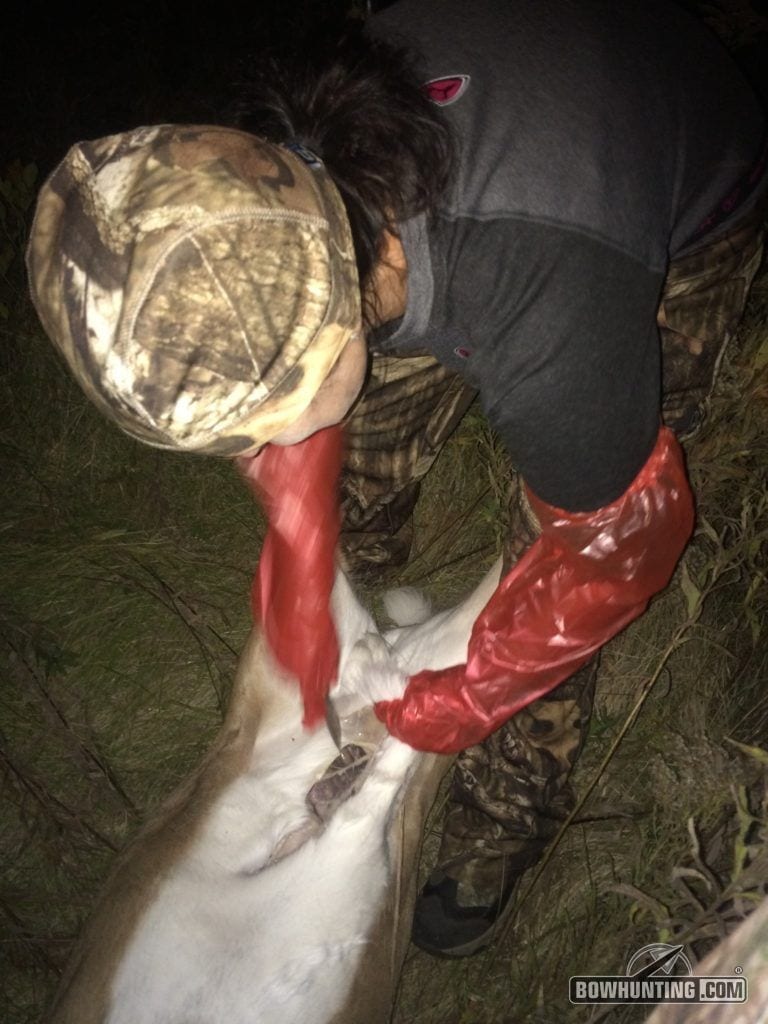
The right tools and proper placement of your downed game can make life much easier when it comes to gutting and butchering your kill.
Placing the animal’s head downhill can assist in the field dressing process.
Next, you are going to want to get the hide off. This can be a bit tricky if you don’t know exactly what you’re doing. There is always the option of taking the animal to a locker or butcher that will take care of the hide and everything for you. But if you are doing it yourself, which most of us usually are, I have found that it is much easier to get the hide off and work on the animal if it’s hanging up. This step is easier to accomplish with the aide of another person. However, if you have to do it by yourself, a pulley system will do the trick. You can find those at any big name sporting goods store and from my experience, they are definitely worth the investment. My preference is to hang the animal by the hind legs so that you finish the capping process at the head. Start by cutting the hide completely around each hind leg, just below the knee. On the inside of each hind leg, make a straight cut from your original cut down to the cut you made when you field dressed the animal. After these cuts are made, you simply pull down on the hide and cut tissue as you go. This process is much easier when the animal is warm, which is why it’s always a good idea to complete it as soon as possible after the recovery. When you get to the front legs, you repeat the process just like the hind legs. If you intend to drop your trophy off at the taxidermist, you are going to want to pay special attention to any cuts you make from the back of the rib cage to the head. After you have made all your cuts and pulled the hide to the back of the ears, simply twist the head 360 degrees and cut the muscle. You should now have a full animal body that is free of any hair and ready to process.
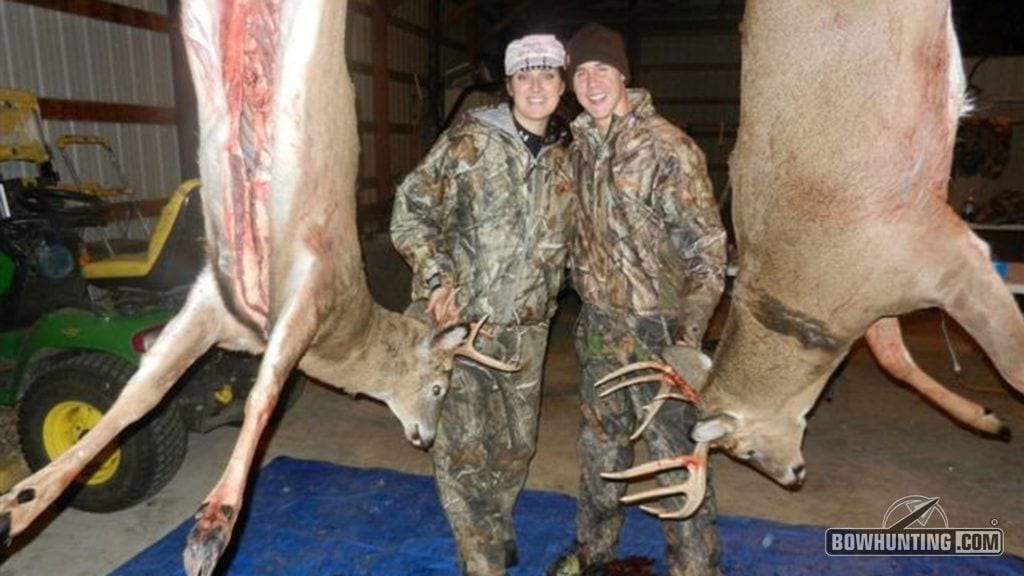
Proper hang-time will make a world of difference in the quality of your wild game.
Hanging the animal by the hind legs aids in the skinning process and allows the hunter access to all sides of the animal.”
The last, but ultimately the most important step, is to get the meat cooled down. The length of time between the harvest and the meat cooling down can play a major factor in how your venison tastes. This is especially important in warmer temperatures, but the concept is the same in cooler temps as well. The circumstances surrounding your hunt (location, transportation, access to freezers, etc.) will play a significant role in how you get the meat cooled down. If you are camping and do not have access to electricity, you can quarter the animal and build a crib or shelf above a stream. If you place the meat just above the surface of the water, the water temperature will cool the meat down. I have used this method when hunting in the mountains and it works surprisingly well. If you do have access to a freezer, quarter or divide the animal into manageable pieces, wrap the quarters in game bags, and place them in the freezer. If you happen to have access to a walk-in cooler, you can hang or lay the entire body in the cooler and get the meat to temperatures just above freezing. The faster you get the meat cooled down in a controlled manner, the better your meat will taste.
Wild game is lean, natural, and an extremely healthy protein source for you and your family. From the initial preparation of the hunt, to the placement of your tree stand, the accuracy of your shot, the swiftness of the recovery and the breakdown of the animal, are all critical aspects of harvesting mature whitetails. By being prepared and taking all the necessary steps, you can provide great nutrition and tasty meals for all to enjoy.