LAST UPDATED: May 8th, 2015
Over the years, I have had a number of different sights on my bows, but never a really good one. This year I decided to upgrade to a higher quality sight and after a bit of research I decided on the G5 Optix XR with .019” pins. After just over a month of owning this sight I have fallen head over heels for it, and here’s why.
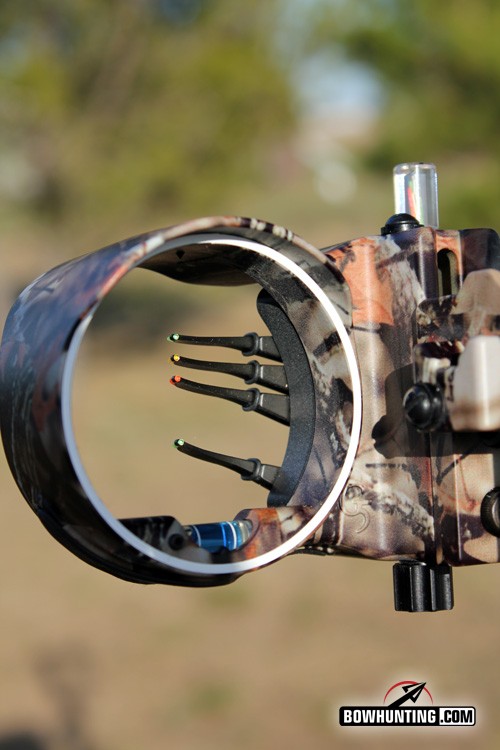
First glance shows bright pins and an easy to see white circle on the sight housing.
The first thing I noticed when I took this sight out of the package was the weight. Being it’s a micro-adjust, which I will get to in a bit, I expected it to weigh a little bit more than the mere 6 ounces that it does. This can be fully attributed to the fact that it’s made out of Magnesium Alloy. Magnesium Alloy is the lightest of all structural metals, is 32% lighter than aluminum, is equal in strength and has vibration-dampening qualities. The included Harmonic Damper also tames any extra vibration.
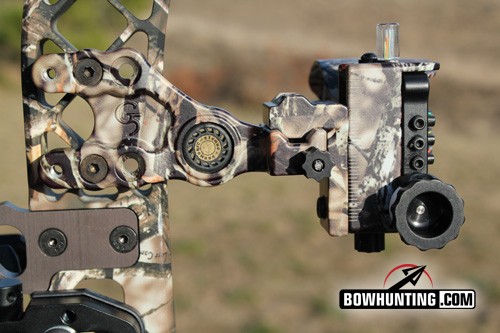
Magnesium Alloy Construction make this site light and the Harmonic Damper helps reduce any vibration.
After bolting it onto my Mathews Z7 Xtreme, it was time to start dialing it in. Never having owned a micro adjust sight before, I didn’t realize how easy this was going to be. The windage and elevation adjustments are extremely simple. Simply loosen the bolt with the included Allen Wrench, turn the micro adjust knob and tighten the bolt back up. This system makes even the slightest movements a breeze.
The micro adjust windage and elevation knobs are easy to use and sized right.
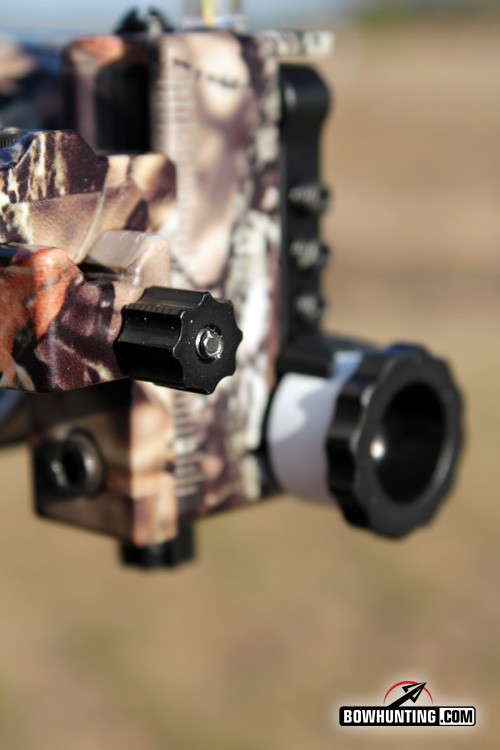
Besides the windage and elevations, the pins are micro-adjustable as well. Now, this is the only thing that took a little bit of practice for me. The first step is to loosen the bolt on the pin ¼ turn. The key here is not loosening that bolt more than the ¼ turn the directions call for, or the pin becomes too loose to micro adjust. Next, use the provided Allen Wrench and turn the small bolt on the side of the pin housing to move the pin up and down. Then, tighten the bolt on the pin. It did take me a couple of times to get this right, but once I did, micro-adjusting the pins is a snap.

To micro-adjust the pins, loosen the bolt on the pin 1/4 turn and then turn the bolt directly to the left of the corrosponding pin.
Another great feature of this site is the Floating Smart Pin. This pin is fully adjustable and can be used for multiple longer-range distances, without having a bunch of fixed pins. The adjustment knob for the floating pin is large enough, easy to use and also has white vinyl tape on it to mark different yardages as you site it in. Though I have not sighted in the floating pin yet, it will be a great asset for longer-range shots at the range and for Antelope hunting this fall in Wyoming.
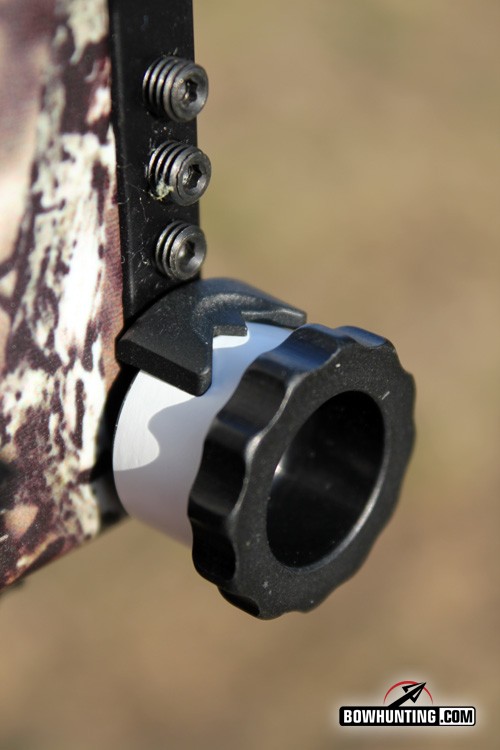
The knob for the floating pin is very easy to turn and comes with white vinyl for marking yardages.
An extra neat little feature is an arrow bumper on the bottom of the sight housing. If you’re in a hurry to knock another arrow, you won’t have any unwanted noise if you bump the bottom of the sight. You can also purchase and L.E.D pin light that screws into the top of the housing where the fiber optic pins are, if this is legal in your state.
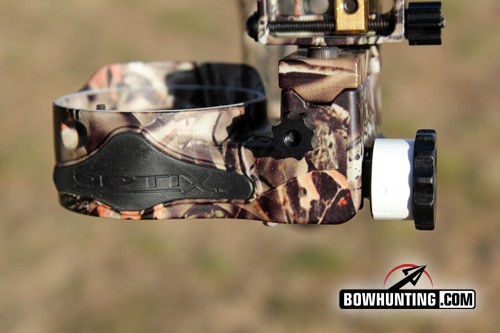
An arrow bumper on the bottom of the sight housing helps prevent any unwanted noise if the arrow bumps it.
Overall, I have been extremely pleased with the G5 Optix bow sight. Its light, easy to adjust and the pins are bright and easy to see. If you are in the market for a high quality sight I would definitely recommend taking a closer look and consider the G5 Optix line – you won’t be disappointed.