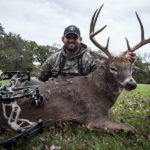
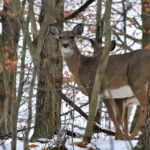
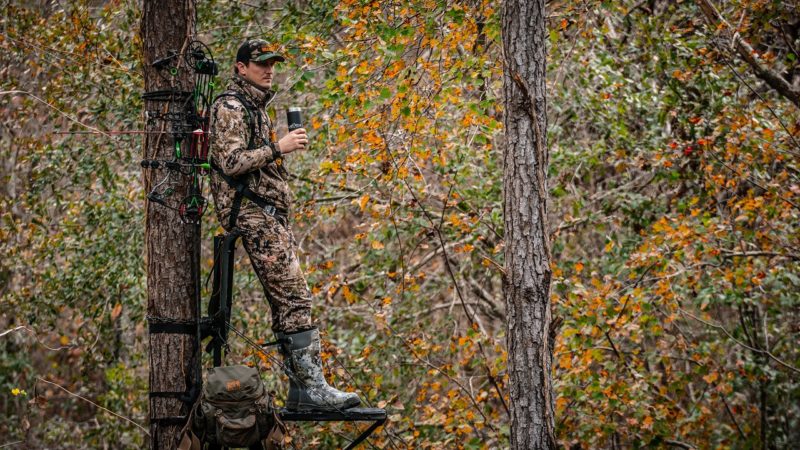
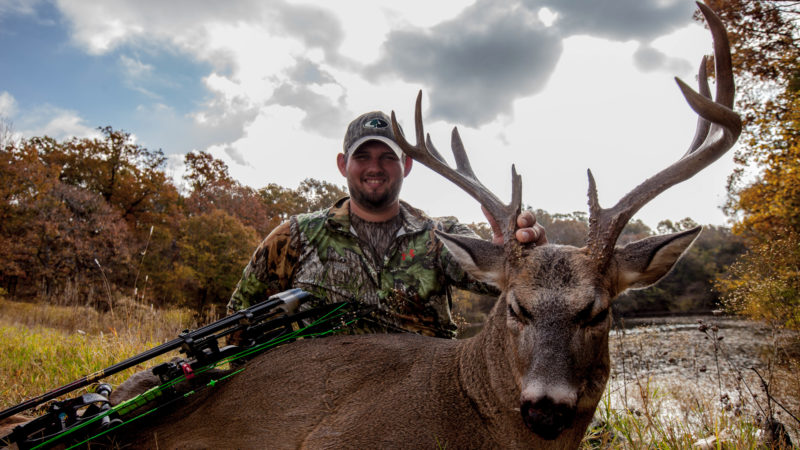
Filming you own hunt can be incredibly challenging. The money spent on gear, the time, and investing in learning a camera or microphones adds up quick. Not to mention all the extra weight and set up time it takes to get it in the tree or blind with you. But when it works out like it is supposed to there is nothing better.
Here are a few low-tech tips on things you can do to make your self-filmed hunt even better this season.
1. Capitalize on Prime Shooting Time
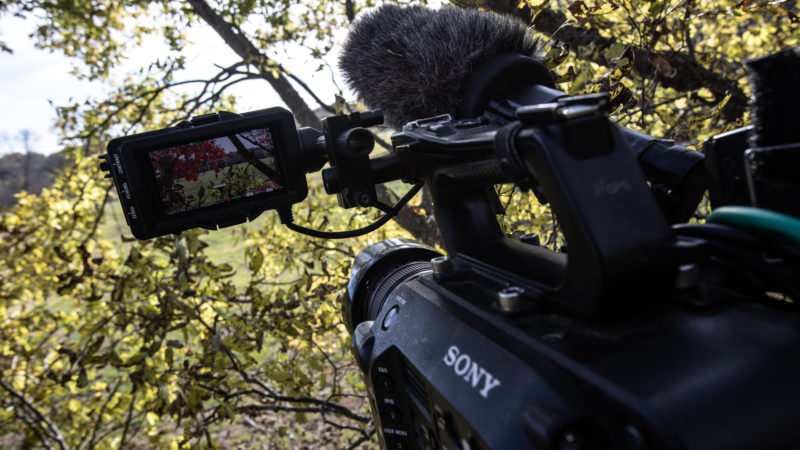
The first thing, and maybe the easiest, is understand what kind of light your camera looks the best and worst in. Knowing when your gear is going to perform the best is going to allow you to work within those time frames more and more, and that alone is going to allow you to have better video.
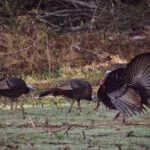
I understand we cannot control when a deer or turkey is going to walk into the kill zone, but it does mean for all the other stuff, the set ups, the talking, the b-roll, and any other footage we do have control of, we can make it look its best. Generally this is going to be the first 30-45 minutes of light in the morning and the last 30-45 minutes of light in the evening. If you are thinking to yourself, “Well that doesn’t give me a whole lot of time to do anything,” then you are right.
We’ve got to be efficient and effective. For the times when it just isn’t in the cards to get things done in the early morning or late evening, always try and shoot video in the shade or when it’s overcast. Shooting in bright sunshine sounds great but it makes for really crappy video.
2. Get a Camera Light
A second low-tech thing you can do to improve your filming is add a good on-camera video light to your arsenal. You can buy these lights for less than $50 on Amazon, and they will make all the difference in the world for after-dark recoveries, lighting up the inside of a dark truck for filming, or any other situation where sufficient light isn’t available.
3. Be Smooth
Another easy low-tech move to make is to work on being smoother with your shots. How do you do this? Here’s a quick hack that’ll make a world of difference.
Get yourself a little elastic band or rubber band and keep it on your tripod arm. The next time you get in your blind or treestand and want to do a nice smooth panning shot of your area to set up the hunt, instead of grabbing the handle of your tripod and trying to be supper smooth on that pan, use the band to pull the arm for the pan.
The band is going to take out any of the shake or imperfections your hands would have if you tried to do it manually. The band acts as a shock absorber. Genius, I know!
4. Establish Shots to Tell a Better Story
The fourth little nugget I can offer is learn what a transition and an establishing shot is. A transition shot is a shot that gets the viewer from one place to another. This shot seamlessly transports the viewer from day to night, day to next day, or stand to new stand. What can this shot be? It can be a drone shot of a field. It can be a shot of climbing in or out of the stand. It can be a multitude of things.
The entire object of the shot is to convey a change. It’s a way to show the audience something is changing instead of having to tell them. The establishing shot is used to establish something, a place, a location, a person, or time of day. It’s your way of telling the story without words.
5. Do More Talking
Lastly, something that is going to improve your hunt is to talk…a lot.
What do I mean by that?
When you start videoing hunts, inevitably you or someone else is going to have to edit the footage. When you talk to the camera you explain to the editor what is going on, where we are, time of day, weather, etc.
Assume your viewer is dumb and they have to be told every aspect of the hunt. This talking is going to add structure and value to you and the viewer. No one wants to see a montage of squirrels and leaves all the time. Give us some information.
If you can build these simple steps into your routine, it will greatly enhance the quality of your content this hunting season. Hopefully this will help you improve your production in the days ahead. If you ever need or want more info, head over to Redneck Tech Podcast on IG and Apple Podcasts.
Tell Stories, Be Creative, Hunt Often.