RaptoRazor knives have made an appearance in the skinning blade market over the past couple of years. The product founder / inventor, Rick Grover, came up with the design for his own hunting use, because he was “tired of using junk that fell apart”. The unique design of the RaptoRazor along with a few viral videos have caught some attention recently so we decided to take a closer look. Is the RaptoRazor Big Game Skinner & Mako knife combo worth the $54.99 (plastic) – $139.99 (aluminum) price tag?
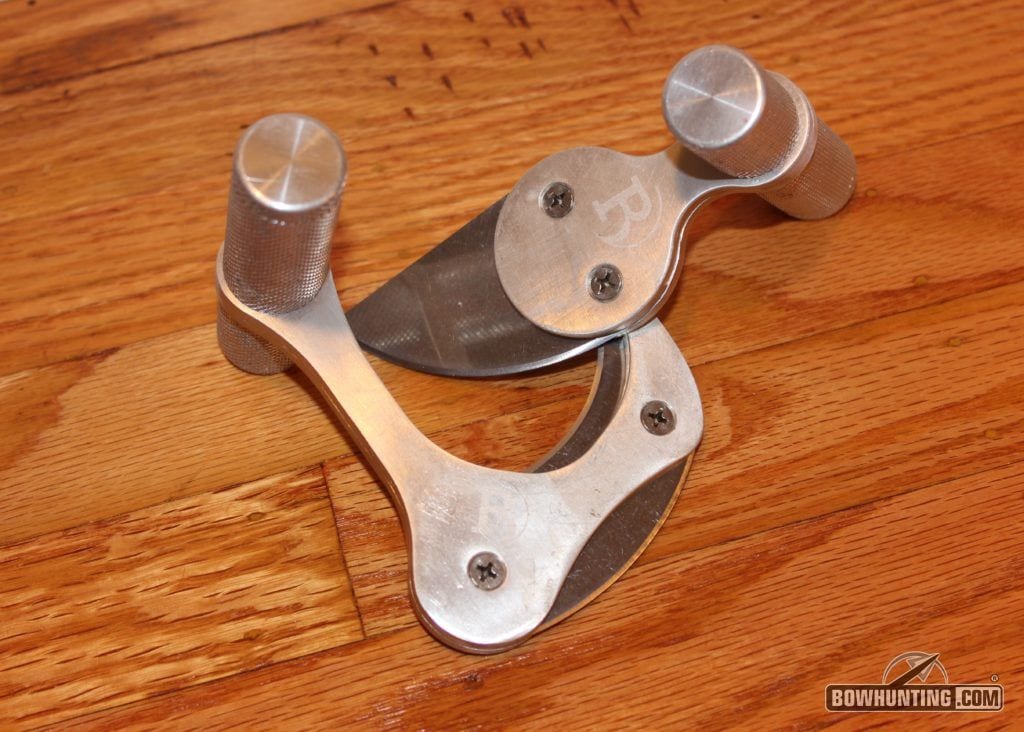
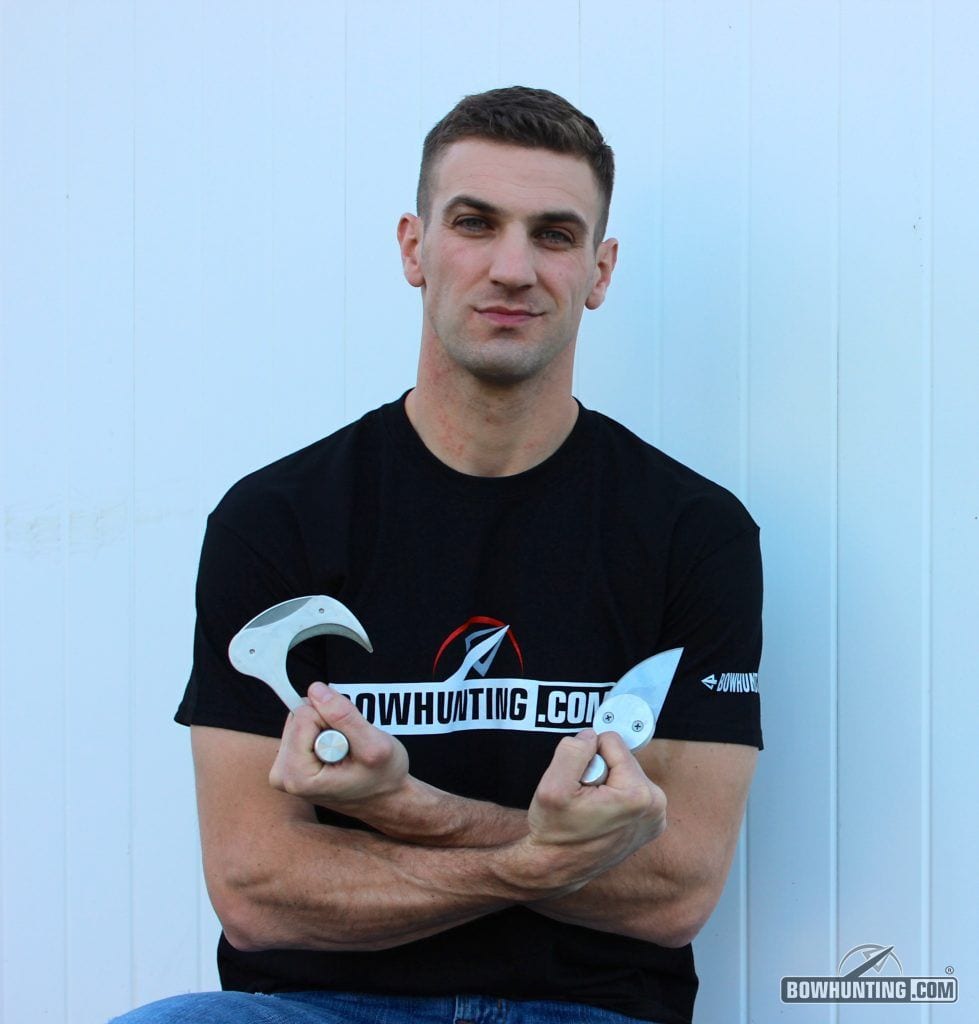
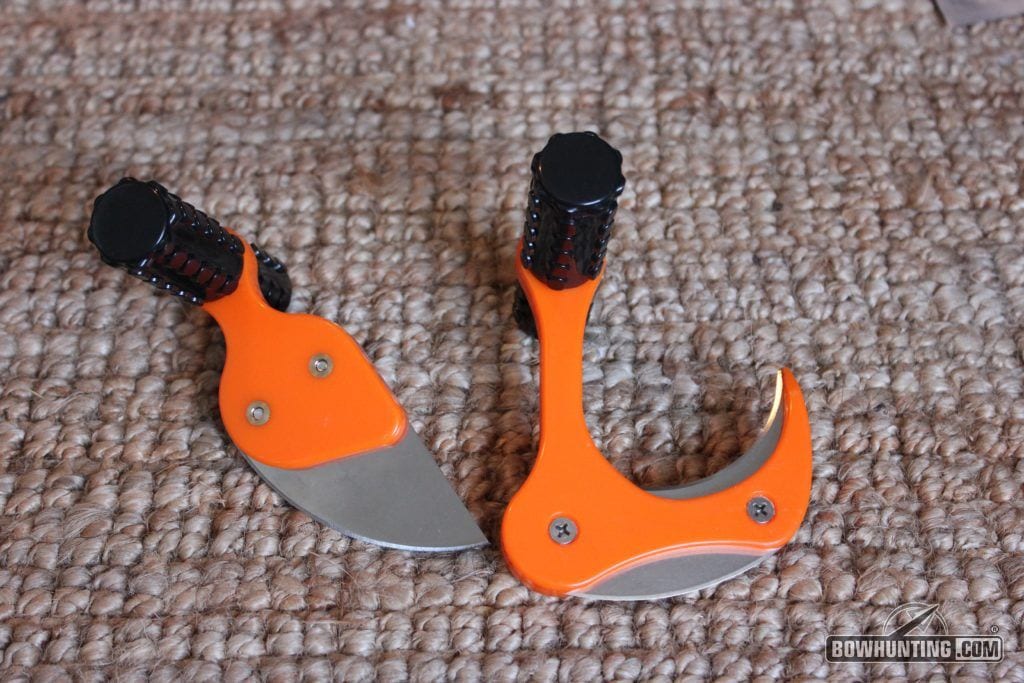
RaptoRazor’s Big Game Skinner & Mako Combo in 100% machined aluminum.
First off, RaptoRazor started with two designs, the “Big Game Skinner” (BGS) and the “MAKO”. They have since added a few new adaptations to their arsenal in an attempt to open themselves up to the marine and boating market. I will save those for another day, another blog, or maybe another series… BowFish or Die?

What makes these knives special is their unorthodox shape and ability to perform while field skinning big game using a gutless skinning method. “What? A gutless skinning method”, you might ask? It’s a method that Western Big Game Hunters typically use more often than whitetail hunters because of the large size of the game and inability to pull a truck / ATV into the mountains to haul out your harvest. I’ve never seen the usefulness of this method, being primarily an Eastern U.S. whitetail hunter, until I tested these knives myself. Now, after finding out how easy it is, I’m a huge fan of the method.
Rick’s tools have been a stand out because of their unique design. After receiving them in early summer 2015, I had plenty of time to check them out and show them off to friends, and get their opinions on the design. Peer reviews on the aesthetics of the design were positive and the look posed curiosity about the functionality. Right now, the knives are available directly on the company’s website ranging from $54.99 for an injection molded plastic kit to an Aluminum Powder Coated kit for $139.99. They are also available on Amazon.com. The prices I listed above are for the two knife combo kit. The knives are available individually on the site as well in injection molded plastic $34.99 BGS and $30.99 MAKO or in aluminum for $79.99 and $69.99. You can save a few bucks buying the combo kit in plastic save $10.99 or in aluminum save $19.99 from the website. RaptoRazor is making a strong push in the skinning market and are slowly being picked up by some well known outdoor retailers.
UNBOXING THE RAPTORAZOR
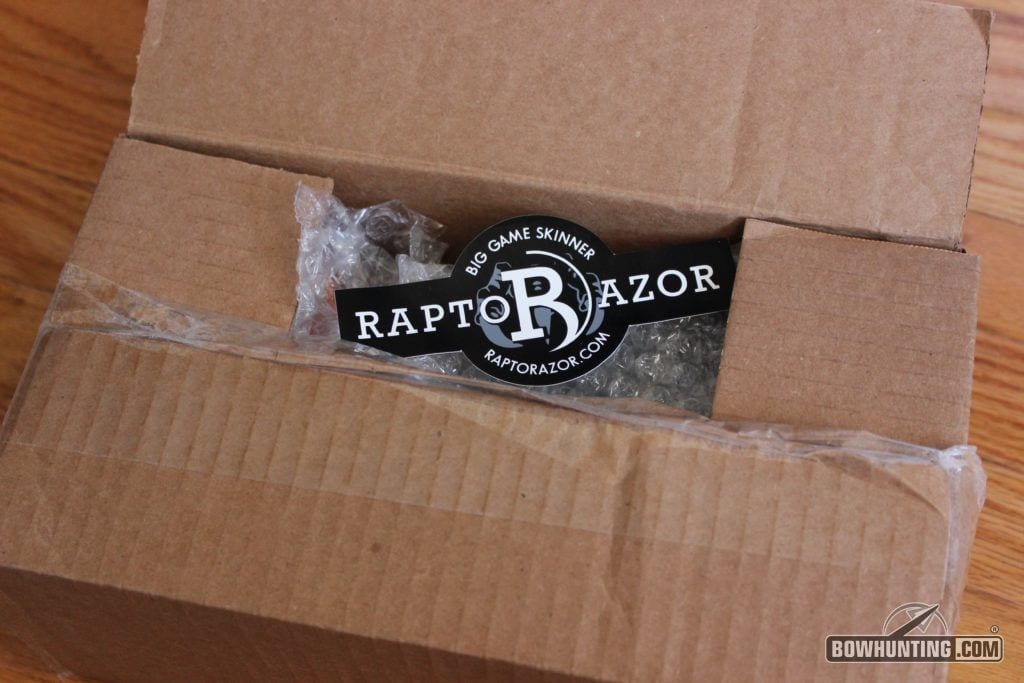
Here is what I found.
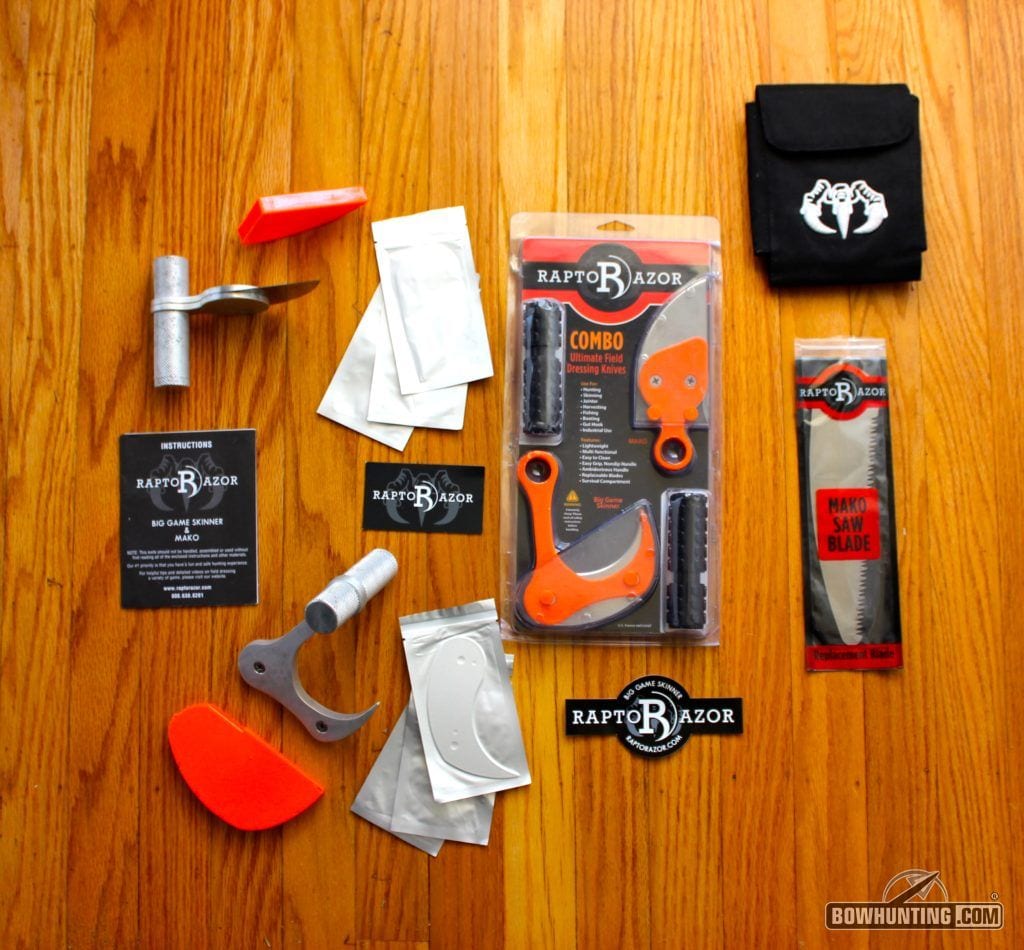
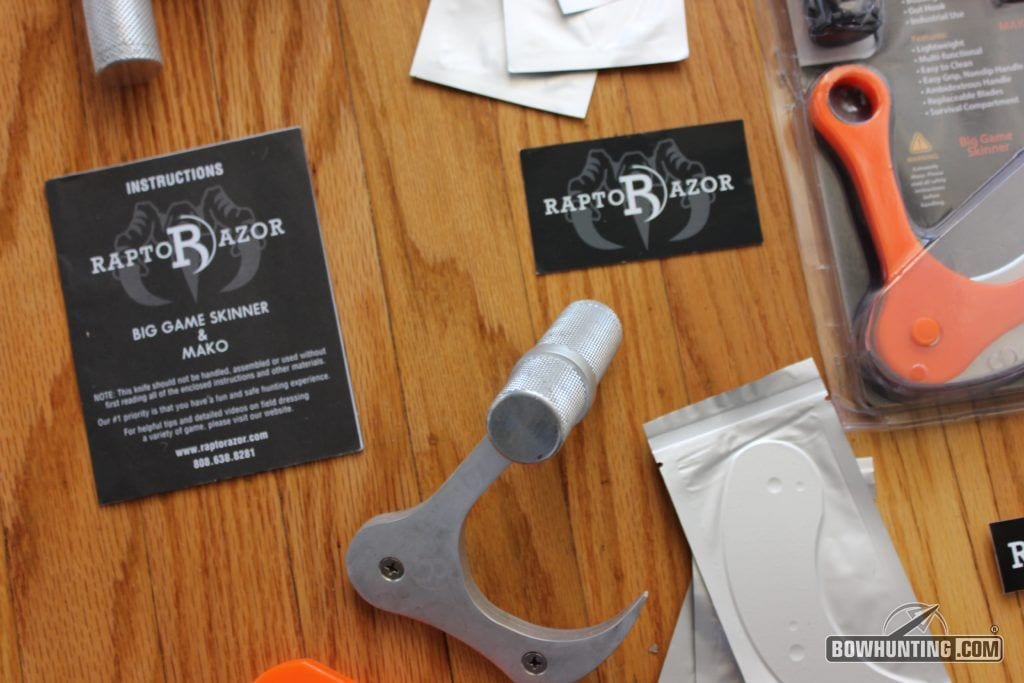
The contents of box will obviously vary depending on the order, but here is what I received wrapped in a healthy amount of bubble wrap. Directions; a RaptoRazor injection molded plastic combo kit (Big Game Skinner and MAKO) (orange knives); a 7 inch MAKO saw blade; an aluminum Big Game Skinner and MAKO; a black velcro closure carrying case; 2 orange protective covers for the knives; 3 blades for each knife; 2 extra screws per knife, 2 ¼ inch x 5 inch sticker for truck, and a business card.
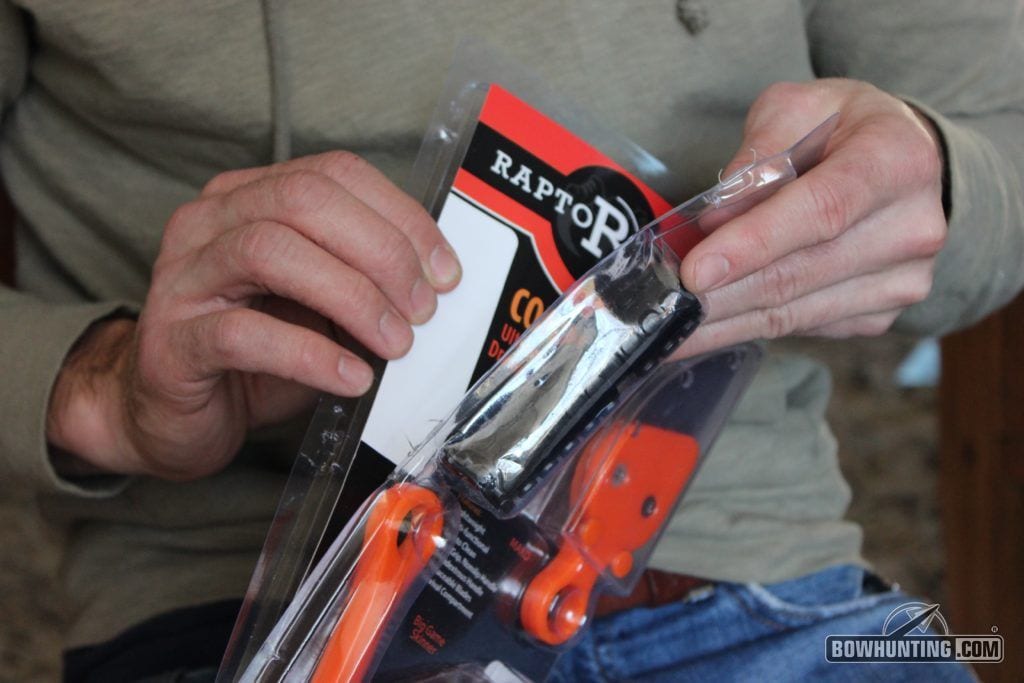
The injection molded combo kit plastic cover is held together with staples. The package can be torn open by hand.
RAPTORAZOR ASSEMBLY
The knives come with the handle separated from the blade body but the initial installation is very simple.
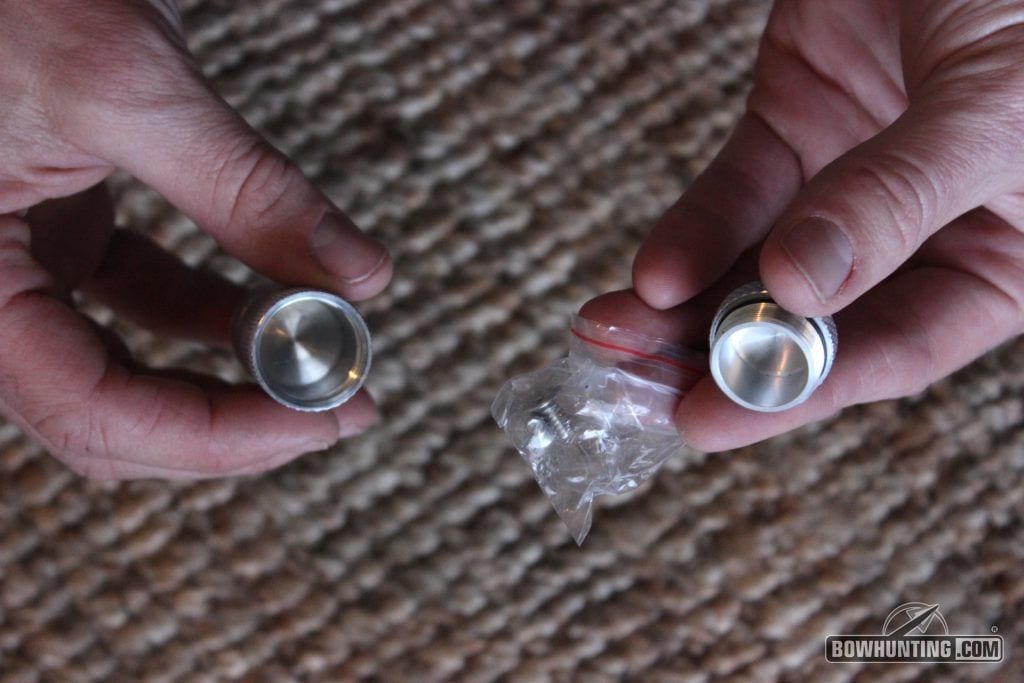
Inside the handle you will find a waterproof storage compartment where the secondary screws are stored. They have included these 2 extra screws just in case you loose one in the field.
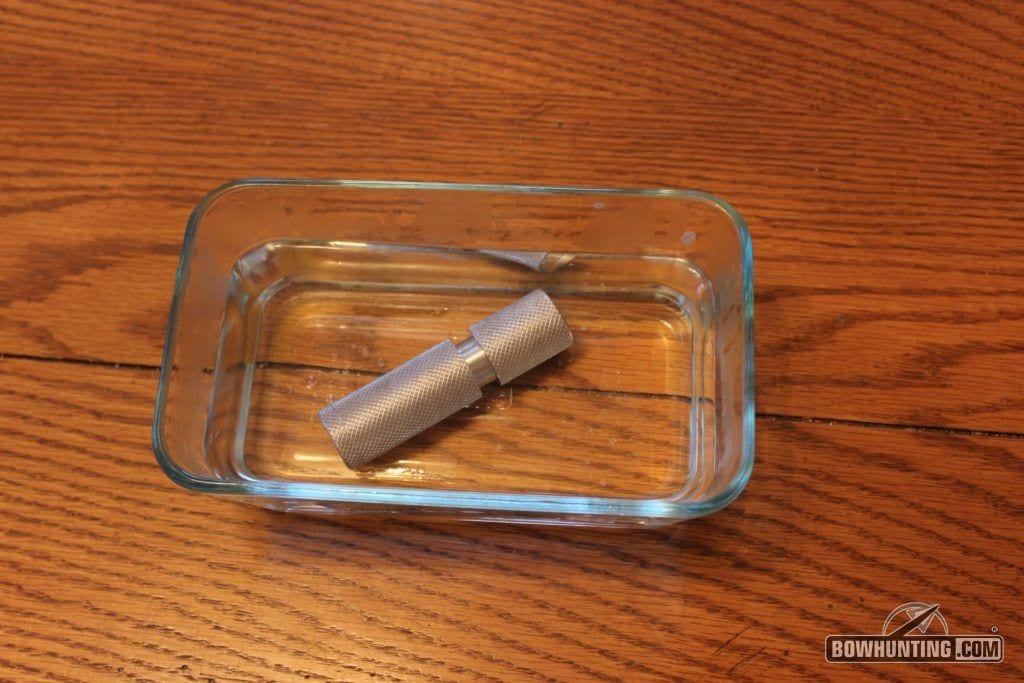
I decided to test just how waterproof this handle was. So I tested in water with a dry paper towel inside the waterproof survival compartment.
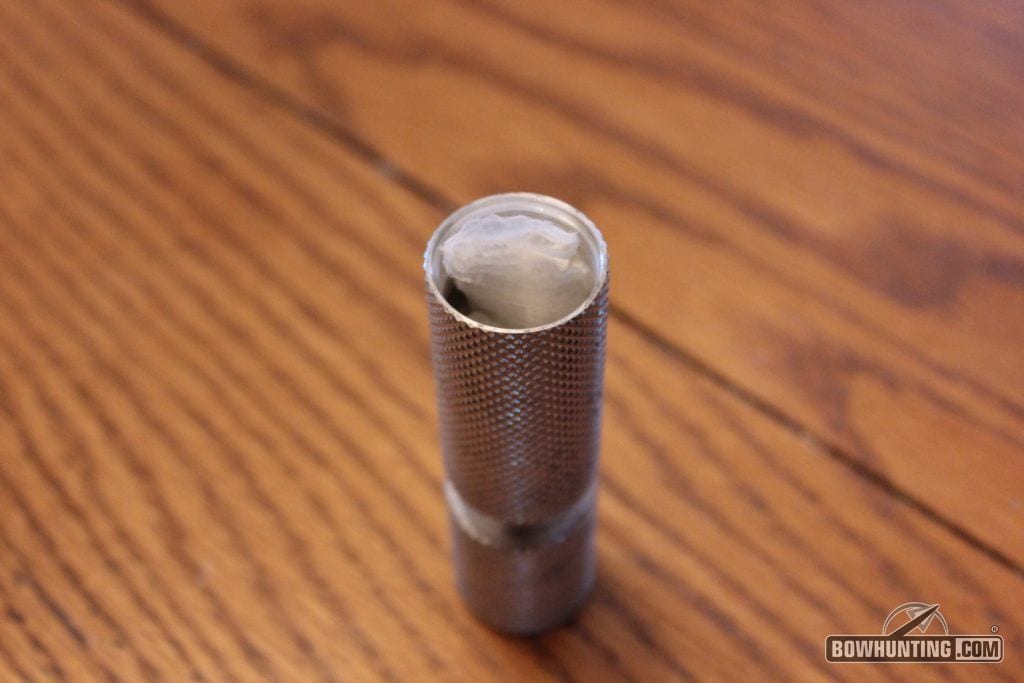
I submerged them in water and tested for an hour with a paper towel, which was damp when pulled out. It seems the gasket could be a little bit thicker to prevent all water. No puddle, just thoroughly damp.
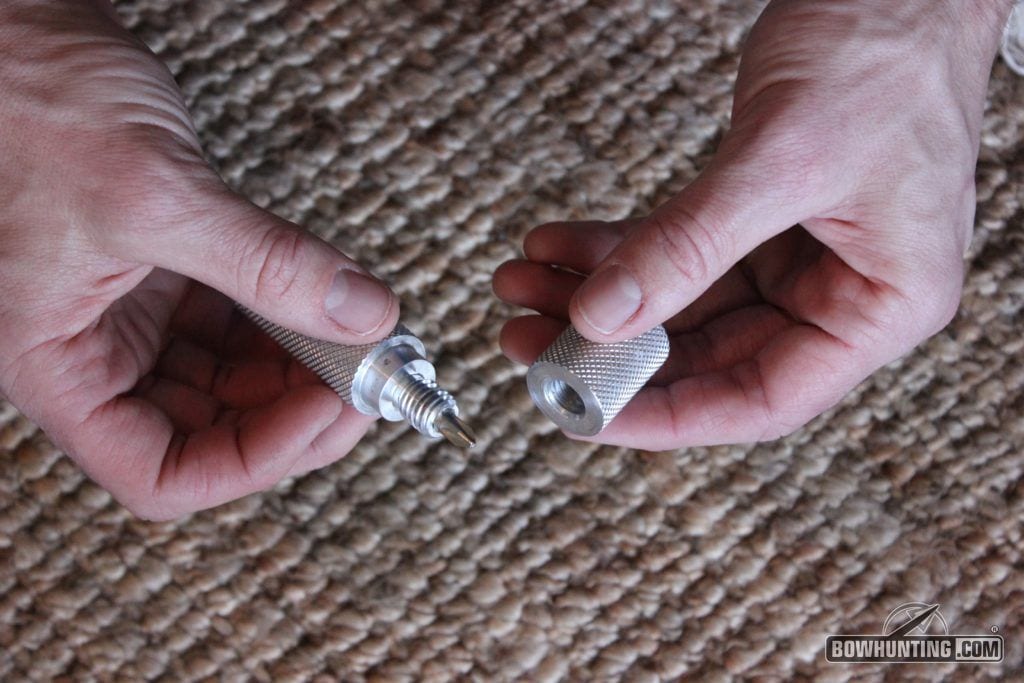
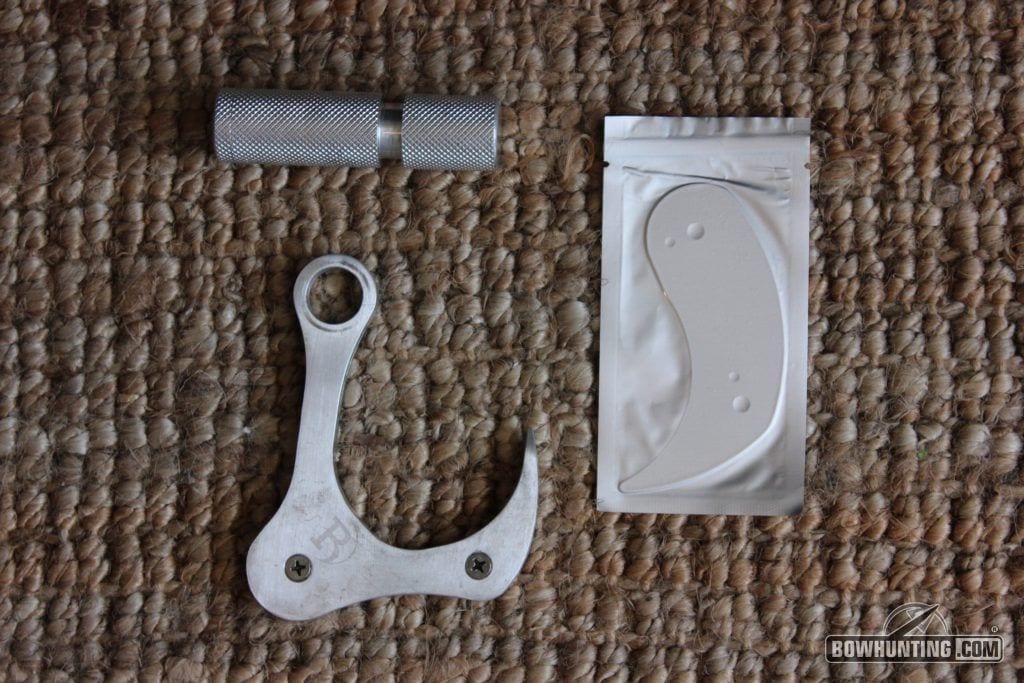
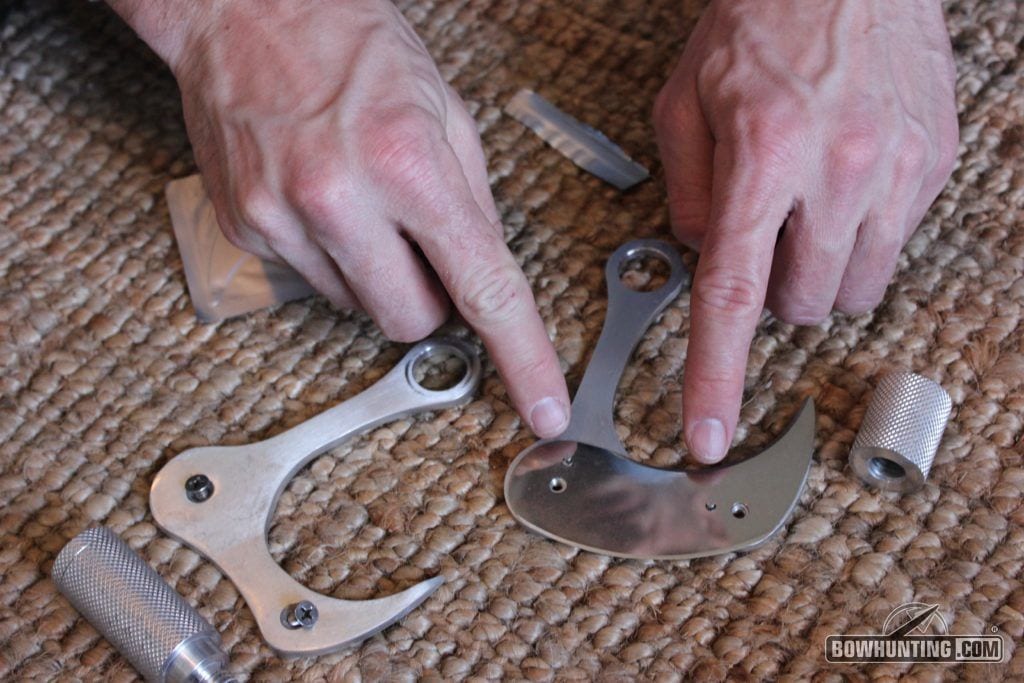
Putting the knives together is very easy. I am only going to show you how to put together the BGS. Putting the MAKO together is exactly the same. First of all, simply unscrew the handle into 2 pieces. The handle doubles as your phillips head screwdriver to change the blades.
Now, with the handle’s phillips head screwdriver, unscrew the two screws that hold the housing together and separate the housing into two pieces. The screws will stay in the holes, if removed carefully.
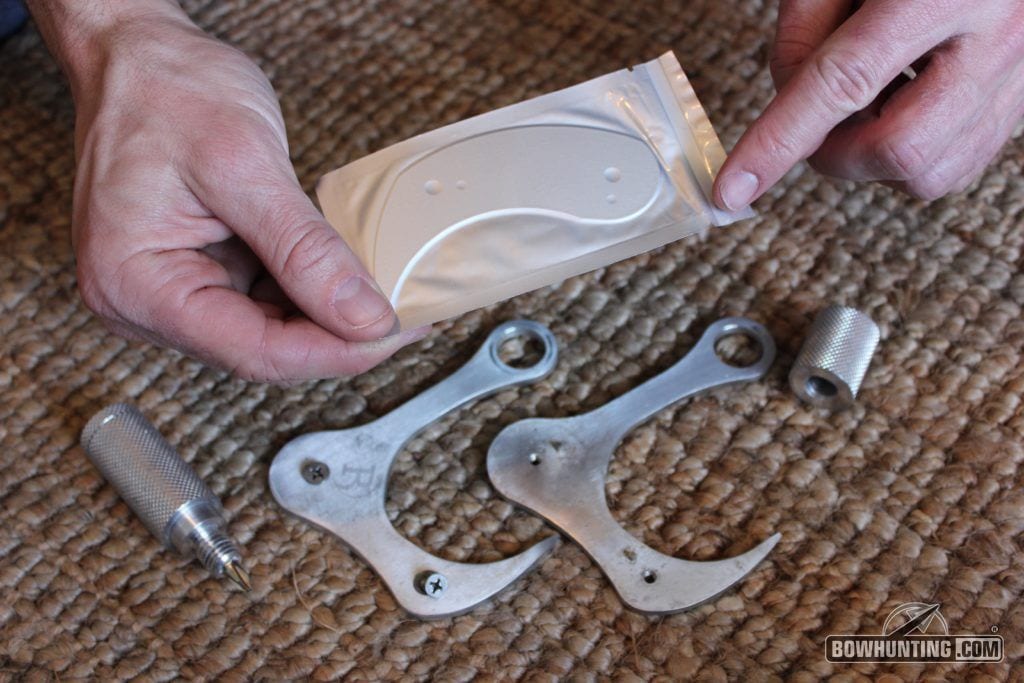
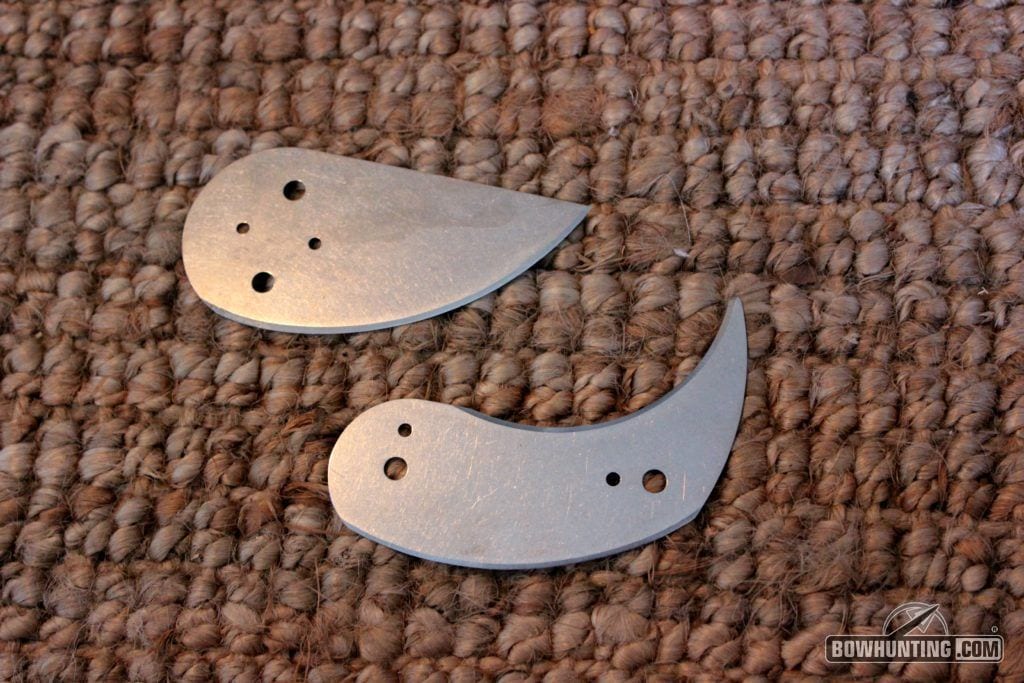
The 420 stainless steel blades are made to be replaced when dulled. What is 420 stainless steel you might ask? 420 Stainless is a high carbon steel. Carbon content added to steel increases its strength. 420 also contains a minimum of 12% chromium which gives it above average corrosion resistant properties. OK, enough with the metalergy lesson. Blade replacements are $5.00 per blade. Sharpening is not recommended, and at $5.00 per blade why risk taking off a finger? The blades come vacuum sealed to protect you from getting cut.
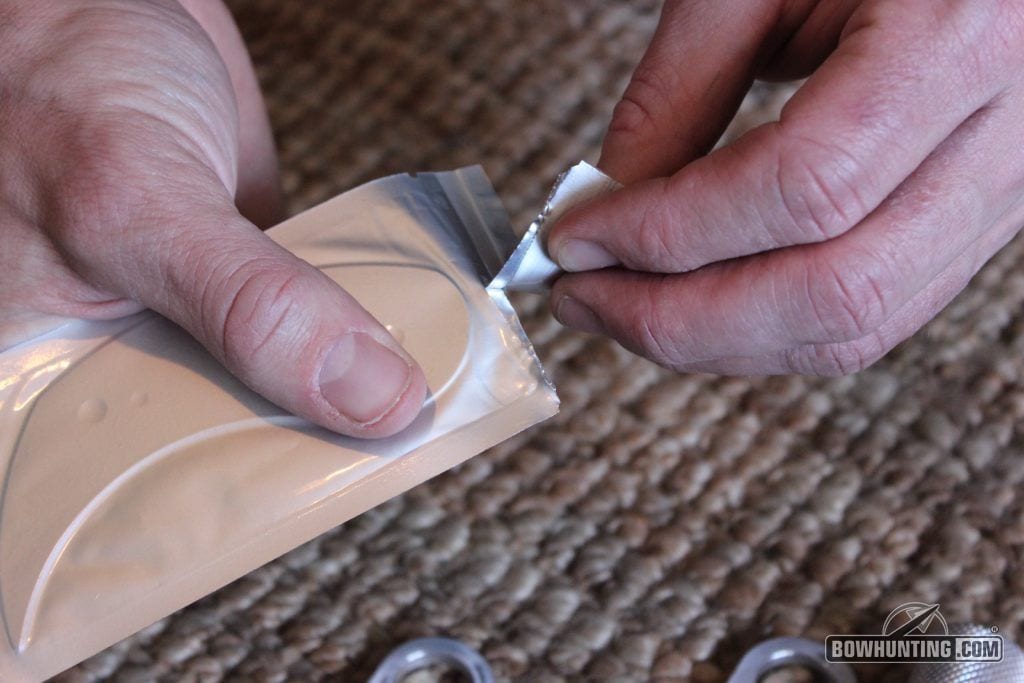
There are two notches to tear open the package. Open the vacuum sealed blade pouch and carefully remove blade from the closest edge. Do no grab the blade’s edge!
Carefully pull out the blade and lay it onto the knife and line up the machined holes on the pins.
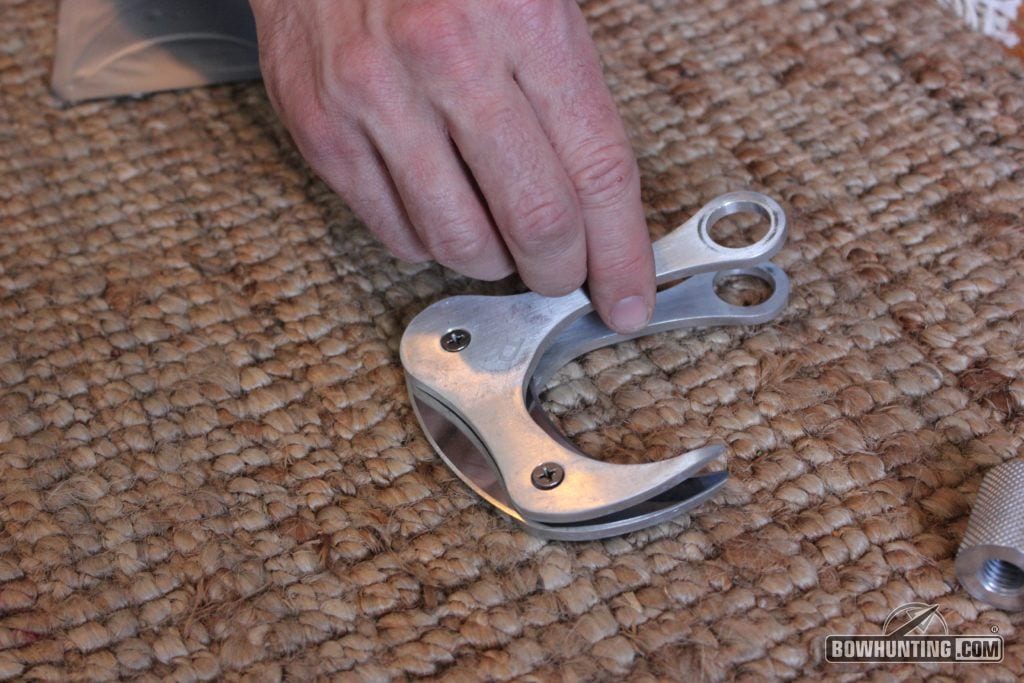
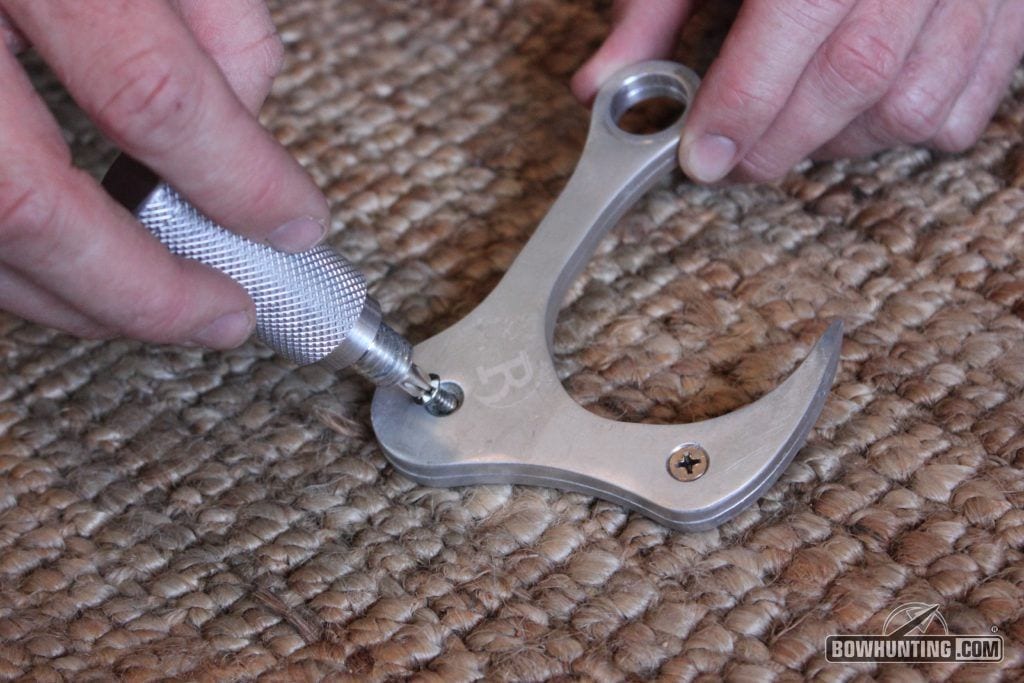
To complete the blade install, add the top portion of the housing back onto the bottom portion now holding the blade and tighten the screws. Install the handle into the hole in the handle housing and screw tight.
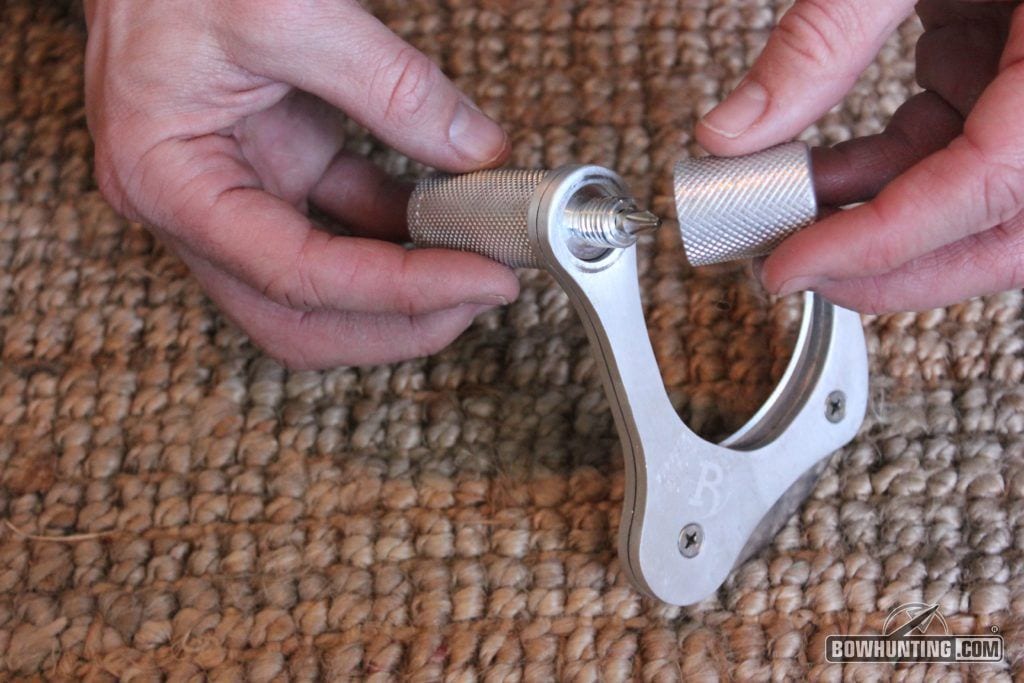
Simply insert the handle through the hole in the housing and now the t-bar handle will comfortably fit between your index and middle finger during use.
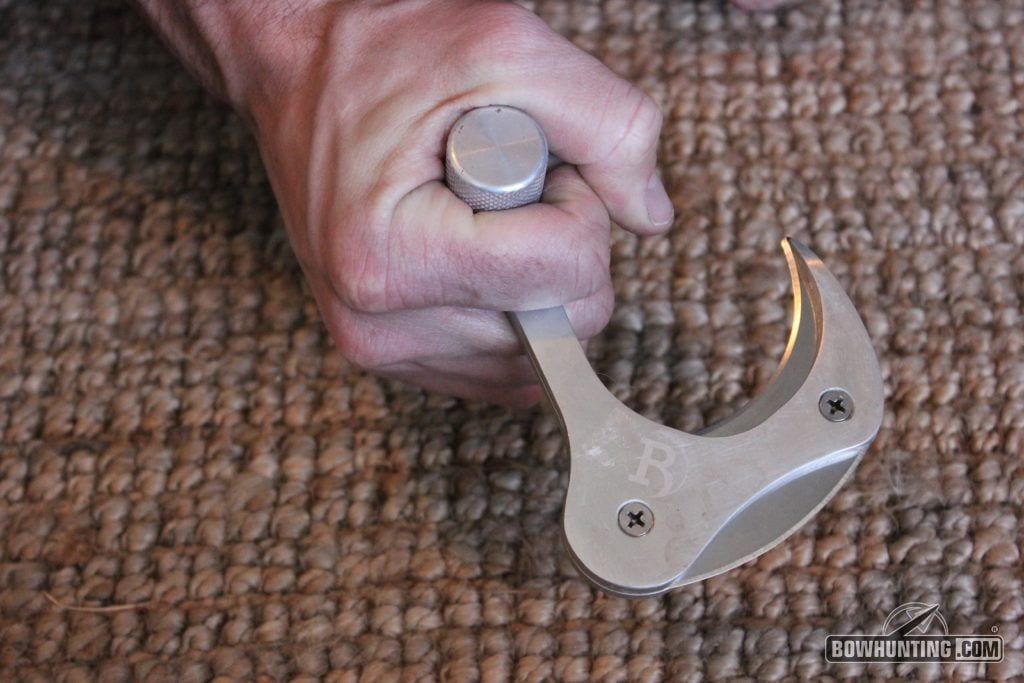
This is what it should look like if you are right handed.
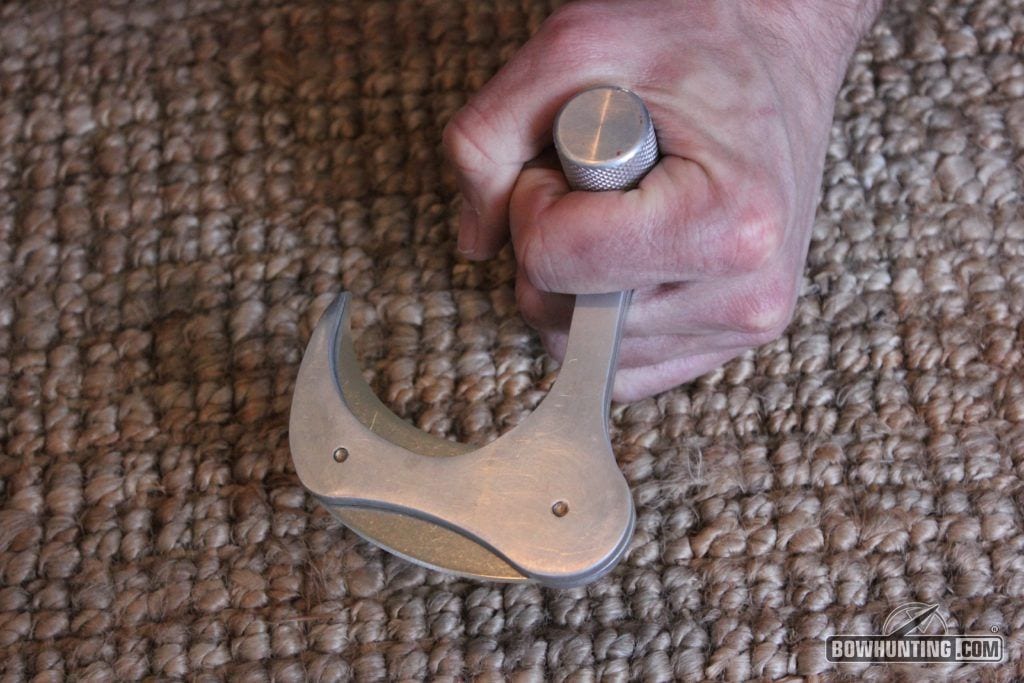
If you are left handed, install the longer part of the handle to the left.

Video of how to disassemble, add blade, and re-assemble. This whole process took me less than 48 seconds. ( I already had the vacuum sealed blade pouch opened so maybe add 2 seconds.)
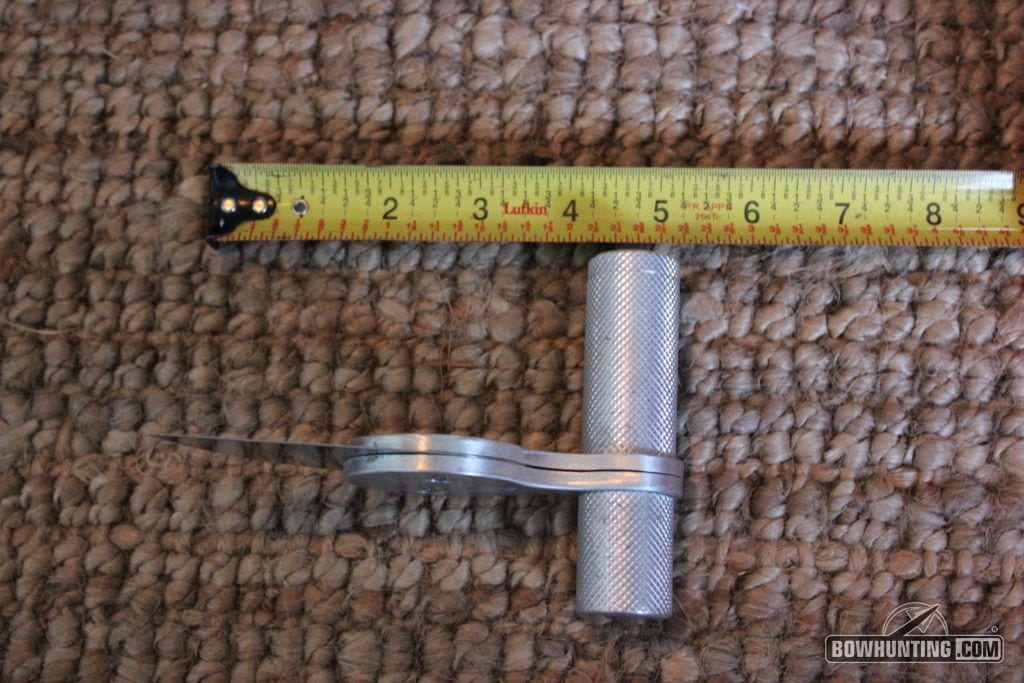
RAPTORAZOR SIZE AND WEIGHT
The Aluminum RaptoRazor’s are machined from 100% 6064 T6 grade aluminum. This is a lead alloy aluminum which has good corrosion resistant properties, is able to be machined easily, and does a good job accepting additional protectives coatings.
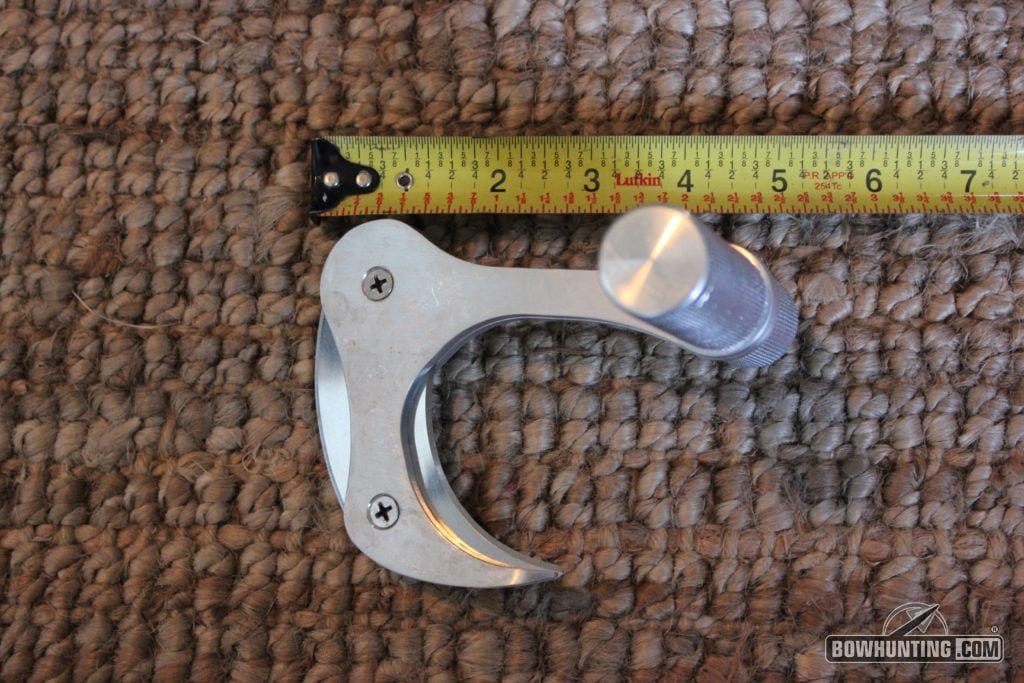
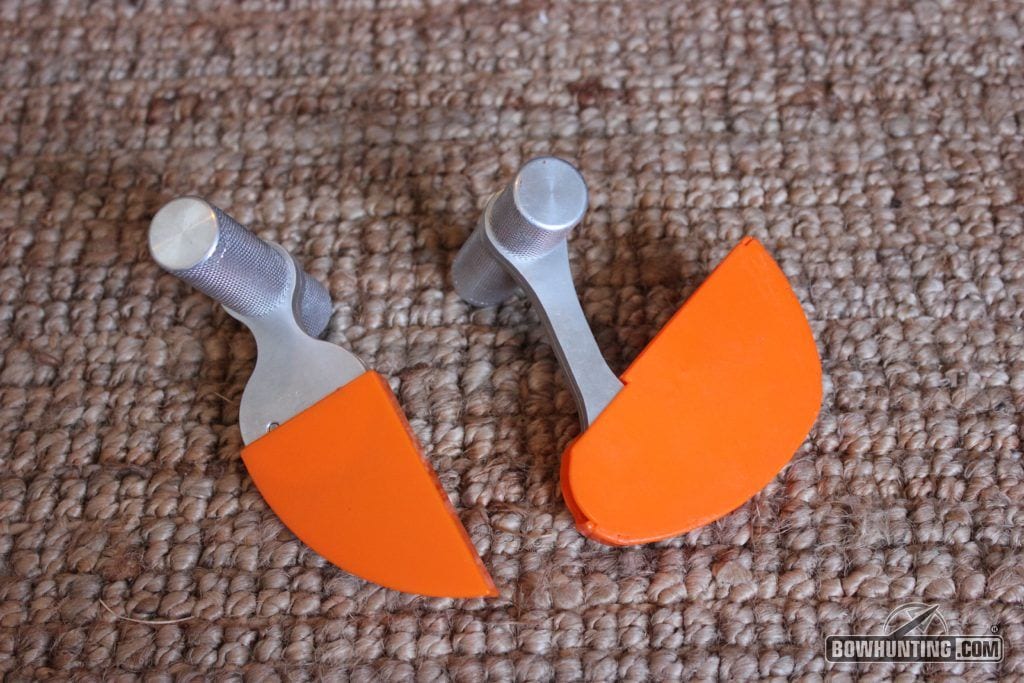
The BGS measures right about 5 inches. *Injection molded knives have the same size and length dimensions.
The MAKO is right at 5 inches with the 3 inch blade installed as well.
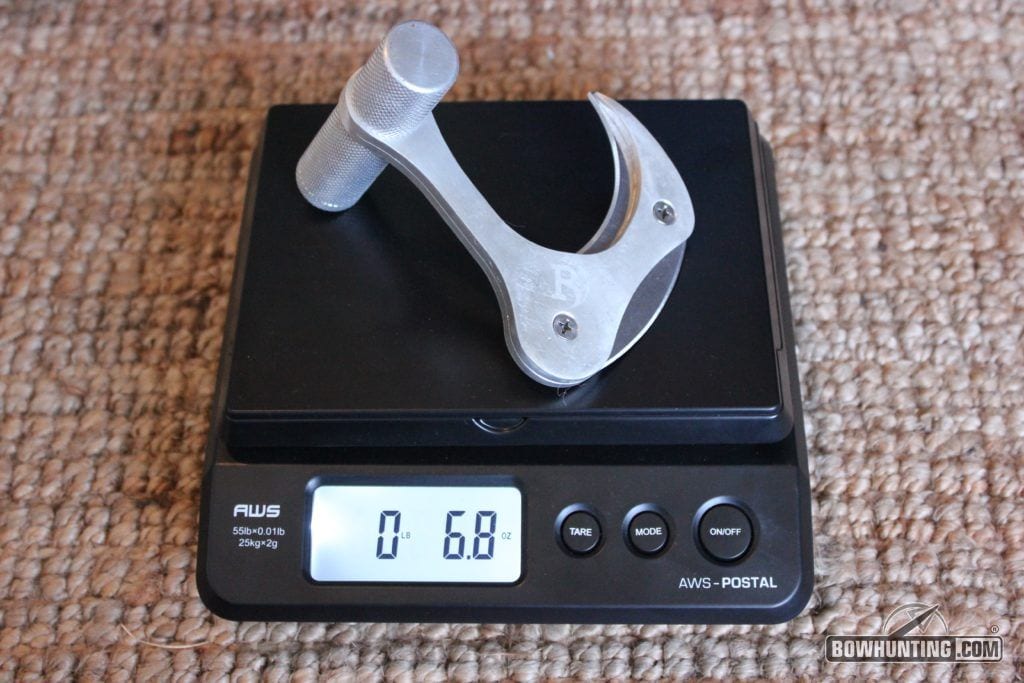
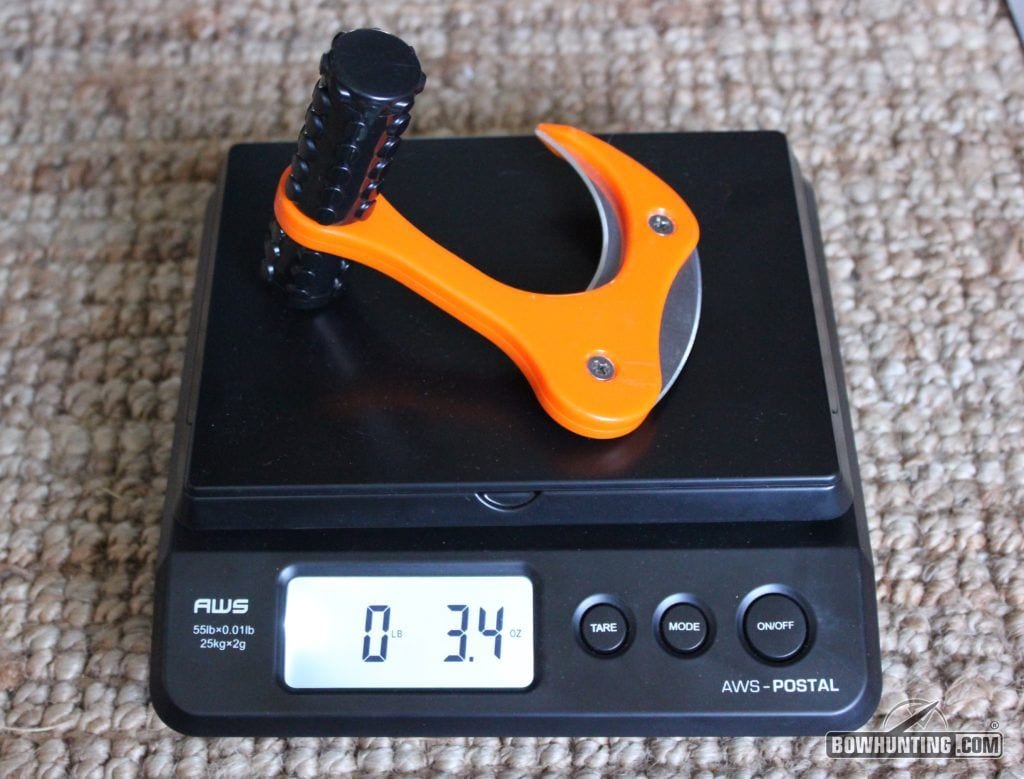
The aluminum BGS on the scale weighed in at 6.8 oz and the plastic model weighed exactly half of that at 3.4 oz.
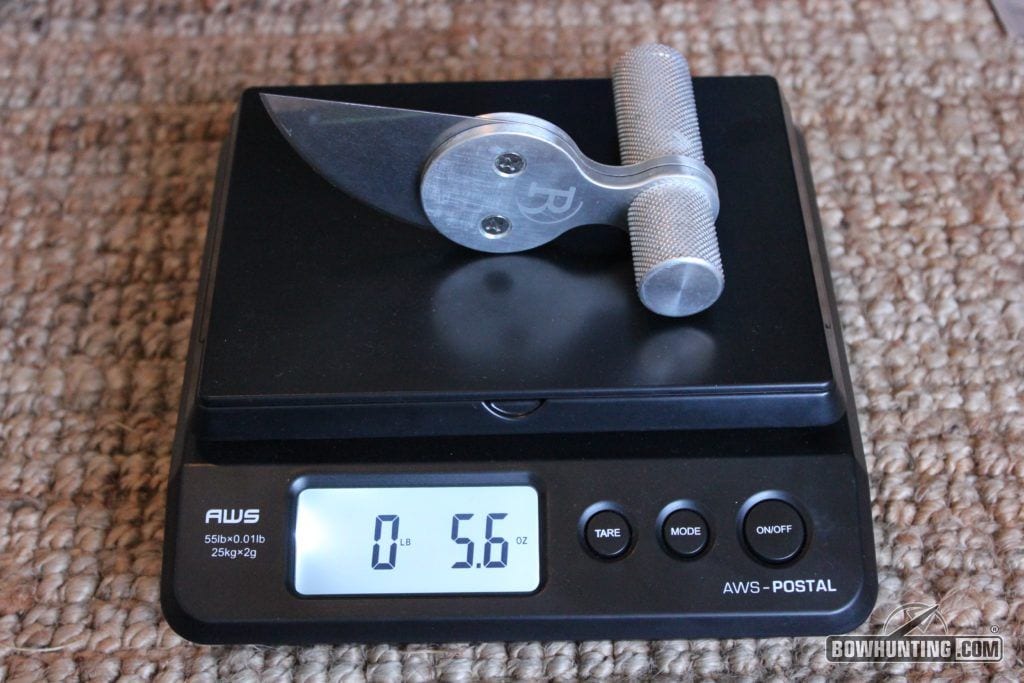
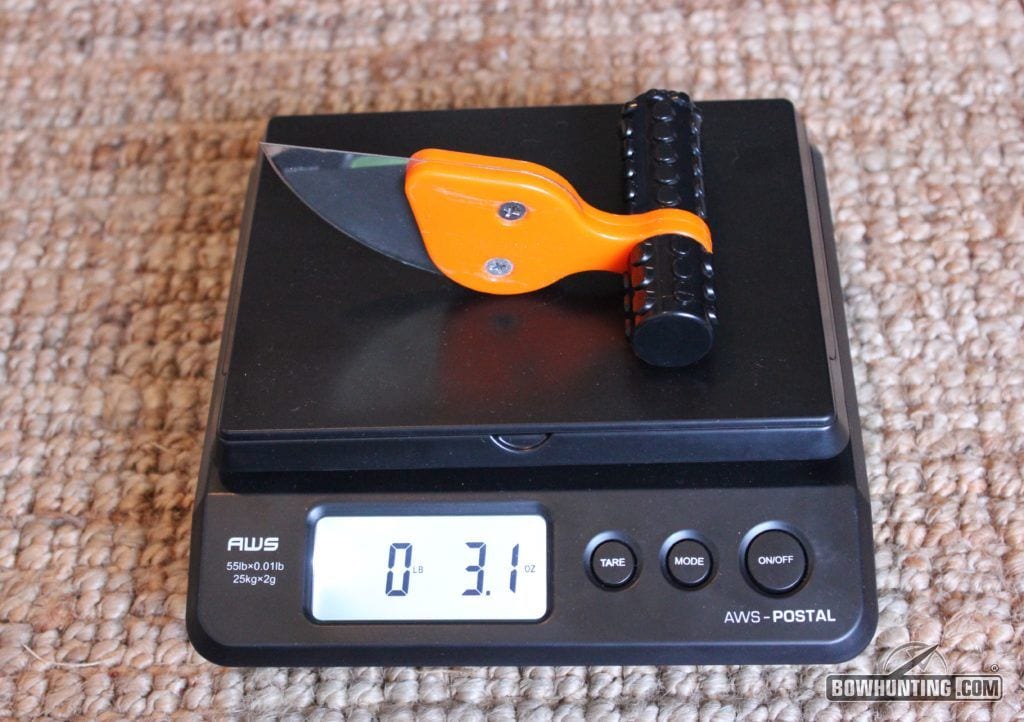
The aluminum MAKO on the scale weighed in at 5.6 oz and the plastic at 3.1 oz.
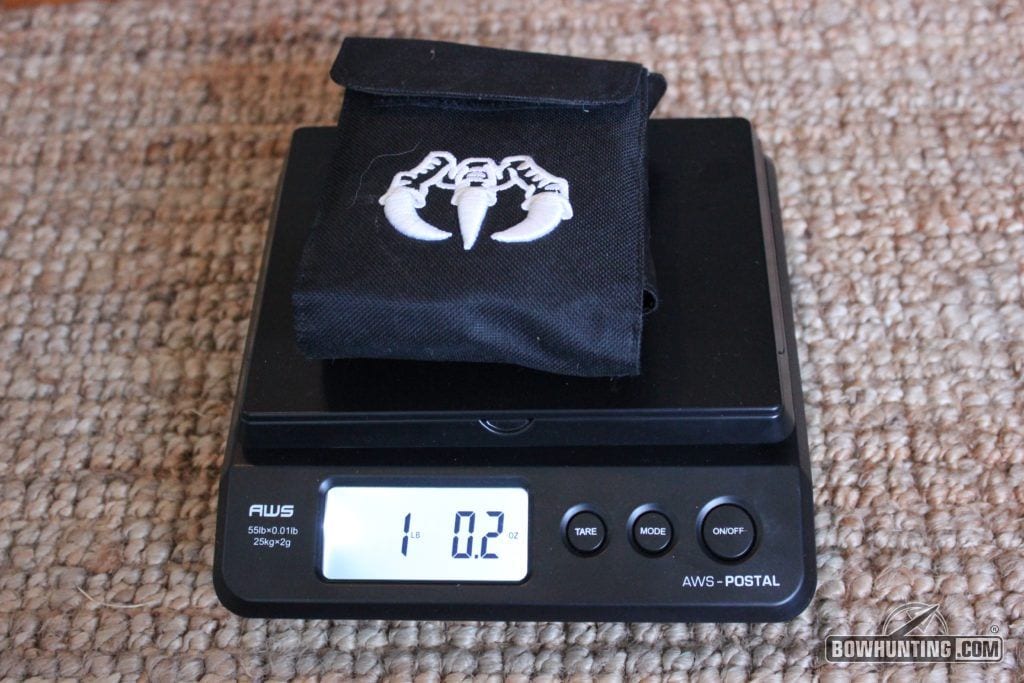
A fully packed pouch with Aluminum BGS and MAKO weighs in at just over 1 pound.
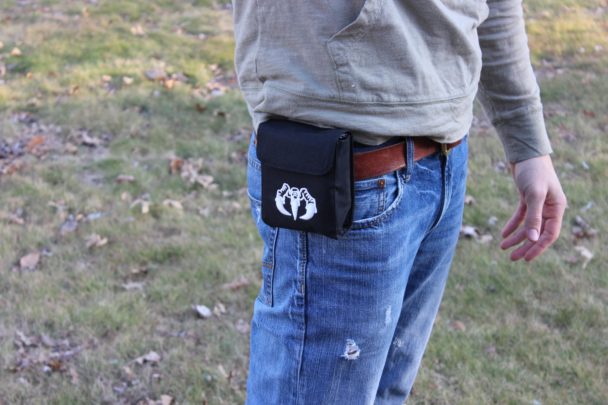
Unlike a traditional knife, the handle of the RaptoRazor would stick out and wouldn’t make for a smooth packable item. But, because of its ability to be broken down into pieces, this greatly improves its packability. The carrying pouch works great and can fit both the BGS and the MAKO at the same time. It can be thrown into a pack or can even be strapped onto a belt loop.
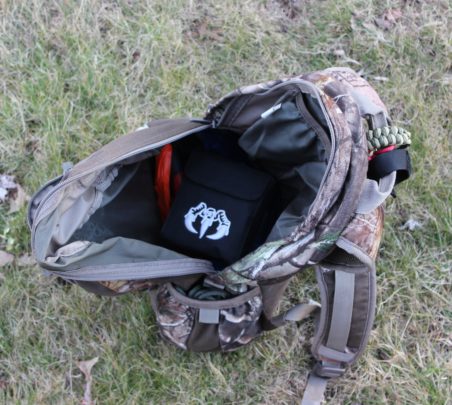
I chose to throw mine into my pack this season.
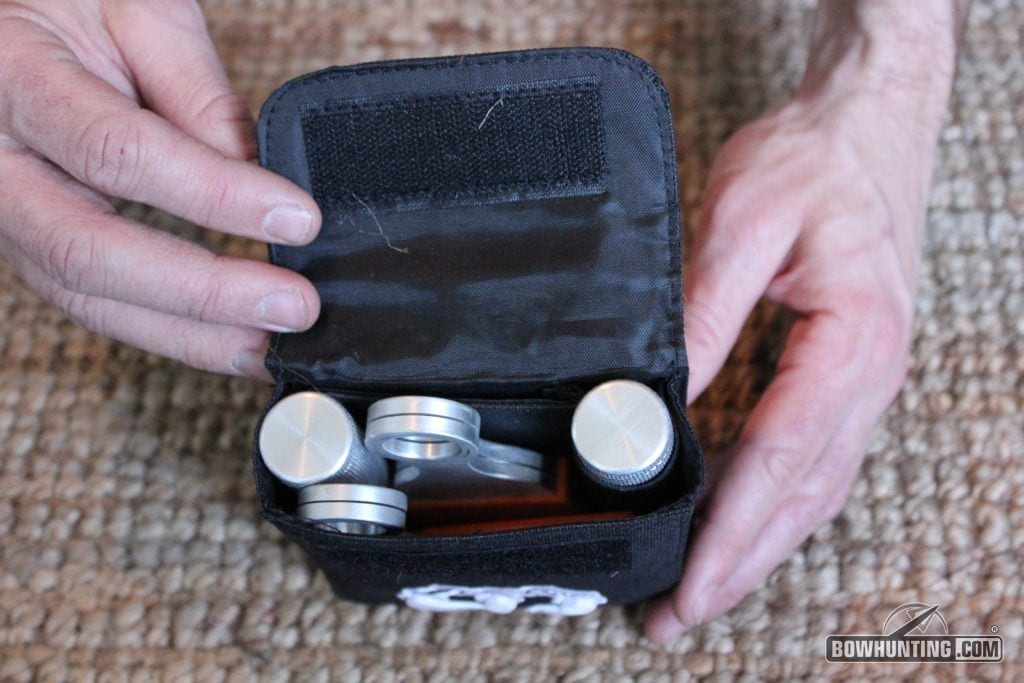
The pouch has compartments inside to segregate the handle, housing, and blades.
I definitely recommend either removing the blades and storing back in them vacuum pouch or keeping the blade covers on these knives even in the pouch whenever not in use, because they are extremely sharp.
GENERAL USE OVERVIEW
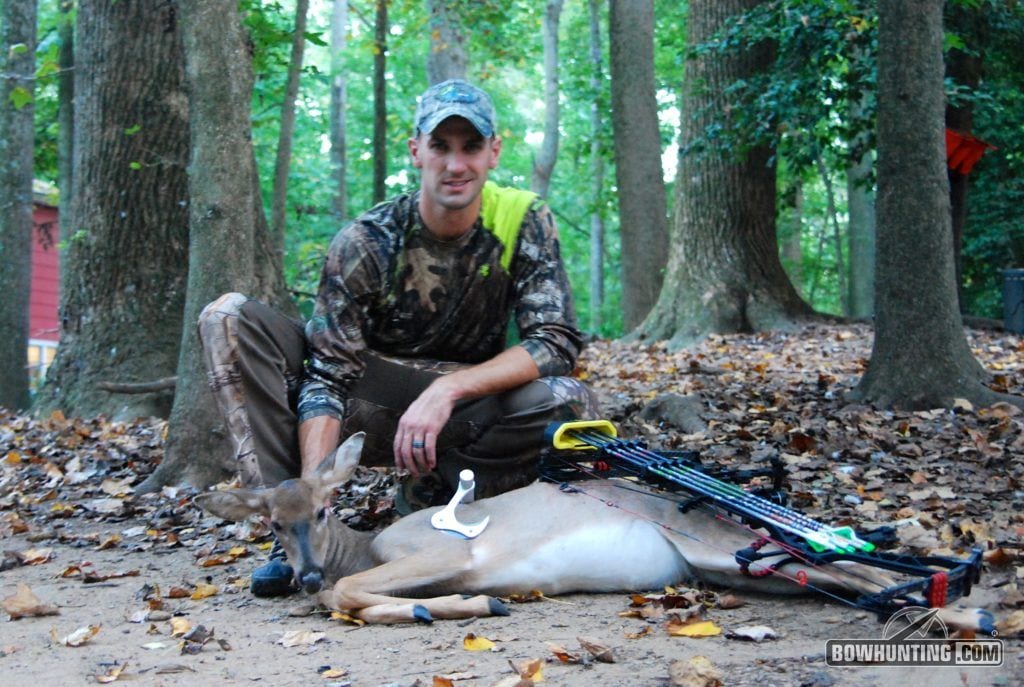
Here is a young doe I shot in September 2015 which was the first deer I tested the RaptoRazor knives on.
Using the RaptoRazor knives for the first time was not as challenging as I thought it would be. Because this was the first time I used the gutless skinning method on an animal, I had to teach myself the cuts before I tried it. There are many resources on the web to learn the gutless skinning method including numerous YouTube videos by RaptoRazor on how to use these knives specifically. If you have done it before, then you’re a pro and you can skip through this section. But, if you haven’t tried this skinning method before, I highly suggest you try it whether you use a RaptoRazor or not. There are a couple really nice advantages which include:
- Not having to get messy and remove the internal organs
- Ability to remove the meat faster and reduce the potential of spoilage
- Enables animal pack out much much easier
- Find your deer the next morning, skin and quarter it in the field, put the meat in a cooler on ice and still make it to work before 0830. This actually happened.
The overall concept of the gutless skinning method is that the animal can be quartered at the place of kill and the meat removed without ever having to move the carcass itself. For larger game such as elk, moose, or bear this method is basically a must. As primarily a white tailed deer hunter myself, I have always gutted my deer, hauled them out, hooked them up to a gambrel, and then quartered the animal. For a while before that, I would take my deer to a butcher shop. There isn’t anything wrong with that but as I became a better bow hunter and killed more deer, I came to enjoy the ruggedness of doing it myself. And I can’t tell you how much my family loves it when I turn our kitchen into my seasonal butcher shop.
If you haven’t ever used this method, I’ll walk you through a brief overview of how I did it using the RaptoRazor knives. And, since I taught myself and did this less than 6 months ago, you should be able to relate. There are folks online that are quartering up a deer in 20-25 minutes with these knives in the field. It took me 45-55 the first time.
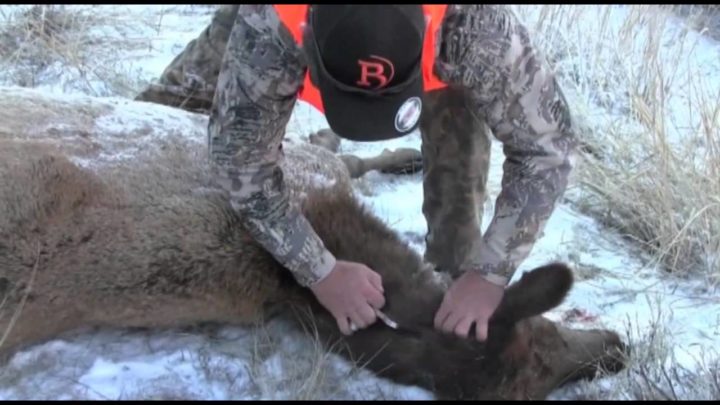
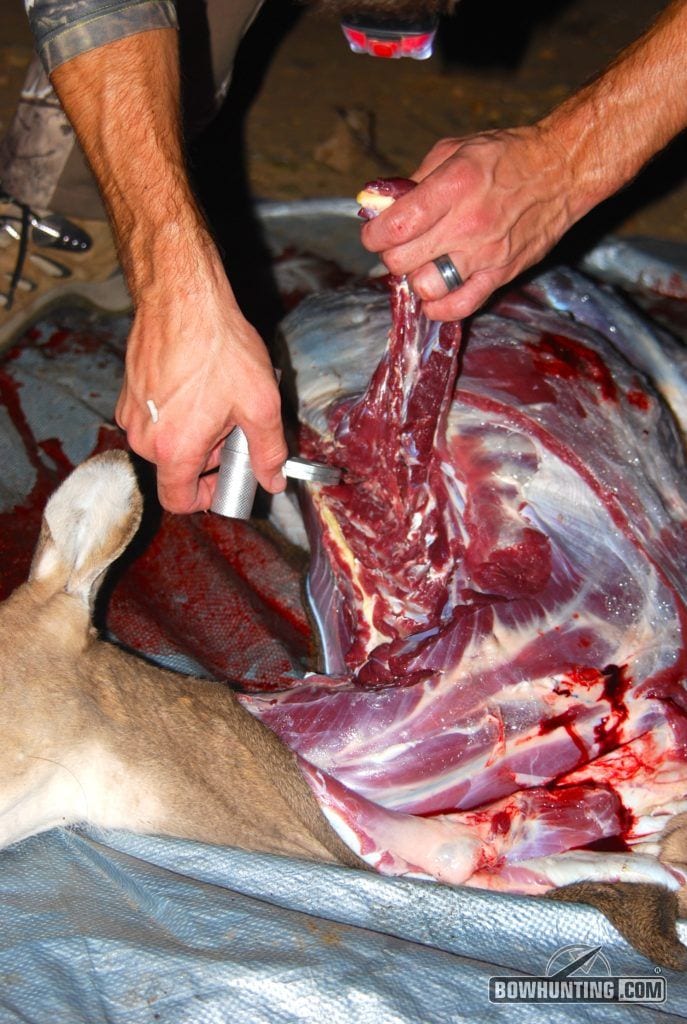
With the animal lying on its side, make an incision where the tailbone meets the spine with the MAKO. Then slide the BGS under the hide and run it up the spine to the base of the skull. This can also be done in the reverse direction as in the above picture.
I borrowed this photo above from raptorazor.com to show you a good angle of how the BGS should be inserted under the hide and run down the spine to make the initial cut because I didn’t have a good angle shot of this that I liked to show you.
I was incredibly surprised how easy the BGS sliced the hide and hair. In the picture below you can see how clean the cut is that I made along the spine. The tip of the BGS is actually not sharp, but once inside the hide the blade rips right through. Same concept of how a gut hook works but along the spine and very smooth.
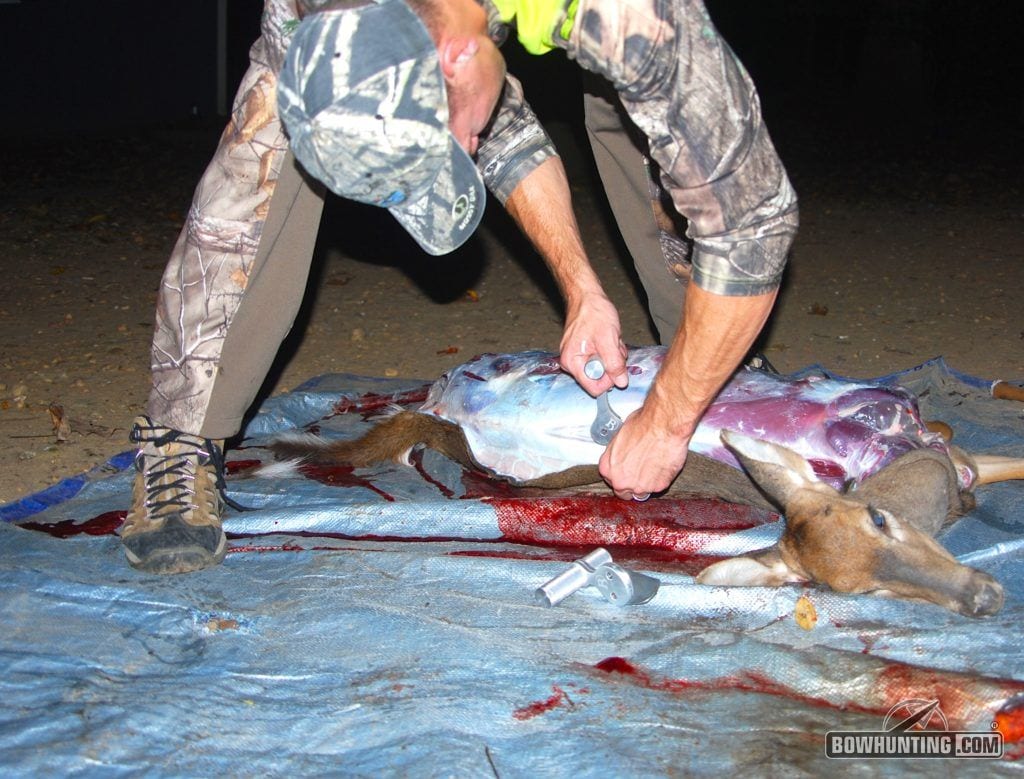
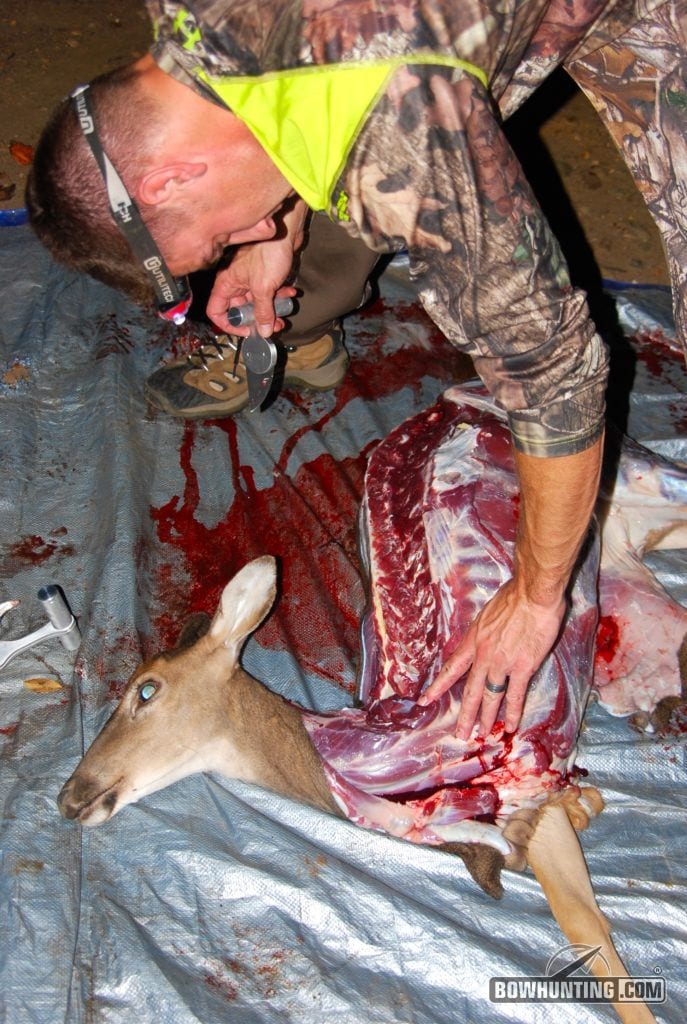
Using the outside blade of the BGS, start skinning the hide back to remove it from the carcass. Open up the hide enough the give you access to the back-strap that runs down the spine.
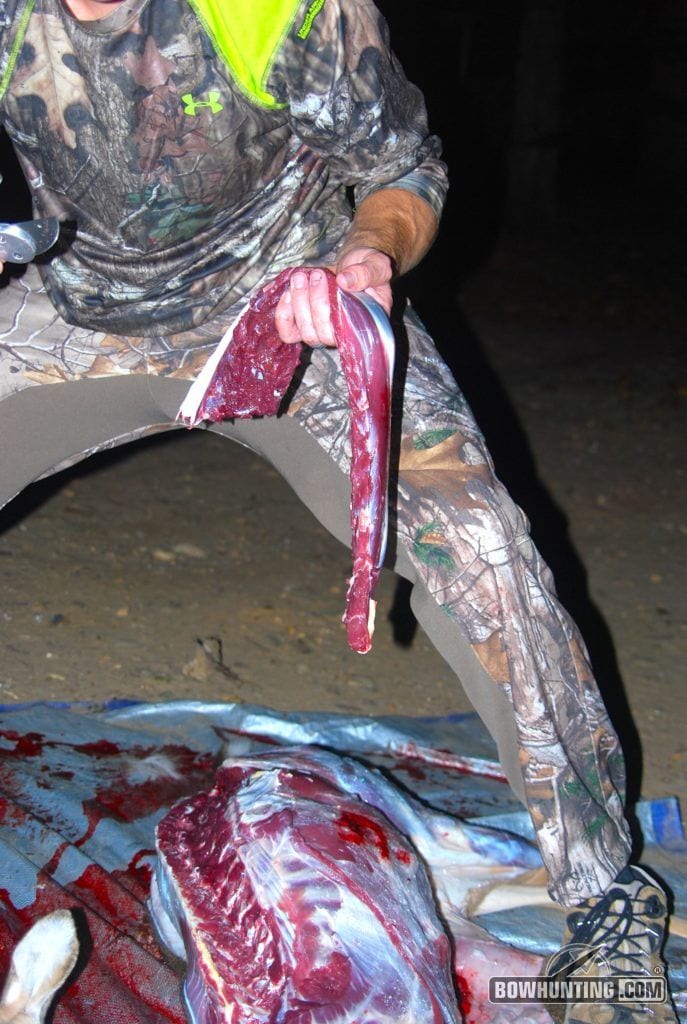
With the MAKO, you can accurately use the knife for angled cuts and remove the top side back-strap nicely. Around where the end of the backstrap is on the animal, you will find a series of short ribs. Placing a careful incision under those short ribs and by making sure you don’t puncture the stomach pouch, you can remove one tenderloin. When using this method, DON’T FORGET THE TENDERLOINS. Yes, I did it.
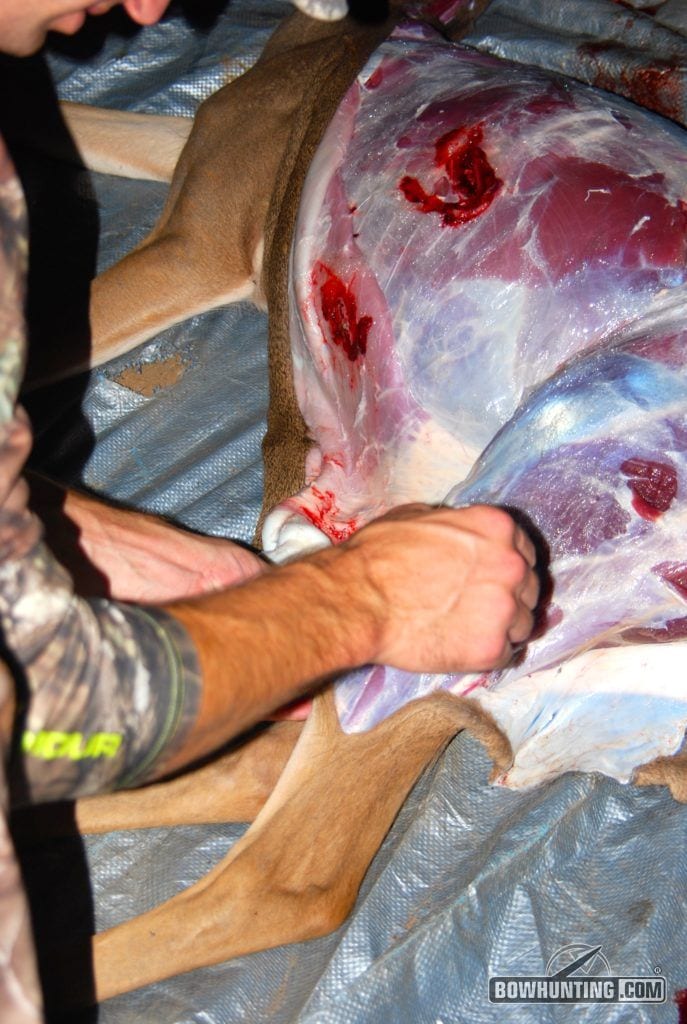
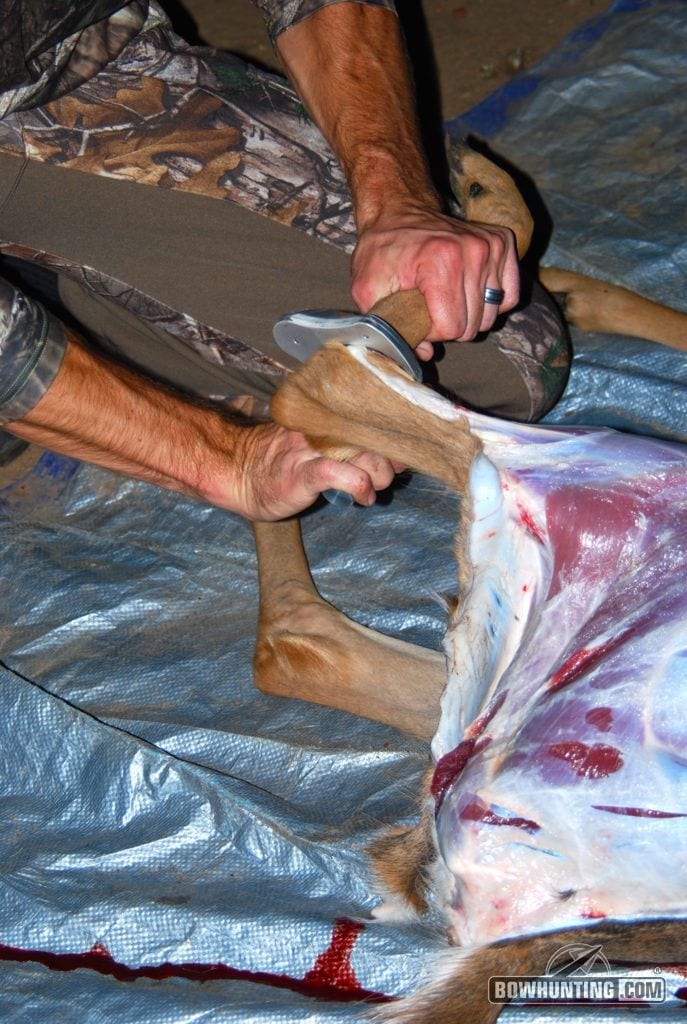
Then with the BGS again you run the knife down the top of both legs making an incision in the hide down to the knee knuckle joints. Then use the outside blade to skin the remaining hide off of the front leg and the rear.

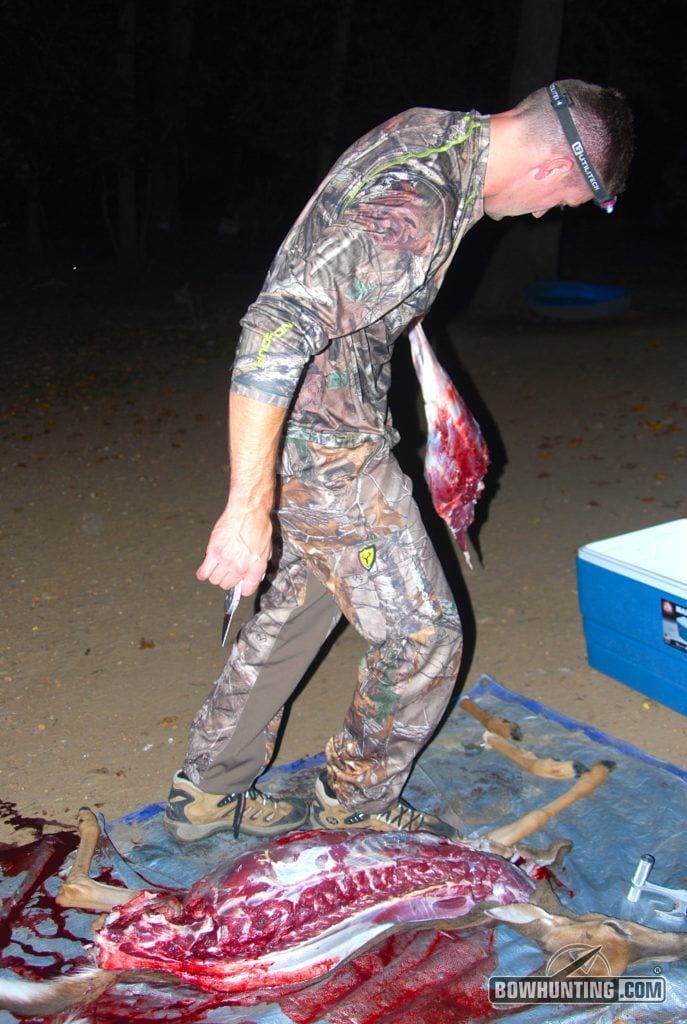
When the hide is removed from the meat of the front leg, pick up the leg and use the MAKO or outside blade of the BGS to remove the connecting shoulder muscle from the rib cage. This leg will come off very easy.
Do the same for the rear leg, but you will have to carve around the hip bone with the MAKO. The best way to learn this, is to do what Nike said and “just do it”. Over time you will learn where the cuts are, but basically just slowly work your way down the spine and into the leg cavity until you can pull one hind quarter free.
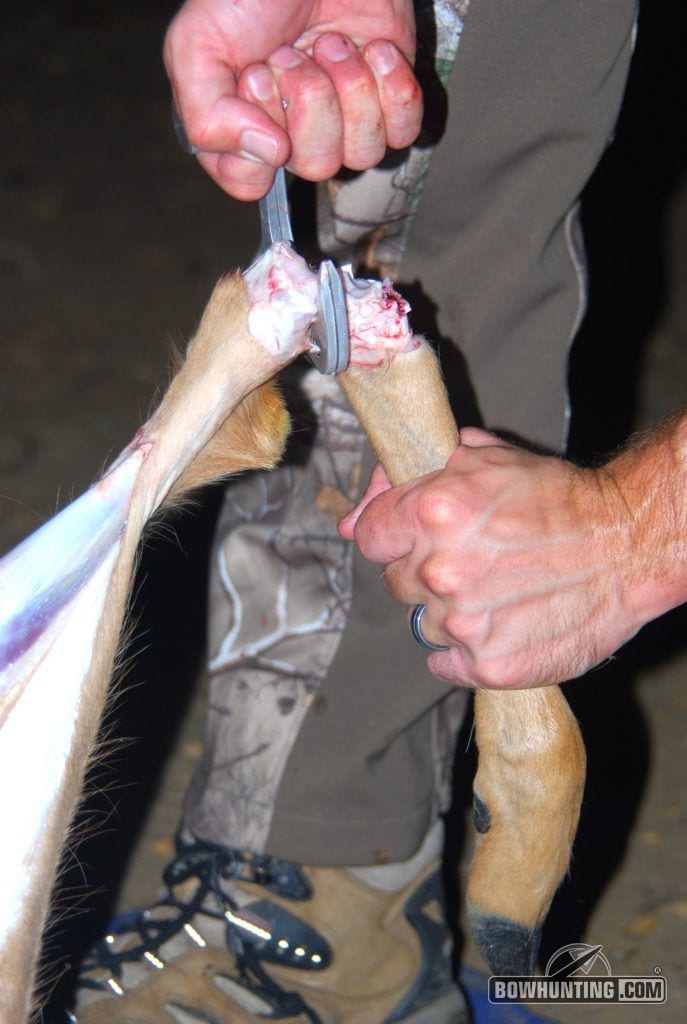
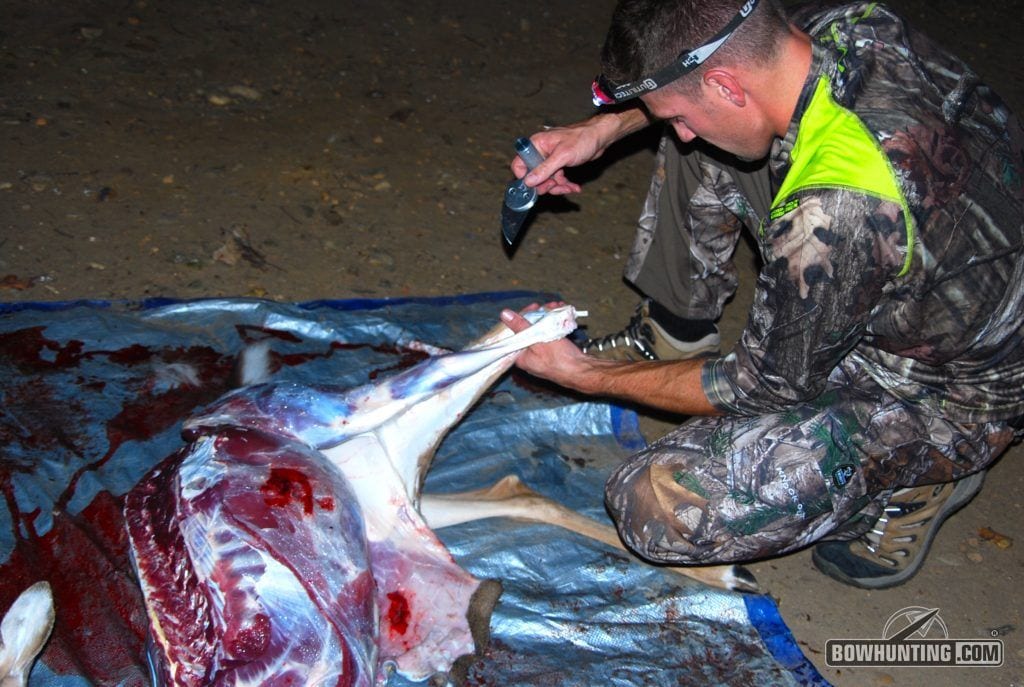
The BGS has another unique feature not found anywhere else, and that is the ability to spin the knife 360 degrees around the knuckle joint slicing the tendons that hold the bones together. This feature allows you to remove the unneeded lower part of the leg from the quartered meat. It does help to have another person hold the lower leg while you rotate the knife around.
At this stage, the MAKO can be used to remove neck meat, any other rib meat desired, or anything you missed. Once all the meat is removed from one side, roll the animal on its other side and repeat!
I used the RaptoRazor knives on 3 separate deer during the 2015 season. None of which did I want to cape for a taxidermist. If I did, I would have made the cape cut down around the belly from my initial cut up the spine and my front leg cuts down towards the rear of the front leg where the hide changes from brown to white on a deer. This will allow your taxidermist to sew up the cape where needed.
DURABILITY
RaptoRazor’s guidance indicates that blades can be used for multiple animals. They offer that it be used up to 4 to 5 animals. I found that after two medium sized white tailed deer, it was time for me to replace the blades.
Being a novice with the knife and gutless method cuts, I admit that I probably dulled it faster than I should have.
Special recommendation below from RaptoRazor website.
*Raptorazor knives are not recommended for dishwasher cleaning as some detergents cause discoloration to the finish of the product. All housings are made out of aluminum and are considered a soft metal. Therefore all housings will have imperfections to some degree. You will also find scratches in the clear plastic guards. This in no way affects the performance. This tool is guaranteed not to break.
Durability wise, because the aluminum is a soft metal, don’t be surprised if it gets marked and scratched, but I wouldn’t have concerns about it lasting a long time. Obviously proper care should be taken to not leave moisture in the handle threads or store the knife wet they will rust over time. The injection molded plastic models feel sturdy and although I did not actually use them on an animal, I don’t doubt their performance ability. As far as how long the plastic will last, probably over 1 million years, and that’s why we recycle.
Both the aluminum handle and the molded plastic handle were overall comfortable to grip. I had no problems with my hands slipping while using the aluminum knives even when bloody.
Everyone knows that a good knife is only as good as the sharpness of its blade. I don’t think having a replaceable blade is anything to slight at. It is super effective.
The RaptoRazor allows you to use wrist action to make cuts and I really liked how smoothly the outer blade skinned the hide back. I never felt at risk of cutting my fingers with the outer blade. I might add that I felt like wolverine a few times though.
I did not try to use the MAKO to actually butcher the meat. I wish I would have tried to because some folks are actually removing the t-bar handle and using it like a fixed blade knife to de-bone. Also, now available from RaptoRazor is a five inch replacement MAKO blade instead of the three inch blade that comes with it.
The only thing that I noticed that slightly bothered me was when I was really digging in on the 360 spin cut to separate the leg at the joint the metal housing became a little uncomfortable between my fingers. Some of that may have been due to the fact that I didn’t have experience making that cut or maybe I need meatier hands. It might be nice to have a rubberized area along the back portion to alleviate hand fatigue over time.
RECOMENDATIONS
Comparing this knife to similar skinning knives in the market is difficult because there are a lot of factors here to consider. I could break it down by all the unique options such as T-handle design or traditional, replaceable blades or fixed, plastic or metallic, foldable vs fixed, but instead let’s keep the main thing, the main thing…field skinning animals.
Other comparable “skinning” knives in this market would include:

Havalon Piranta Edge ($46.99) – (2.9 oz) (2 ¾”blade) (7 ¼” overall) (folding) (replaceable blades)
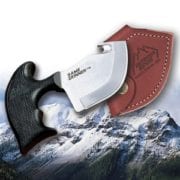
Outdoor edge – Game Skinner GS-100 ($79.99) – (8.5 oz) (3” blade) (5 ½” overall) (fixed blade) (t-handle)
Gerber – Vital Skin and Gut Fixed Blade ($22.00) – (4.6 oz) (2.8” blade) (5.5” overall) (fixed blade) (t-handle)
SUMMARY
Depending on your needs, this knife could be an awesome new addition to your gear. There are a lot of factors here to consider what your needs are. If you are hunting in a very remote area and need to get your animal quartered and out of the field as quickly and efficiently as possible, this is probably a great knife set for you. If you are more of a traditionalist and enjoy hand crafted knives and sense of ruggedness that comes from doing it all with a blade forged from raw steel, this probably isn’t your cup of tea.
I like the versatility that this knife provides especially if traveling out of state to hunt or in a pinch where you don’t have access to your butchering facilities. Also, it’s an extremely fast way to remove the back-straps from a road kill deer. *Not legal in all 50 states, but just saying.
Some alternative uses for the BGS knife include cutting boat of fishing line, cutting / gutting fish, using as a hook tool / hoist. There is actually a ridiculously impressive test by the company owner below of the Aluminum RaptoRazor being used to hoist a 660lb Artic Cat ATV.
Here are the additional blades that are available from RaptoRazor for both of these knives. For the Big Game Skinner (BGS) there is a:
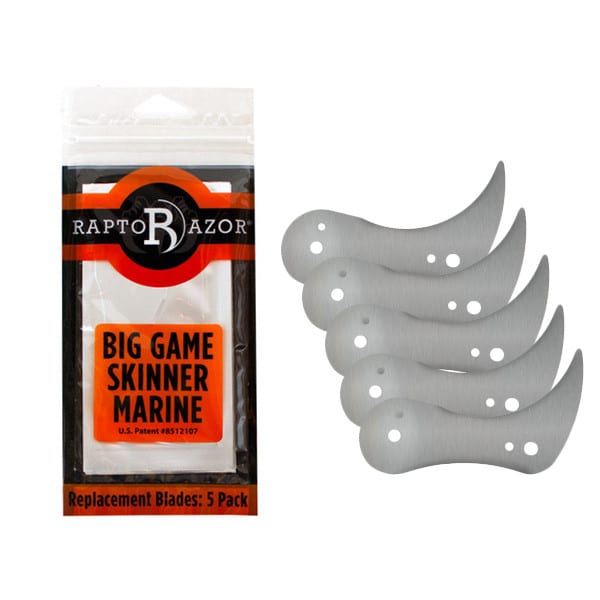
Marine Safety blade which only has the inside blade and not the outside skinner which can be used to cut rope, fishing line, seat belts etc. ($24.99 for 5)
For the MAKO there are:
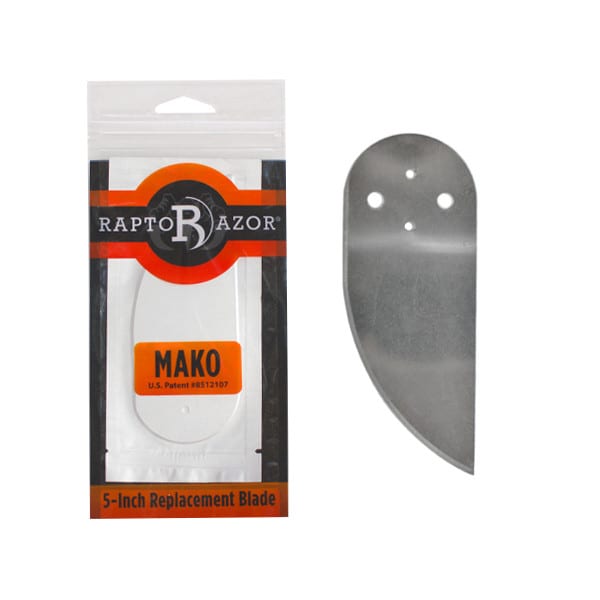
The 5 inch replacement blade ($7.49 for 1)
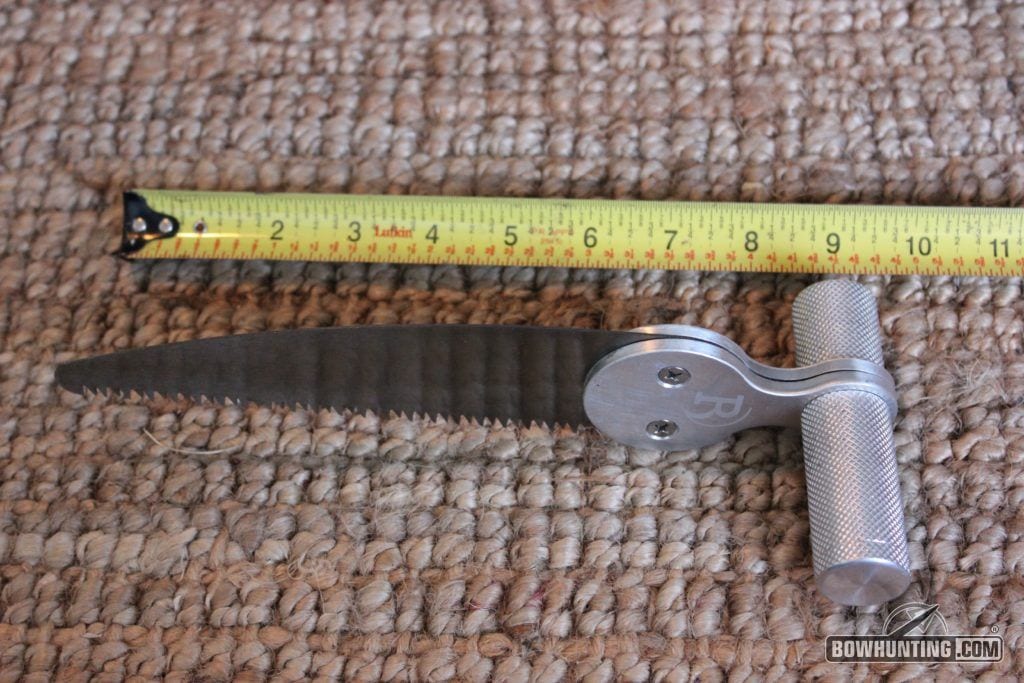
The 7 inch saw blade that cuts wood, plastic, and bone. ($9.99 for 1)
Expect to be surprised by how easily the BGS cuts through the animal’s hide. You’ll soon be anxious to break out this knife and show your friends how amazingly easy it is to field skin an animal.
Considering all the factors and options, I don’t think you will go wrong having this knife kit as your go to. Not only does it look pretty mean, but it gets the job done with ease. Over the years I have become okay with people raising eyebrows at me for trying new things and experimenting with new gear. To each his own, but as a bowhunter, I do what works for me. I think this tool is worth the money. If I was on a budget but wanted the functionality, I would go with the injection molded BGS for $34.99 and back it up with a knife I already owned instead of spending the extra money on the MAKO. However, if budget wasn’t a factor, I’d go straight to the top for the clean looking powder coated combo kit.