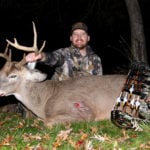
Doing your own custom bow build can be pretty scary if you’ve never done it before. In this video, as well as the article accompanying it, we’ll cover what tools you need and how to replace & install everything to set up your new compound bow.
If you don’t want to read through step by step, you can check out our step-by-step bow build in the video below:
What You Need
To replace and install everything on your bow, there are a number of tools that you’ll need. And just a disclaimer – if you don’t feel comfortable doing this, or are worried about messing up your new bow, take it to your local shop. It’s always better to be safe than sorry, especially with a bow that you’ve invested a lot of money and time into.
Here’s the full list of tools that you’ll need to set up your own compound bow:
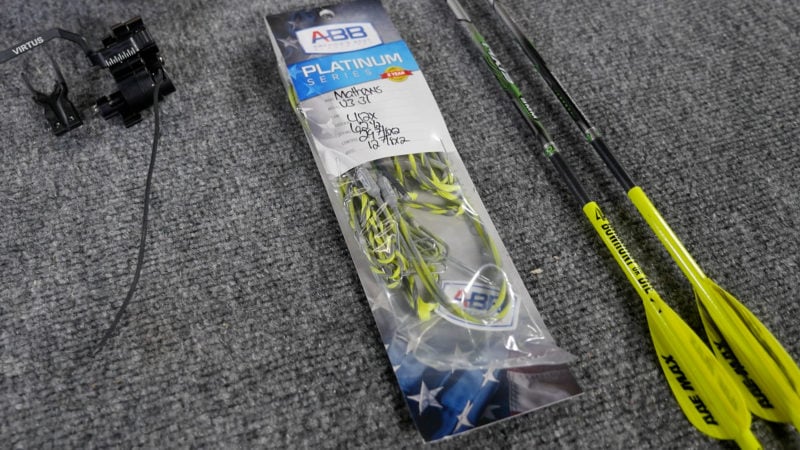
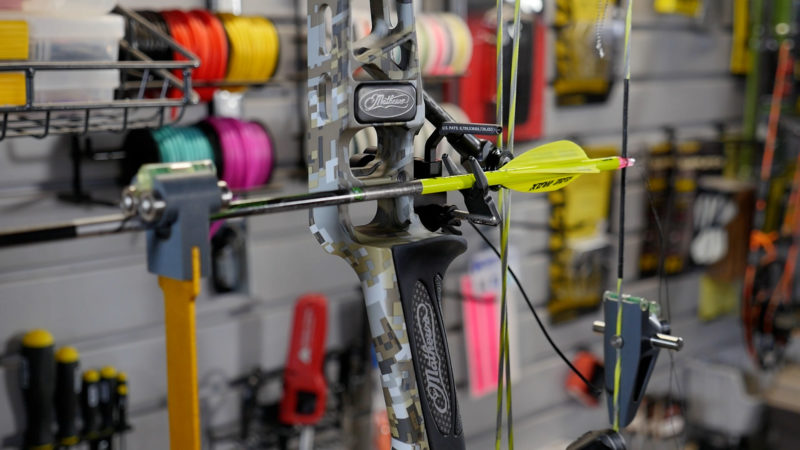
A good set of custom strings & cables from ABB not only looks great, but will also last longer than any stock string and cables.
There’s no doubt that the stock string and cables that come with a new bow can get the job done. But with all the wear and tear that our bows go through during the summer practice sessions, and the long hunting season, we want the best string possible.
We’ve been using ABB bowstrings for a few years now and have yet to have any issues. With all the technology, research, and testing that’s gone into their Platinum Series strings, this is a bowstring that can last 5+ years with ease. And when it comes to removing and replace the string and cables, it may seem daunting at first, but it’s relatively simple as long as you have the right tools.
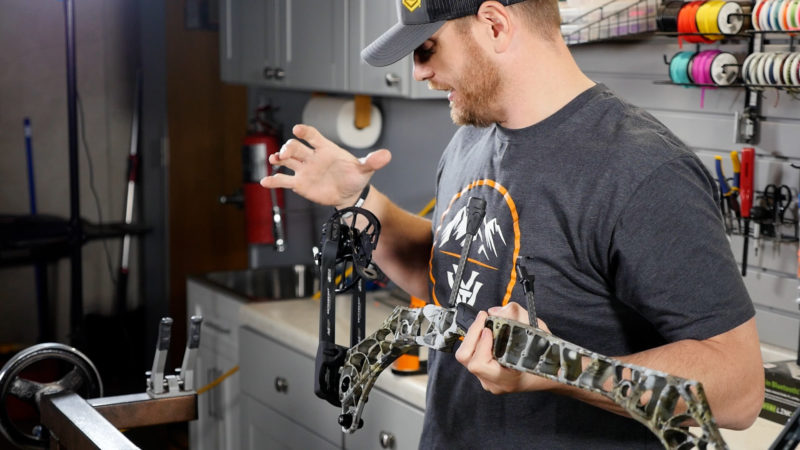
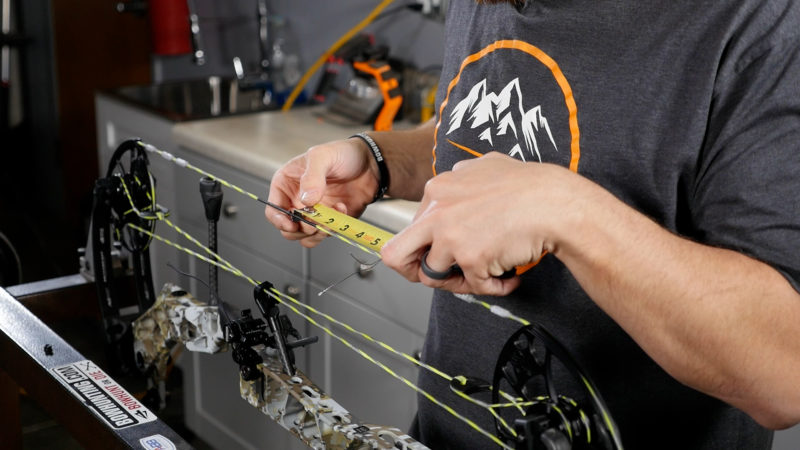
The first step is to get your bow into a bow press, and relieve some of the tension that’s on the strings. With the yoke system that the V3 has, we needed to remove the string and cables, then de-press the bow all the way out.
If this is one of the first times you’re doing this, we’d suggest taking pictures of your string and cables. Especially at the roller guard and around your cams, just to make sure that you put everything back into the right spots once you’re all set.
Another tip to keep in mind is to hold onto the stock string and cables, just in case an accident occurs sometime down the road. You don’t want to be halfway through the season and run into an issue with your bow that requires the string to be replaced, thus leaving you unable to hunt for several days or weeks.
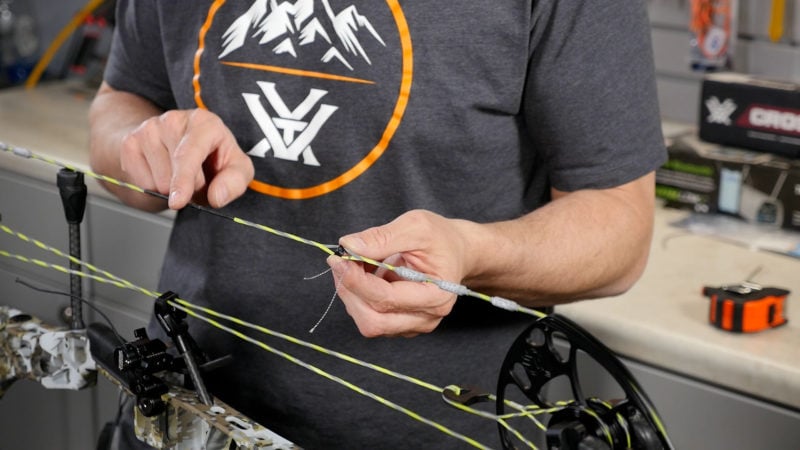
After removing the string & cables, you should be left with just the yoke cables on your bow.
In order to switch out the yoke cables on your bow, you have to de-press the bow all the way out and take it out of the press. Once that’s done, it’s time to move over to a counter top to remove the cams from the limbs. The easiest way to remove a cam is to undo one of the allen screws, and gently tap out the axle from that side, instead of removing both allen screws.
After you tap out the axles, you can swap out the yoke cables for the new ones. Then you just need to put the cams back onto the bow and put it back into the press to start getting the new string and cables onto it.
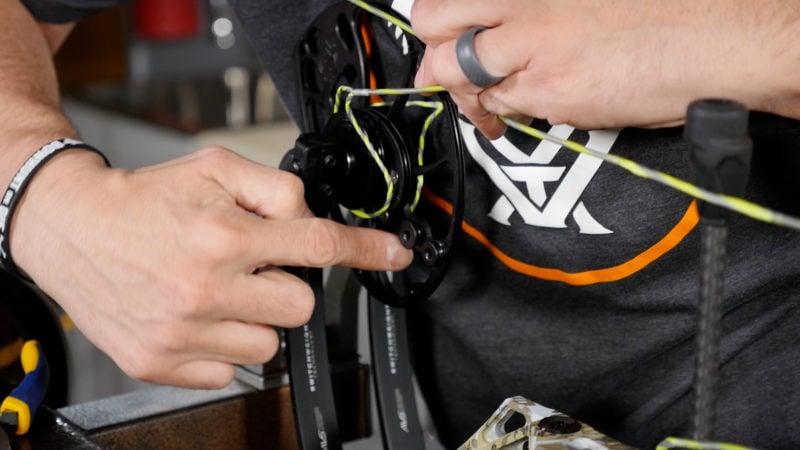
Before taking all the tension off of the limbs, make sure to reference your previous pictures and watch the string and cables to make sure everything is going back into the correct spots. Luckily with a lot of the recent bows, both cables are the same length and you don’t need to worry about which is the top or bottom.
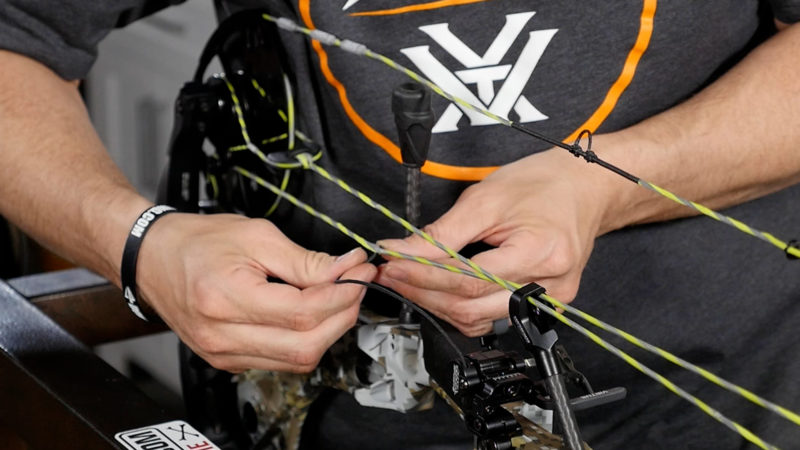
Double check your cams to make sure everything is going back into the right position.
Just like that, with a little help from a bow press and some allen keys, you’ve got your custom string installed. Now that the bow has it’s new string and is removed from the bow press, it’s time to go over to your bow vise and start getting ready to install your rest.
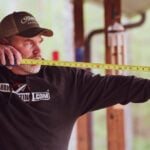
Step 2 - Installing The Rest & Finding Your Center Shot
Finding your "center shot" is essential if you want to minimize tuning time after the bow is built.
After your string is installed, put your bow in a vise and get everything perfectly level. Once your leveled off, mount your rest to the riser of the bow. Every bow manufacturer uses the same size hole for the rest, so you don’t need to worry about it fitting or not.
Once your rest is securely mounted to the riser, we need to see if there are any horizontal adjustments we need to make to the rest. For quite a while now, just about every Mathews bow has the center shot at the same distance about 13/16″ from the riser. So we’re going to start there and grab an arrow to see if we need to make any other adjustments.
With the Van Handle arrow level we have, it comes with a screw-in peg that mounts on to where your stabilizer will go. We’re able to use the arrow tool to figure out if there are any other horizontal, or x-axis, adjustments that are needed.
Once the x-axis is set, we’re going to level out the arrow and see where it’s sitting. When you have the arrow sitting level, take a look at the hole where your rest is mounted, as the arrow should fun directly through the middle of that hole. It’s often called the “Berger Hole” and is the exact middle of the bows riser.
You’ll want to get your arrow as close to level as you can while running through the middle of the Berger Hole. So if it’s sitting below that hole when level, you should adjust your rest until it’s perfect. You can even leave the arrow slightly nock high if you are using a drop-away rest.
Adjust your rest until your leveled arrow lines up with both the Berger Hole and the stabilizer mount.
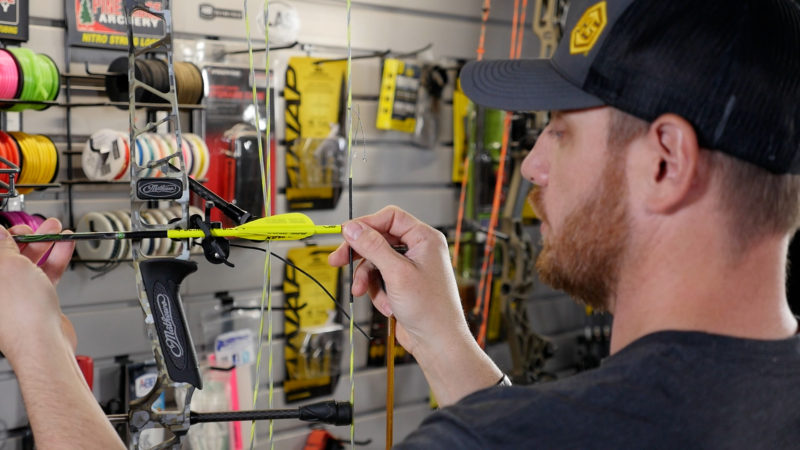
After you get your arrow level and lined up with everything, take your serving material and tie a nock set above the nock. You can tie it in a few different ways, there really is no wrong knot as long as there’s no nock pinch occurring. Best practice is to tie in 2-4 knots max as there’s no need to tie any more than that.
Once you’ve got the top nock set tied in, move to the bottom but make sure that you’re using whatever nock you’re planning to hunt with. There’s nothing worse than getting your nock sets and D-Loop tied in, only to realize that your lighted nocks that you’ll hunt with are slightly bigger than your regular nocks. So keep that in mind when tying the nock sets!
After your nock sets are in, you can simply burn off the loose ends to keep it tight in place. Always keep the flame away from the rest of your string. So if needed, put the bow back into the bow press so that the flame goes up away from your string. A burnt or melted string will without a doubt ruin your day and cost you the price of a new string.
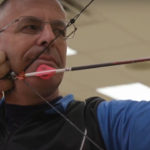
Step 3 - Install The Peep Sight & Tie The D-Loop
Use the distance between peep sight and string loop on your old bow as a reference for setting up your new bow.
Now that the nock sets are in and you’ve got the center shot, it’s time to get the peep sight set. If you’re thinking, “Why didn’t they tie on a D-Loop after tying the nock sets?” Then you’re not alone. We actually almost starting to tie on the D-Loop before realizing that it can be a time consuming mistake if you set it before putting the peep sight in.
So put your bow back into the press and take a little tension off the string. If you’re lucky enough to have another bow laying around with the same or similar axle-to-axle length, you can measure the distance from D-Loop to the peep sight to get an idea of where it will be. But every string manufacturer will have a small piece of serving tied on so that you can put the peep in properly.
When installing a peep sight, it’s possible that the proper spot it sits may leave the peep sight facing the wrong direction. You can fix this by putting in or taking out twists of the string. And once you’ve got the peep sight set, don’t tie it in right away, but move on to the D-Loop.
Tying in a D-Loop is a pretty easy thing to do, and there’s hundreds of videos and articles that can show you how to do it, like this one – www.bowhunting.com/blog/tie-d-loop/
Now that the D-Loop is tied, don’t worry if you end up needing to re-tie it at some point. We’ll usually go through a few D-Loops before getting the exact right spot and size.
After installing the D-Loop and tightening it down, mount your sight to the riser. Once your sight is mounted, you can draw your bow to check the peep sight alignment. You may need to move your peep sight up or down a little bit, and if that is needed, you may eventually need to add or remove another twist out of your string so the peep sight stays in-line.
Don't tie in your peep sight completely, until you know it's in the right spot.
After you check the peep sight and set it in the right spot, you can now tie in your peep sight. Just like a D-Loop and nock sets, tying in a peep sight can be done in a multitude of ways. Check out this video from our friend PJ Reilly with Lancaster Archery, on how to tie one – www.youtube.com/watch?v=T8MXLFsjFSY
Step 4 - Setting Up A Drop-Away Rest
Forgetting to setup your drop-away rest could result in a ruined arrow.
Now that we’re almost ready to shoot the bow, we need to set up the rest. If you’ve got a static rest like a whisker biscuit, then you’re basically ready to go. But if you’ve got a drop-away rest, then there’s one last step that can’t be forgotten.
The HHA Virtus rest that we’re using, needs to be threaded between the downward pulling cable. So we need to get the bow back into the bow press and take a little tension off the string and cables. What we’ll usually do is take the D-Loop material that comes with the rest, and burn the end if you haven’t already.
Once the bow is pressed and ready, you’ll need to split the cable strings just below the serving. If you have a two colored string, this should be easy. But if your string is all one color, this might be a little harder for you.
If you have a single color bowstring, you might be better off using a clamp to keep your drop-away string in place, instead of trying to split the strings.
We will eventually tie a couple knots to make sure this stays in place, but for now let’s take the bow out of the press. The Virtus has a set screw to easily adjust the length of the string, and you should loosen that up a bit if your rest has one.
The way we set the distance on this string is by loosening up that set screw a little, and drawing the bow back. This should pull the string through past the stopper and set it at the right length. After you let your bow down, pull that string just a little bit tighter, then tighten down that set screw. Check the rest by drawing your bow back a few more times to see if the rest comes all the way into the proper position.
Once that’s done, you’re ready to shoot! Just pop a stabilizer on and start launching arrows.
Conclusion
Now that your bow is officially “built”, you’ll still want to do some tuning to make sure everything is shooting perfectly. Here are some links to various tuning methods: