fbpx

How To Grip A Bow For Better Accuracy

By Steve FloresMay 28th, 20212 Comments

When it comes to consistency, look no further than the way you place your hand on your bow. It is here that accuracy can be increased or decreased.

How To Grip A Bow For Better Accuracy

 The way one holds his hand influences many different factors in how his bow reacts to the shot, and it is the foundation of proper shooting form. Improper bow grip leads to unwanted torque during your shot.

You need to place your hand on the bow in a way that is repeatable since your hand is the first and last thing to touch the bow during the shot sequence. 

We owe it to ourselves as bowhunters to be as consistent as possible.  This article will hopefully lend you a few pointers on how to grip a bow properly.

Where To Grip The Bow

For the grip to be the most effective, the bow needs to rest on the thenar eminence, also called the pad of your thumb; which is the area to the left of the lifeline or palmar crease if you are looking at your left hand.

The reason for this is that fewer muscles are involved if you use the pad of your thumb, whereas if you fully grip the bow with your entire hand, you are crossing several muscle groups which add tension to your grip that can lead to inconsistencies in form and unwanted torque.

The bow grip should not cross the lifeline of your hand. Having too much hand on the grip and/or “gripping” the bow tightly with your hand places your forearm inline of the string, which is why people commonly hit their arm.

Electrical tape on bow hand
A small piece of tape placed on your hand can help you learn the correct location to rest your bow's grip when drawing it back.

Utilizing this hand position on the bow grip will further enforce what archers call “bone to bone” form, which means you are using the least amount of muscles.

When you add more muscles to your form, you are setting them up for fatigue during long days of hunting or a long day of shooting an archery tournament.

Utilizing the pad of your thumb as the contact point of your grip allows your bow grip to be placed in the same position each time.

Relax Your Hand

When you place your bow alongside the lifeline of your hand, you will notice that your knuckles and fingers will be sitting off to the side a slight angle to the riser.

Typically the optimum angle is roughly 45 degrees from the bow riser. Experiment with different degrees of angle on the pad of your thumb that on which the bow grip should rest to find the sweet spot that works for you.

Keep in mind that the thenar eminence must be kept as relaxed as possible through the draw and shot execution and that your thumb points towards the target.

A relaxed hand and fingers are essential to a successful grip position. If you are afraid that relaxing too much will cause you to drop the bow when you shoot, then you need to install a sling to your bow that goes around your wrist.

Like stated earlier, when you create tension in your hand, you create torque, which leads to arrows that will not fly consistent from shot to shot.

bowhunter at full draw in treestand
At full draw your knuckles should be at a 45 degree angle to the bow grip, leaving just the pad of your thumb resting on the grip itself.

One can easily practice this technique by holding your hand out in front of you (as if you were trying to make someone stop) and then simply relaxing your fingers.

You can take it one step further by doing this in front of a mirror so you can see where the proper place for your bow should be on your hand.

Steve Flores
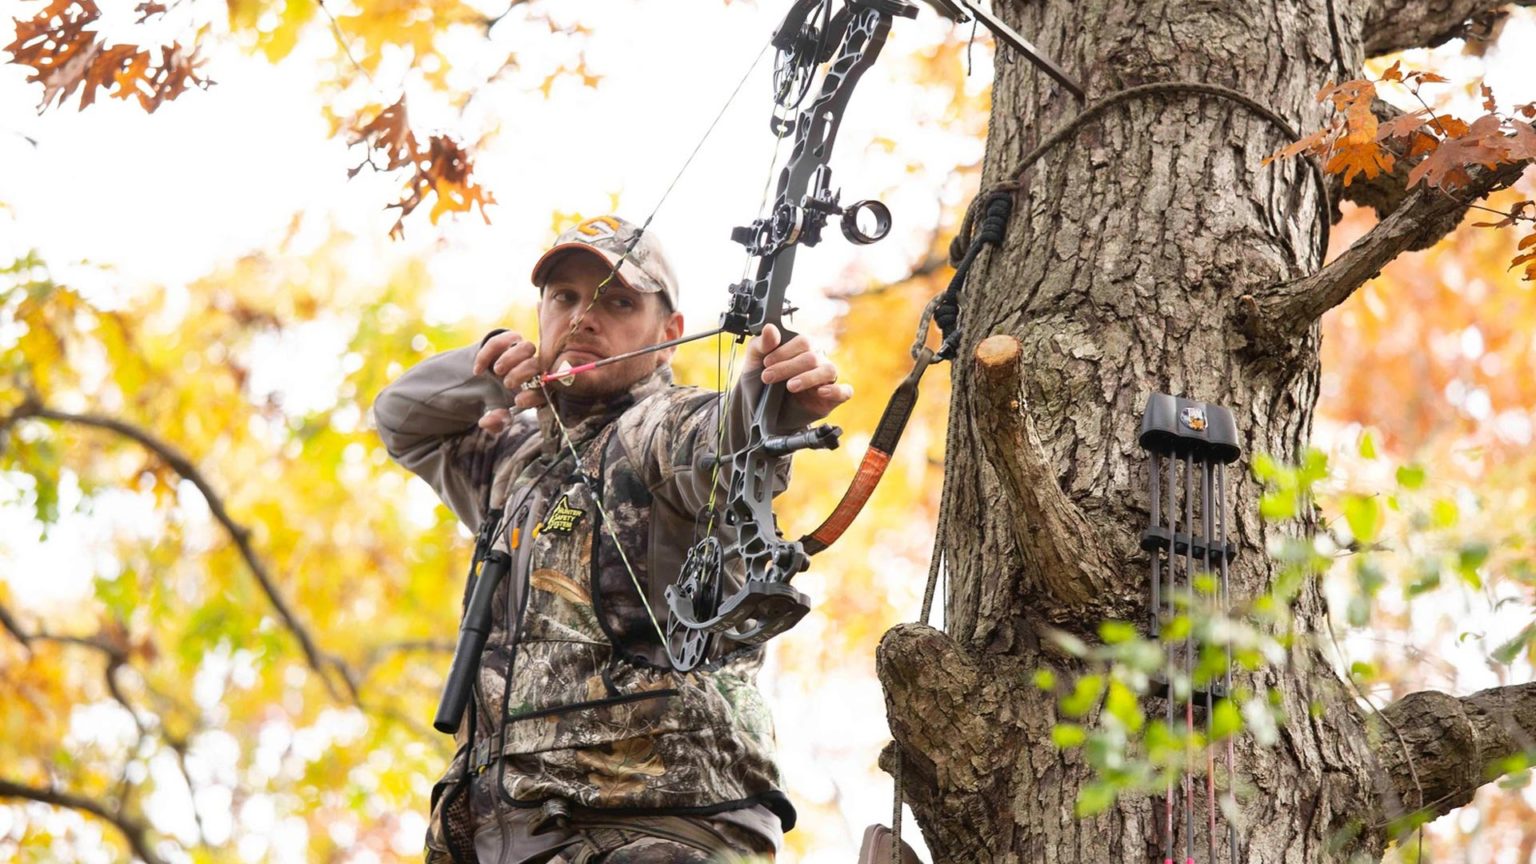
Steve Flores is a passionate hunter who enjoys chasing mountain whitetails in his native southern WV. Steve credits his love of hunting to his Dad who took the time to introduce him to what has become a life-long obsession....bowhunting for whitetail deer.
    View 2 Comments
    Post a Comment
    Login To Account

    Your email address will not be published. Required fields are marked *