Picture this: After driving 1,500 miles, the mountains are finally framed in your windshield. Fast forward to day 10 of your elk hunt, and your spirits are sapped; you’ve heard only a few distant bugles, and not one elk has entered within bow range. You’re hiking back to pack up your camp when the brush erupts 100 yards ahead as a bull pushes a cow directly your way. At 37 yards, he broadsides — it’s the opportunity you’ve dreamt about for months. But, your arrow whizzes underneath his chest, or worse, it whacks his shoulder and penetrates only an inch or two.
While operator error is often the cause of a miss or poor hit, equipment failures due to simple oversights are just as common. I don’t know about you, but after investing time, money, and effort into my hunt, a miss or poor hit had better not be due to equipment failure. Yes, equipment is manmade and can fail. But, equipment failure is avoidable in many instances.
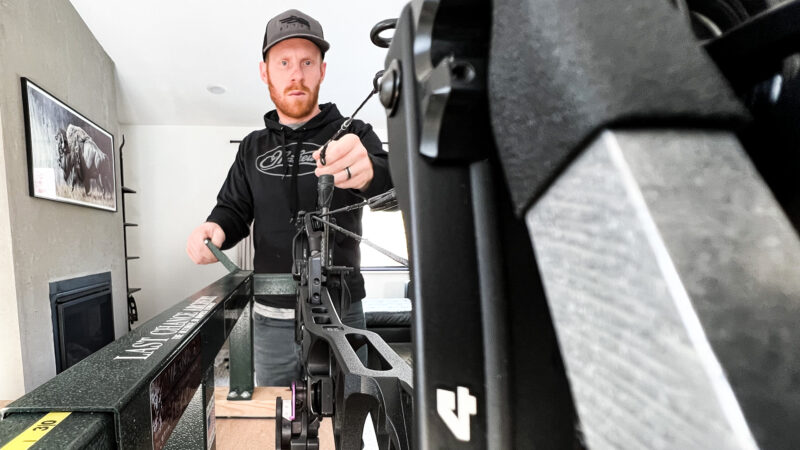
While developing an intimate knowledge of your equipment and its intricate workings is important, sometimes the simplest aspects of a bow setup can spell victory or failure at crunch time. Bow season is right around the corner, so let’s review some simple steps you can take to ensure that your equipment is ready for the big opportunity that could be awaiting you on the mountain or beneath your treestand.
1. Get a Custom Bowstring Set
While some of today’s bows come standard with quality, pre-stretched strings and cables, many come with an average set. Even if the bow was set up properly and paper-tuned, the string and cable(s) will settle and stretch over time. Then, the bow can lose its tune and accuracy. That’s why purchasing a new bow right before hunting season isn’t the best idea. It can be hair-splitting accurate in the weeks leading up to the season, but then when November rolls around, accuracy and consistency can suffer as a result of string/cable stretch or creep.
That’s why I firmly believe that to make a bow as reliable as possible for the entire hunting season — even if you just bought it — it’s wise to spend the money on a custom pre-stretched bowstring set. There are several really good manufacturers to choose from, but my go-to for years now has been America’s Best Bowstrings. Once I install a new set and get it tuned, the consistency for the duration of hunting season is astounding.
2. Replace a Fraying D-Loop
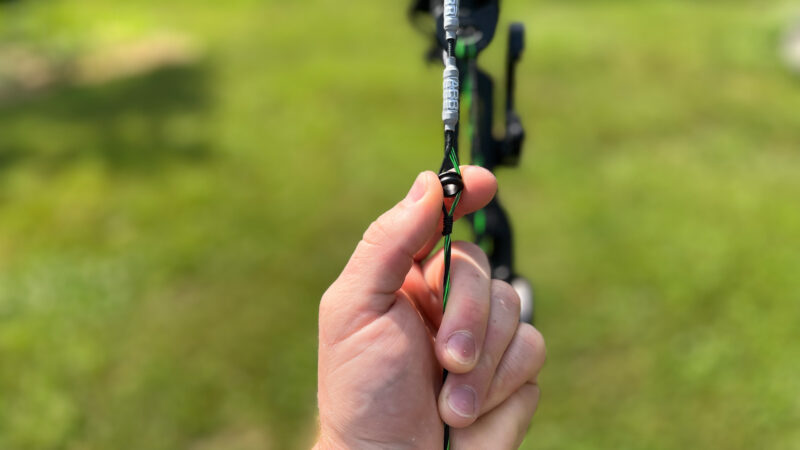
This one seems stupidly simple, yet it gets overlooked. I’ve heard a few accounts from hunters who had their D-Loop break while drawing on a deer. Inspect it before and during the season. If it shows any wear, replace it or have a pro shop do it for you.
Archers often hesitate to touch their D-Loop during the season because they worry it will change their sights. You can minimize or prevent any changes by marking the loop location prior to removing the existing one. Of course, you should still check your sights once the new loop is tied on just to be sure.
3. Correct a Crooked Peep Sight
I can’t count how many videos I’ve watched in which the hunter twists his/her bowstring prior to drawing back on a buck or bull. I consider this not merely an annoyance, but a possible reason for missing or making a poor hit. What if you forget to twist the string prior to shooting? Your view through the peep will be constricted, and you’ll likely be unable to center the bow sight in your scope housing. Particularly at longer distances, this can instigate a miss or poor hit.
Getting your peep sight properly oriented at full draw is as simple as putting the bow in a press, removing the lower end of the bowstring from the cam, giving it half of a twist or so, and then re-attaching it to the cam before removing it from the press. If you don’t have a press, a pro shop can tackle this, and if you purchased the bow from that shop, it’s usually free.
If it continues to be an issue, perhaps it’s time for a custom bowstring set, which will allow the peep to maintain the same orientation each time the bow is drawn and shot
4. Check for Loose Hardware
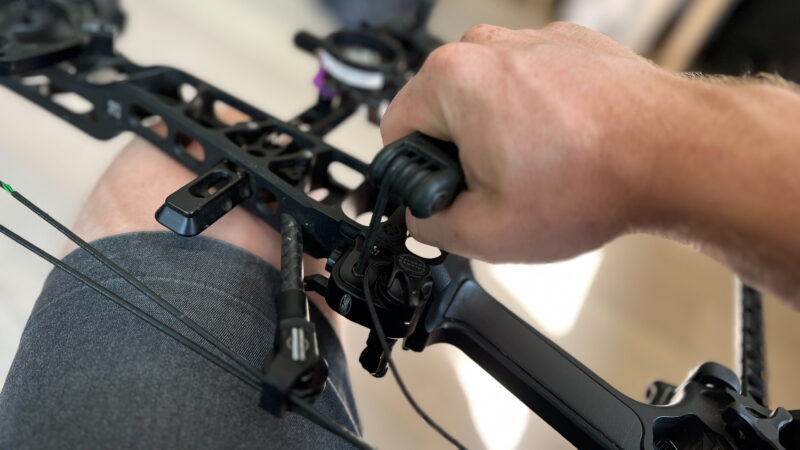
This is an easy one. With a set of hex wrenches, check all of the screws and bolts that are meant to be tight. Even today’s smoothest bows generate some vibrations, and screws or bolts not tightened sufficiently during set-up can potentially loosen over time. If you identify loose hardware and tighten it, you could potentially be saving your hunt.
5. Mark Your Cams
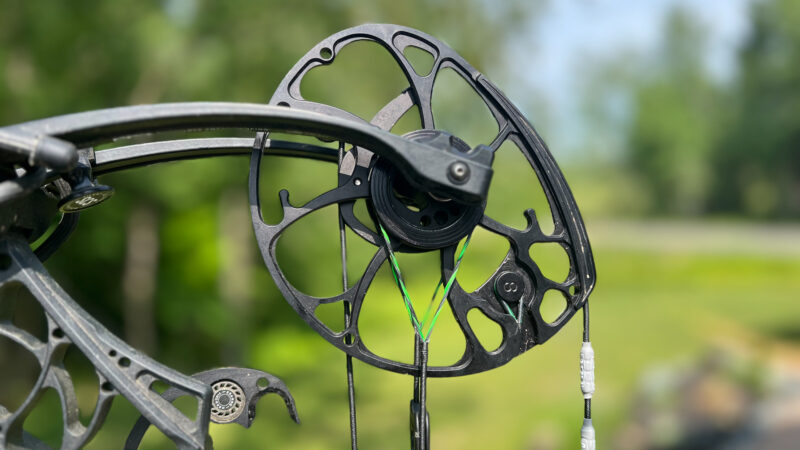
Although custom pre-stretched bowstrings are advertised as “no creep,” things can happen. And if you have a stock string set on your bow, things can really happen. So, it’s a great idea to reference your cam orientation periodically. Some cams like the Mathews Crosscentric Cam have timing/synchronization references that, when the string or cable(s) stretch, will show you that something is amiss. But, if your cams have no timing reference marks, take a silver Sharpie and mark the cam on either side of your cable. If string stretching occurs, you’ll be able to tell by referencing the marks and see that the cable is no longer between the marks. Then, you can run your bow to the pro shop and have a bow technician make some tweaks.
6. Inspect Arrows, Fletching, and Broadheads
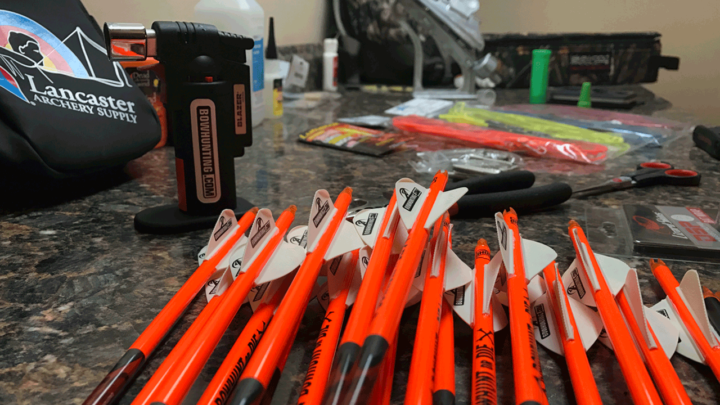
One of the most common mishaps that can totally hamper arrow flight is a brittle nock that breaks upon release or a vane that rips off in flight. Study your arrows closely for clues to failing components or damage to the arrow itself. Check blade-retention systems if you shoot mechanical broadheads, and no matter what broadheads you shoot, periodically make sure they haven’t loosened up on your arrows.
7. Inspect Fall-Away Cord and Replace
Your fall-away arrow rest’s cord can fail in two ways. First, it can get old and break, which renders the rest unusable until the cord is replaced. Another way that it can fail is by stretching over time, which can affect launcher height. On free-falling designs, the launcher won’t lift all the way up, and with limb-driven styles, the launcher will likely cause fletching interference because it won’t drop all the way down. So, check your rest’s timing and also the cord’s dependability before hunting season.
Crush It When It Counts
Bow and arrow setups have many variables. The steps we’ve covered here are commonly overlooked. Overlooking them can lead to misses or poor hits that are totally avoidable. If you want to address these yourself, a bow press, hex wrenches, some loop rope, and fletching tools will get you by. Regardless if you or a bow technician do it, run through these measures before and during bow season. Keep your bow as bulletproof as possible so that you don’t have to worry about equipment failure when that bull or buck presents you with a shot.

 By
By 


