Navigating the last ten seconds of any encounter with game is an art form that only matures with practice. It is easy to be an armchair quarterback when someone else is telling you how the buck they were hunting gave them the slip at the last second.
“Why didn’t you just (fill in the blank)” is a common reply. I remember one time I was spilling my guts about a big one that got away to a handful of bowhunters. When I finished one of the guys had ten things I could have done differently.
I sure couldn’t disagree with him; it was all good advice, but hindsight is always 20/20. Obviously, I should have had him in the tree with me coaching me through the encounter. What I needed was 20/20 foresight, and as I said, that only comes with experience and too many mistakes.
When you are thinking clearly, like you always are two days later, this game seems so easy. But when the buck you have spent the summer dreaming about is finally walking your way, you better have a system you can fall back on.
Golfers beat their nerves by using a pre-shot routine. They use is on every shot they take regardless of how pressure packed or mellow. As a bowhunter, you also need a great pre-shot routine.
Idiot-Proofing Your Hunt
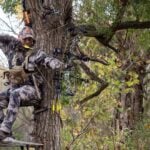
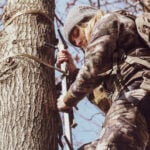
Make as many important decisions as you can before the animal shows. This is probably the most important thing that separates the hunters who seem to fill tags from those that don’t. Being able to anticipate what is likely to happen from each stand and then having a plan in advance really takes the pressure off.
After you settle into your stand, go through the motions; rehearse each shot opportunity. How will you handle a shot if the deer comes in from the left, right, back or front? Where are your shooting lanes? Where will you stop him if he is 20 yards away, 30 yards away or right under the tree? When will you draw?
You will quickly learn where you need more shooting lanes. It will take about ten minutes if you do it right, but it is some of the most important stand time you will ever put in. When a buck shows up you will have a plan and you won’t have to wrack your brain in panic trying to figure out what to do next.
Solve as many challenges as possible when you have the opportunity to think them through carefully. It is just a matter of taking the time to do it – this little bit of discipline on stand will pay big dividends.
The Pre-Shot Routine
The best way to get your arms around everything you need to control during the moment of truth is to use a pre-shot routine just like Tiger. Again, a good pre-shot routine is the product of many failures and a ton of hard lessons. I had several great deer get away due to deflections before I figured out a way to build the necessary steps into my routine to eliminate this problem. Man, if only I could have those shots back now.
You have to anticipate everything that might happen and plan around it before it happens. That kind of experience is the product of dozens of brokenhearted moments on stand – hopefully a few successes too.
Before getting into the details of the pre-shot routine, it is important to tweak your overall philosophy. To maintain an aggressive edge, you need to focus on taking the first good shot.
Not risky shots – but rather the first killing shot even if it appears that a better one may soon present itself. Don’t wait for perfect when good enough is right in front of you; perfect rarely happens.
At whites-of-their-eyes range, things can unravel faster than a cheap knit shirt in a patch or multi-floral rose.
When a buck is within bow range, the time bomb is definitely ticking. It can all blow up at any time. Tick, tock, tick – those are the seconds ticking away until the opportunity is history. Don’t get caught with your hands in your pockets. The first good shot may be the only one you get.
Here are the steps I think you need to include in your own pre-shot routine.
1. Use a rangefinder: When the shot is more than 25 yards, nothing gives peace of mind more than knowing the exact distance. You never want to doubt yourself, and few things cause doubt more quickly than guessing. Ideally, you will have pre-ranged a few reference points around your stand. If the deer comes through where you didn’t expect, estimate his course and zap a tree or two well ahead of him. Whatever, you do, don’t wait until he is crossing your shooting lane to use the rangefinder.
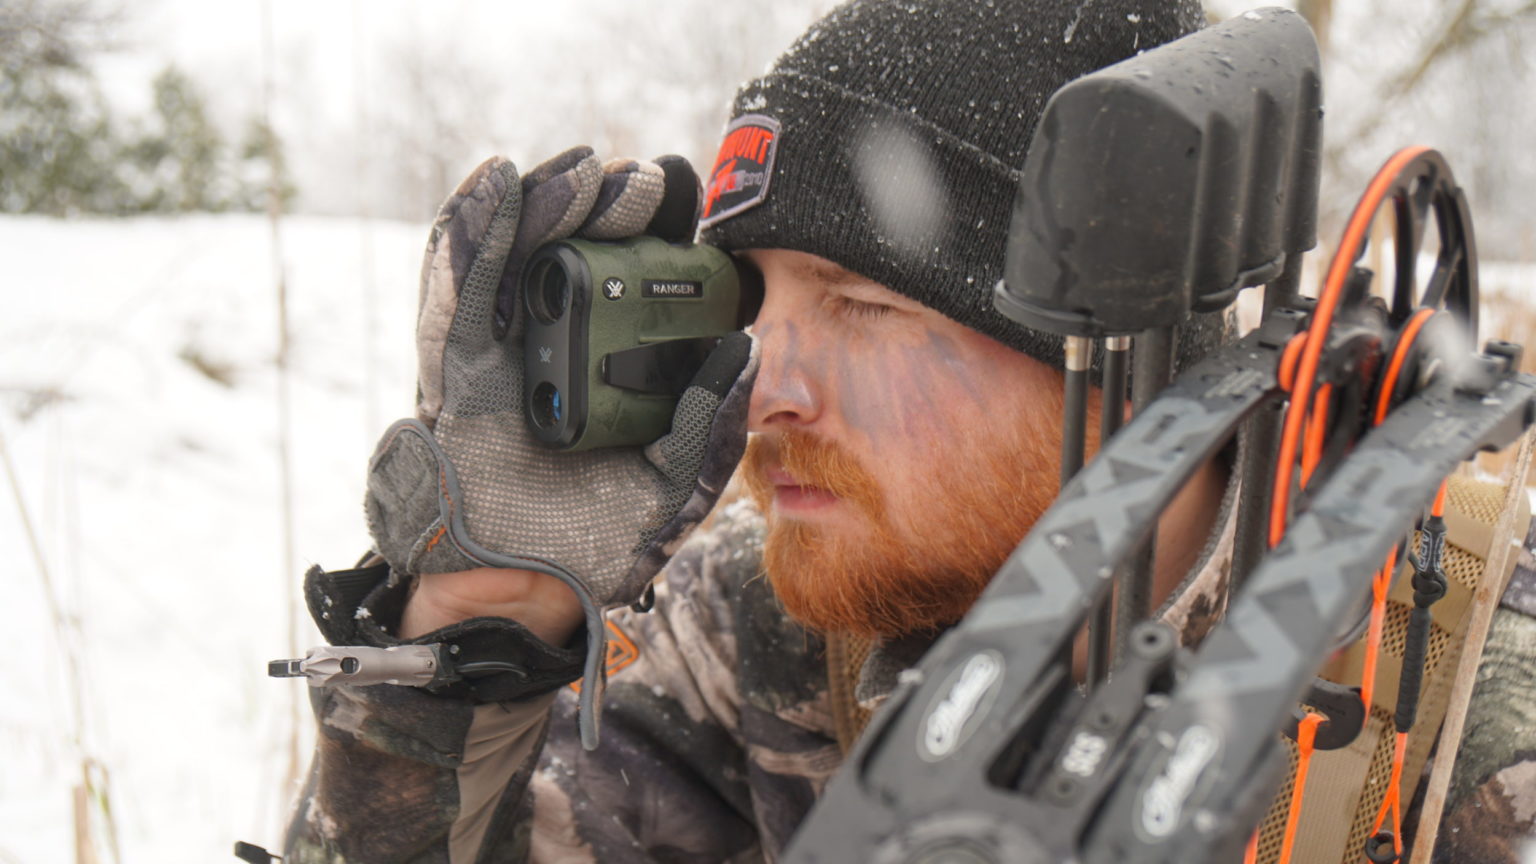
I have gotten so comfortable using the rangefinder on all the does I shoot each season that I now use it on every medium to long shot. I never estimate distance anymore, but that is the result of a lot of practice using the rangefinder quickly.
2. Assess the wind: I rarely play the wind when aiming in the timber, but I have compensated for a crosswind when hunting food plots. If the wind is blowing hard from the side, you will have to allow for arrow drift on shots past 20 yards. This can be a very quick decision. As a general rule of thumb, (very general) allow about two inches at 30 yards for every 10 mph of cross wind speed.
3. Decide when to draw: When hunting in the timber with a deer that is moving your way, draw as soon as the deer is within your comfortable range. Don’t wait for the ideal shot before you draw. It is better to draw early rather than take a chance that you might miss the one good opportunity to shoot. The only exception is when you are hunting food plots and all the shots are open. In that case, wait until the deer is properly positioned before you draw.
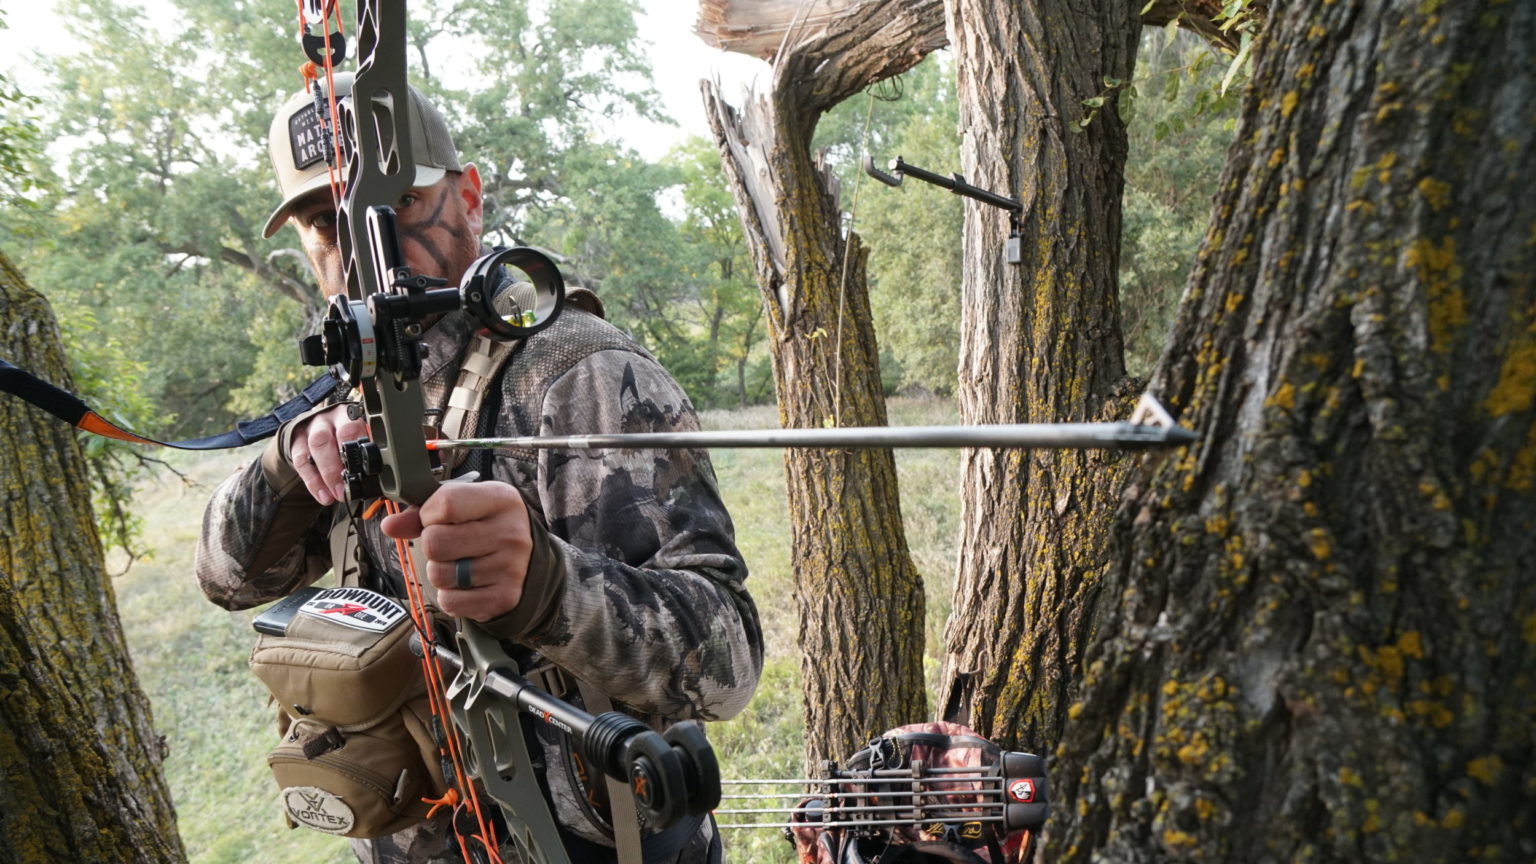
4. Find your opening: Gauge the animal’s course and determine the closest point that allows an open shot. If you have cut shooting lanes in all directions and done your full dress rehearsals on stand, the job becomes a lot easier.
If not, you’ll have to pick a hole and hope for the best. If you haven’t planned carefully, this can be the most anxious part of the whole encounter.
5. Pick a pin: A friend of mine thinks of distances in terms of colors – pin colors. For example, when his rangefinder says 30 yards, he thinks “red pin” rather than thinking “second pin”. That way he picks the right pin more quickly and more instinctively than he would if forced to count his way down from the top.
Regardless of how you do it, picking the right pin is a bigger deal than you may think. Practice mid-distance shots (between two pins) relentlessly on the range so you can aim without thinking when the rangefinder says 34 yards.
6. Check for twigs: Here is where I have made the most significant strides in recent years. With the proper pin aimed at the opening, check any pins above it. If there is brush, limbs or leaves in line with these pins (or slightly above the top pin), you likely have deflection problem on your hands.
Squat lower or move to the side to open up a clear lane. I have missed some outrageously big (painfully big) animals because I didn’t learn the difference between line of flight and line of sight early enough. Now this quick twig-check is putting a lot more venison on the ground. I try to think about it even when shooting on the range to keep the concept at the top of my mind.
7. Should you stop him?: I don’t like to stop walking game when I have only narrow shooting lanes. Instead, I aim at the center of the opening and shoot as soon as the animal’s shoulder appears beyond my pin. As long as the animal’s pace is leisurely and the distance short (20 yards, or less) this timing results in a double-lung hit.
On the other hand, consider stopping a moving animal in each of the following situations: 1. When you have wide shooting lanes. 2. If you lack the confidence to time the moving shot. 3. If it is moving faster than a walk. 4. If the range is past 20 yards.
8. Pick a spot: Your best shots will occur when you pick one single hair or a discoloration on the side of the animal and focus on it until the bow fires.
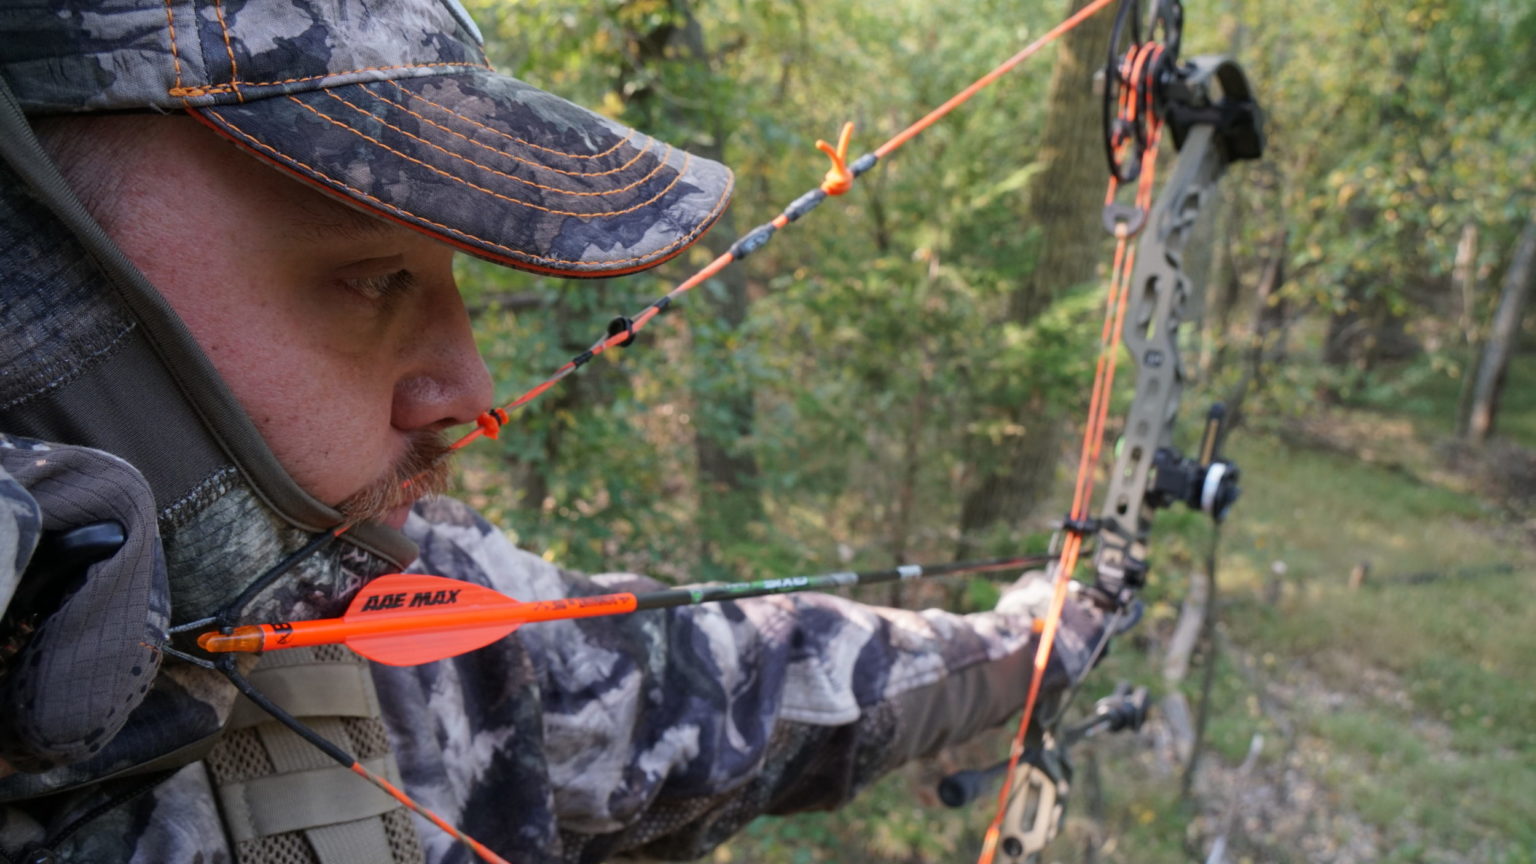
9. The release: To reach your potential, and to keep buck fever at bay, you really need to learn to squeeze off a slow, surprise release. It took me many years to learn this lesson. The fear that I might mess up and miss an important shot always tugged at my confidence. I somehow knew that pulling the trigger abruptly made that very real. By squeezing the trigger and producing a surprise release, it is hard to mess up the shot. That doesn’t mean you will never miss again (there are still going to be string jumpers, range errors and twigs) but this gives you the very best chance for success.
Producing a surprise release will require an extra second or two at full draw, but that time is the perfect prescription for the common bowhunting ailment of hurrying the shot. If you are determined to squeeze off the shot, there is no way you can ruin it by rushing.
10. Hold the aim: Generally, I don’t want to think about the shot beyond simply reminding myself to squeeze, but if you want to use a form thought, keep it simple. Remind yourself to stay locked on the spot you want to hit until the arrow arrives.
What to Check When You Get on Stand
Every time you settle into a stand, make a thorough equipment inspection to make sure nothing is out of order.
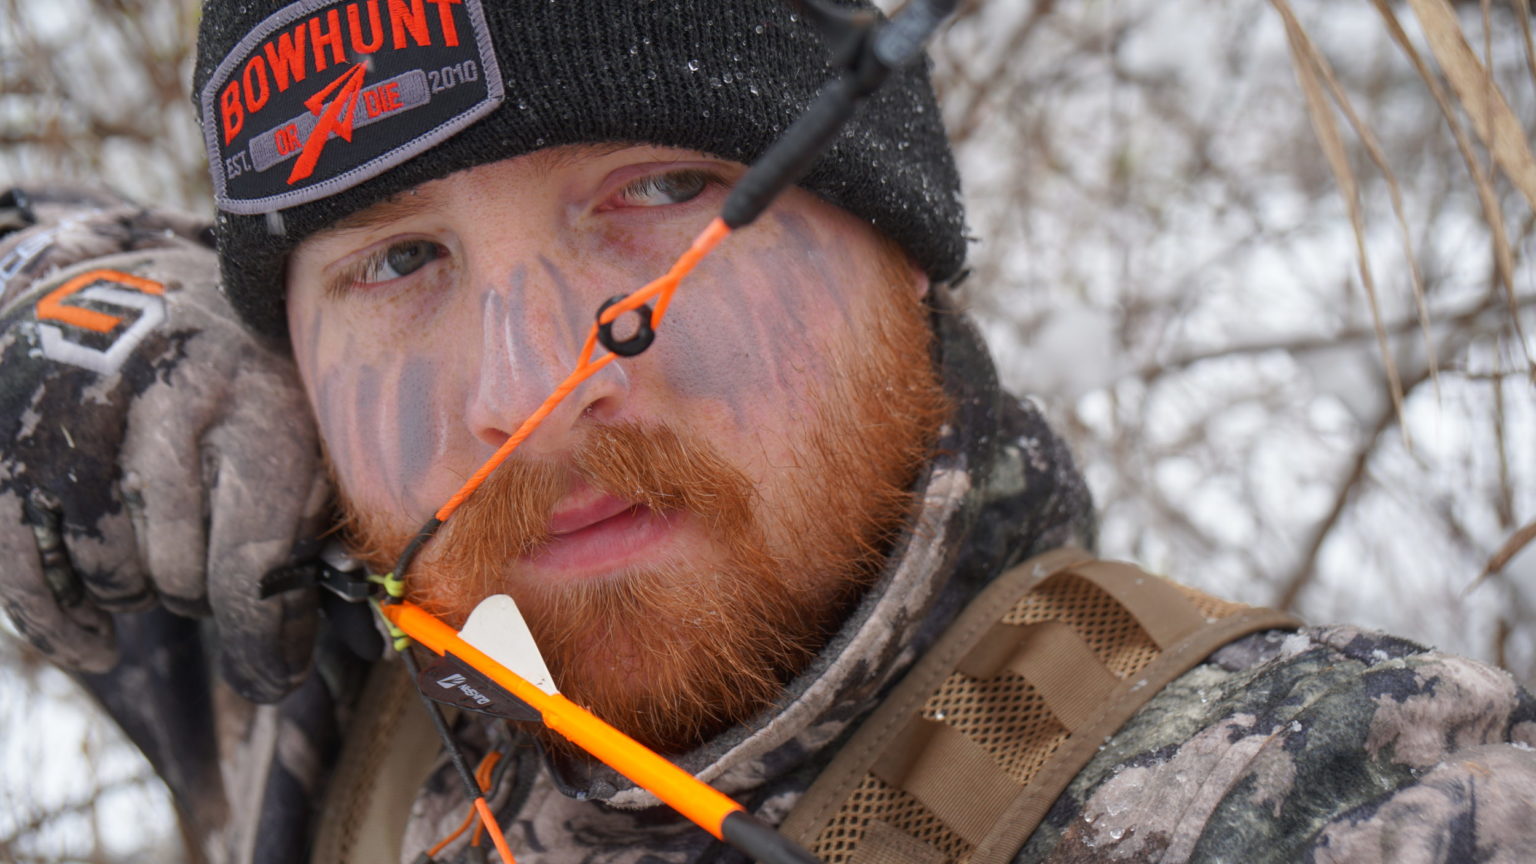
1. Peep sight:Make sure it’s clear of obstructions and is turning properly. Draw the bow with an arrow on the string to be sure.
2. Nocks: Inspect all your nocks for damage and to make sure they aren’t blocked with dirt.
3. Rest: Make sure your arrow is resting properly. This is where capture rests like the Whisker Biscuit and many drop-away rests shine.
4. Fletching: Fletchings must be solidly anchored to the shaft. Give them a tug. If one feels loose, switch to a different arrow.
5. Sight: Check for damaged or missing pins. Some bowhunters take a practice shot as soon as they get on stand – a good idea.
6. Broadhead: If using mechanical heads, check to make sure the rubber band holding them closed is still intact.
7. Release aid: Dust and grit can jam a release’s mechanism. A test shot will reveal any problems.
Conclusion
Never second-guess a decision once you’ve made it – unless the situation changes. Instead, move on to the next decision and remain focused. If you practice your pre-shot routine on every shot you take during the weeks leading up to the hunting season, it will become second nature and you won’t have to think about it when the chips are down. That’s exactly what you need to overcome mistakes and become deadly on game.
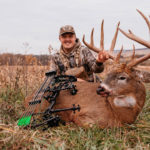
Months on the range, weeks spent studying strategy and days sitting in trees come down to just ten seconds of performance. Yet the skills required to make it all pay off are ones that we rarely even consider, and almost never practice. Make this your year by mastering the most important ten seconds of the season.