Building your own arrows allows you to experiment with various components, fletching styles, shaft sizes, colors, lengths, and other options until you find the perfect arrow for your bowhunting requirements.
Not only that, but building your own arrows can be a relaxing way to pass the time and a rewarding experience when you harvest an animal with one of your own creations.
Anyone can do it – and do it well. Armed with only a few essential tools and the information offered here, you’ll have no problem turning raw shafts into top-quality hunting arrows.
Getting Started Building Your Own Arrows
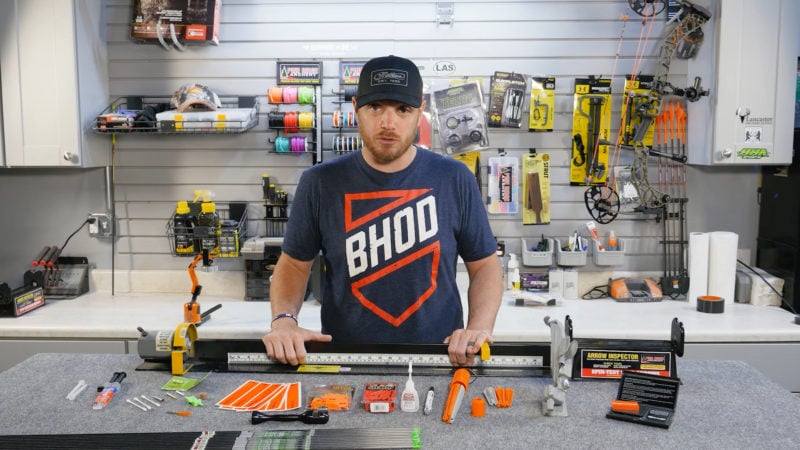
As I mentioned earlier, building your arrows is going to require some basic tools that every archer should own. We get all of our arrow-building tools from Lancaster Archery Supply.
- Arrow Saw ($199)
- Arrow Inspector/Spinner ($40)
- Arrow Squaring Tool ($45)
- Inserts (included with your arrow shafts usually)
- Insert Adhesive/Epoxy ($6)
- Arrow Wraps ($15)
- Vanes ($30)
- Fletching Glue & Primer ($20)
- Fletching Jig ($110)
- Q-Tips ($3)
Cutting Arrows To Length
Chances are that if you’re building your own arrows, you’ve probably got some of your older arrows lying around. The easiest thing to do is measure one of those arrows and go off of that size for your new ones.
But if you want to start from scratch and use a different length of the arrow, all you need to do is draw your bow with a full-length, uncut arrow on it and have someone else mark the arrow where you’d like to cut it.
The best recommendation is to mark the arrow about 1 1/2″ to 2 1/2″ past where the arrow sits on the arrow rest, or where the arrow passes the bow’s riser.
If you go too long with your arrows, it can weaken the spine and affect your accuracy. If you cut it too short, you risk hitting your riser or rest when you put your broadheads on.
Now that you’ve got your arrow length picked out, head over to the arrow saw and don’t forget to use eye protection when operating it.
If you’ve got an arrow saw similar to the one pictured above, you can take your arrow and place it with the nock end in the holder on the opposite side of the saw blade. Then take an allen wrench, and adjust the holder so that the blade of the saw is at the spot that was previously marked for cutting.
Once the holder is tightened down, you’re ready to cut. Simply turn on the saw, place the nock end of the arrow back into the holder, slowly move your arrow in towards the saw, and as the saw is cutting into your arrow, make sure that you spin the arrow so the saw can make an even cut on the shaft.
Squaring & Cleaning Your Arrow Shaft
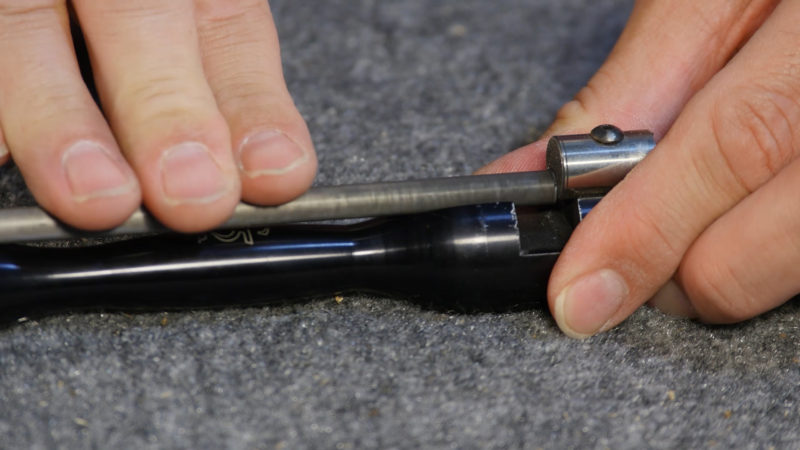
Once you’ve got the arrow cut to length, it’s important to make sure that both ends of it are perfectly flush. If the ends of the arrow shaft aren’t completely square, it can effect both accuracy and the ability of a lighted nock if you use one.
What you’ll need to do is remove the nock from the arrow, mark on the ends of the shaft with a marker (preferably a metallic color), and then use your squaring tool until you no longer see any color left on the ends of the shaft.
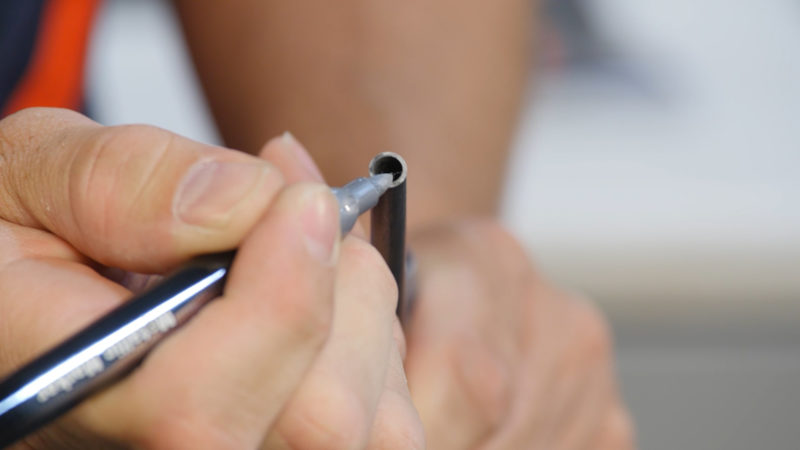
After that, it’s time to clean out the carbon from the inside of the ends of the shaft.
It’s important to remove any excess carbon so that your adhesive can properly adhere to the inside of the shaft. To do this, take a q-tip and use either acetone, or water, and make a few swabs into both ends of the shaft. You’ll notice the black carbon showing up on the q-tip, make sure to clean it until there is no remaining carbon.
Gluing The Insert
Almost any time you buy new, uncut arrows, inserts and some type of adhesive will be included. Generally, the included inserts will be made of a lighter aluminum, so depending on what your arrow FOC goals are, heavier inserts may need to be purchased. And if there is no adhesive included with your arrows, you can use any 2-part epoxy from your local department store.
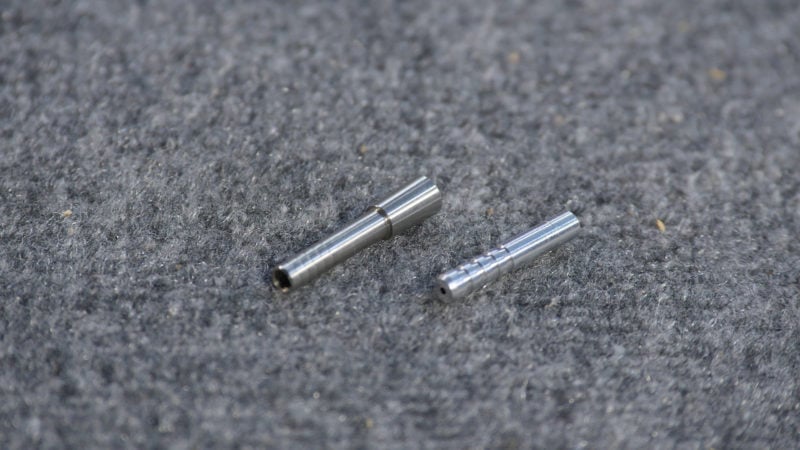
Once you’ve got the inserts you want, mix the epoxy on a paper plate or piece of cardboard. Then take your insert and dip the back end of it into the epoxy and place it into the arrow shaft.
Make sure to rotate the insert as you stick it into the shaft to make sure that you’re covering the entire part of the insert that’s inside of the arrow. Wipe off any excess epoxy that is still showing around the insert or end of the shaft, after the insert is placed.
Typically, any 2-part epoxy can take 5 minutes or more to set, so after you’ve done everything, let the arrow sit for a few minutes so that you don’t accidentally dislodge, or mess up your insert.
How To Install An Arrow Wrap
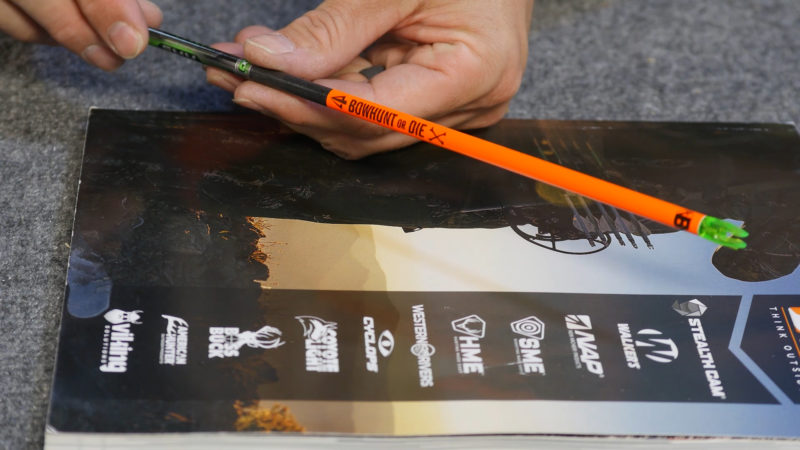
There are several benefits to using an arrow wrap. They allow for better visibility when shooting, you can match the colors of your bow, and they make it easier when redoing your fletchings later down the road.
You’ll want to wipe down the nock end of your shaft with a damp cloth or paper towel before sticking on your arrow wrap so that it adheres properly.
When placing your arrow wraps, it’s best to do it on a surface that has a little give like a mouse pad or soft cover book, instead of a hard surface.
Put the wrap face-down on your chosen surface, hold your arrow over it and line up the end of the shaft with the edge of the wrap. Push the arrow into the wrap and roll it about half way. Once you get to the edge of the wrap that’s already on the shaft, use your finger to make sure it’s stuck on properly, then roll the arrow the rest of the way.
Fletching Your Own Arrows
There are many different types of vanes and fletching jigs available, and they’re all good in their own ways.
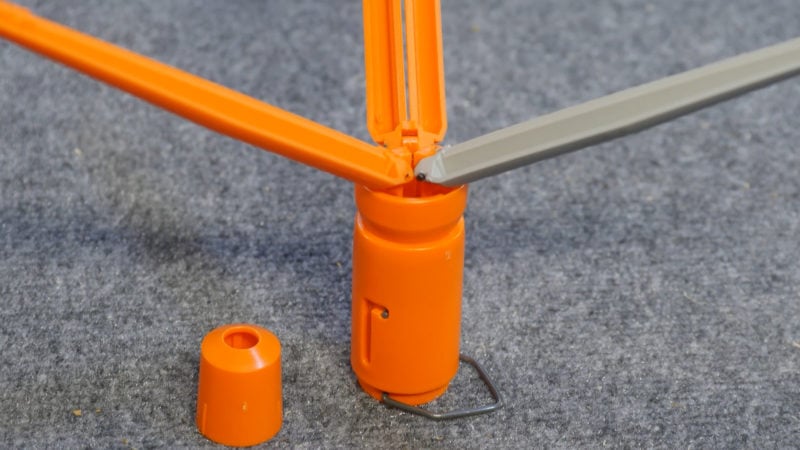
One of the most common fletching jigs, and the one used in this example, is called the Arizona EZ-Fletch. All of these steps can be applied to any type of jig, and most vanes that are used for hunting.
Nothing is worse than fletching up a dozen new arrows and heading out to the range, then after a few rounds seeing your brand new vanes coming off of your arrows. Almost every type of vane will possibly have a release agent on it from whatever mold was used to make the vane.
So before using any glue, you should take a primer pen, or a q-tip with some acetone on it and clean off the wide side of your vanes where you will be placing the glue.
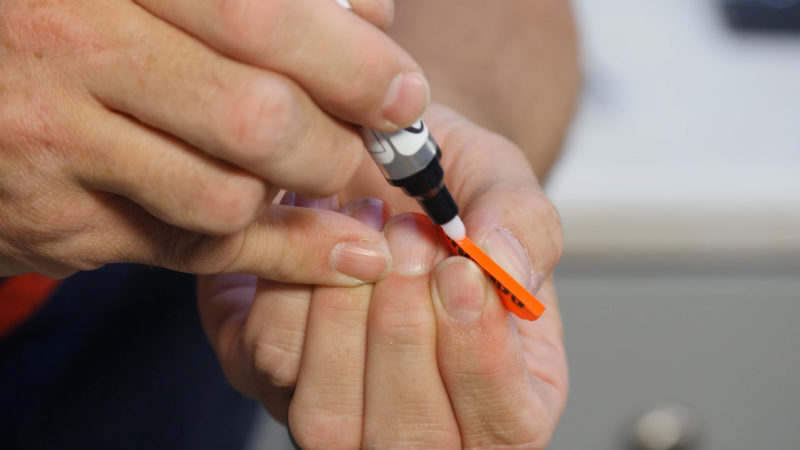
Once you’ve got your vanes prepped and primed, place them into the fletching jig. You can then take your glue and run a thin bead down the vane, from top to bottom. After you’ve put glue onto each vane, close up the jig and let it sit for a minute or two.
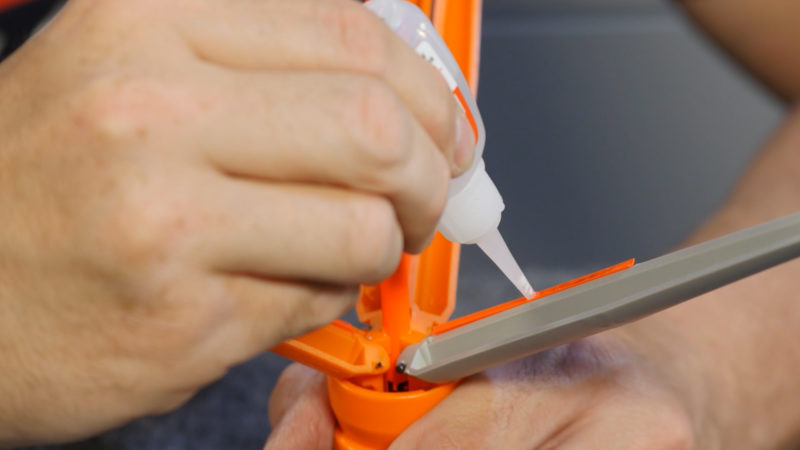
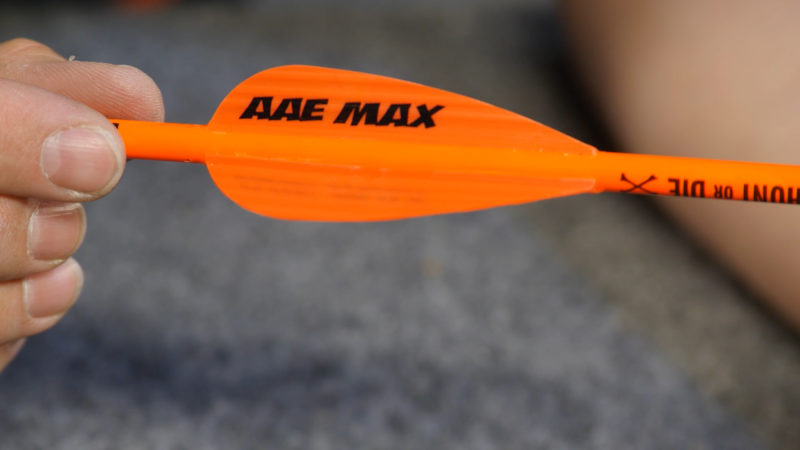
After the short wait, you can pop the arrow out of the jig, and it’s ready to go!
Conclusion
Building your own arrows can be very fun and rewarding, not to mention it can save you a few bucks. And after doing it a few times, you’ll have the process down and maybe even throw in a few steps of your own based on past experience.
We hope this article answers any questions you may have, and helps you build your own arrows!

 By
By 