Bow tuning is not some kind of black art practiced only by those who have gone through ritual hazing.
To be honest, bow tuning is just the opposite. It is systematic, straightforward – something to which you can apply a recipe book approach. It is only mysterious when you don’t understand the basic steps involved.
In this article, it is my goal to fill in the holes in your bow-tuning repertoire of knowledge and skill. I want to make this as easy as possible by taking you through the process a step at a time.
The Right Start Is Half The Battle
I don’t tune as many bows each year as an archery shop, but I’ve been around enough of new models to know that getting started with the right settings makes this process a whole lot easier.
I have seen the majority of bows I set up, tune right out of the box using these settings.
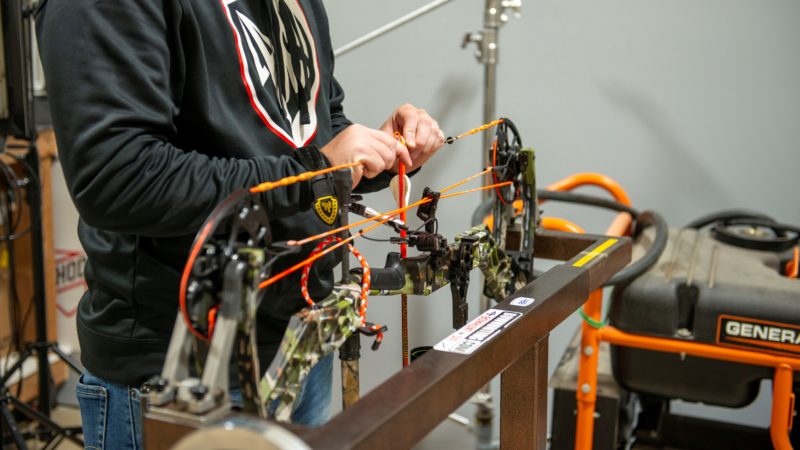
Nock set position: First install your nocking system. You have several options here and I won’t get into them at this time – it is a good subject for a later article.
However, you should position the nock locator (whichever style you choose) so that the top of the arrow’s nock will be roughly 1/8 to 1/4 inch above the center of the cushion plunger (rest attachment) hole.
There are a variety of tools you can use to do this including an arrow level or a simple T-square to assure that you are in the right place.
If you are using a crimp on nock set, the bottom of the nock set should be at this position. If you are using a nocking loop, the bottom of the upper knot should be at this position. The same thing goes if you will be using a metal D-loop.
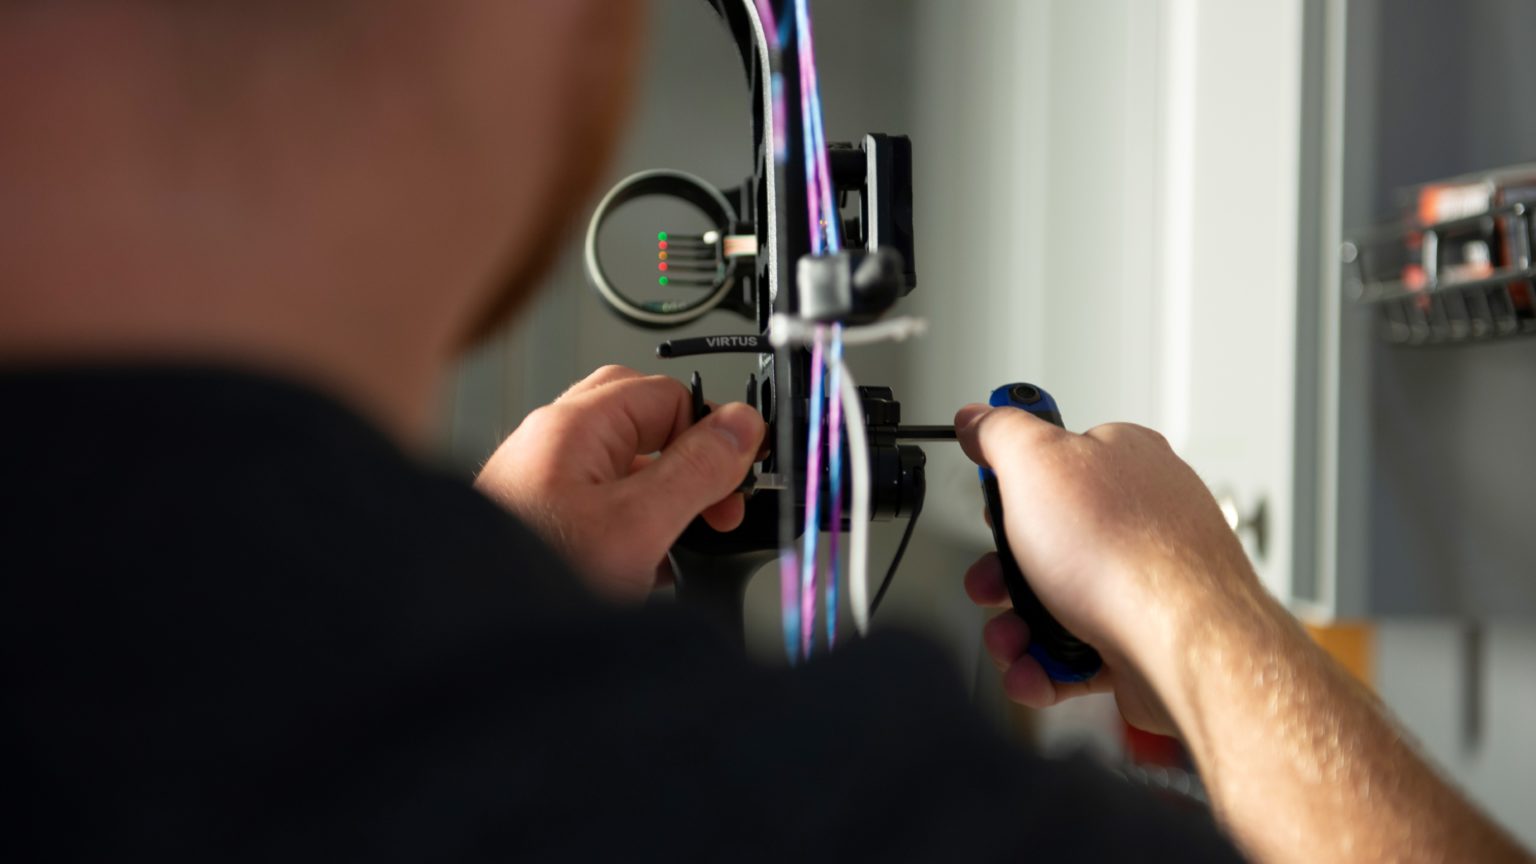
Vertical rest position: Most modern compounds will shoot best when the arrow crosses the center of the cushion plunger hole.
You accomplish this by moving the arrow rest up or down until you achieve the desired results. Be sure you are holding the bow so that the cushion plunger hole is at eye-level when making this adjustment so you get as close to possible.
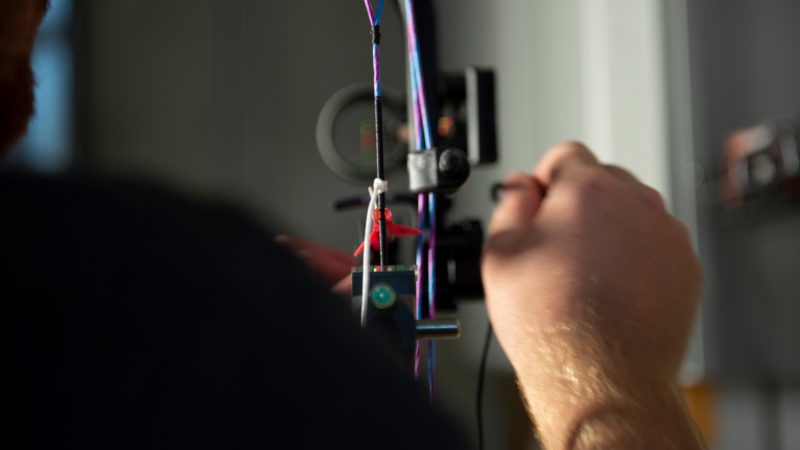
Horizontal rest position: When setting up for a release aid, position your rest so that the arrow is right in line with the forward movement of the string.
If you release with fingers, your arrow should be pointed slightly to the left of this line (for right-handed shooters). There are several ways to go about setting the left-to-right position of your rest. The easiest is to eyeball the resting arrow from above.
With the arrow on the rest, set the bottom cam on the floor and hold the top axle between your index fingers. Unless one of your arms is shorter than the other, the bow should now be pointing more or less straight away from you.
This means that if the arrow is in center of the bow, it too will be pointing straight away. Adjust the rest left or right until it is. While this is not as precise as using a device to accurately measure the bow’s center shot position, it will get you very close very quickly.
This method will get you close to lined up for center shot and likely get you going if you want to shoot a few arrows in your backyard. However, if you want to make sure that you’re perfectly lined up try using a laser alignment tool.
This tool screws into your bow’s sight mounting holes and uses a laser to align your arrow perfectly with your bow string.
Simply screw it on to you bow, turn the laser on, adjust the windage until the laser is pointing directly at your bow’s string, then turn the laser toward the point of your arrow, adjust the windage on your arrow rest until it is lined up, and tighten everything down. In the matter of a few minutes you’re done.
Another great tool for setting both centershot as well as arrow level is the Pro-Tune from Van Handle Archery.
This simple tuning kit includes an accurate string level, arrow level and centershot device all in one handy kit. The best part is that you don’t have to remove your sight or any other accessories to use this kit. It’s quick, easy and very accurate.
Setting Fletching Clearance
You can promote good clearance when setting up your bow in two ways. First, use a rest that makes it very easy to achieve. By this, I mean you should use either a drop-away rest or a full capture rest such as the Whisker Biscuit.
You can definitely get other rest styles to produce good arrow flight, but it is much easier with two styles, especially when using small diameter carbon arrows.
Second, you will need to fine-tune the rotation of your arrow nocks to assure the greatest amount of clearance. Even if you use a drop-away rest you will need to experiment with a few different nock rotational positions to assure that you have created the best opportunity for the rest to get out of the way of the fletchings.
Paper Tuning
I hope that the very first arrow to leave the bow after setting it up will fly perfectly. There is only way to know for sure and that is to shoot an arrow or two through paper to see how it tears the paper.
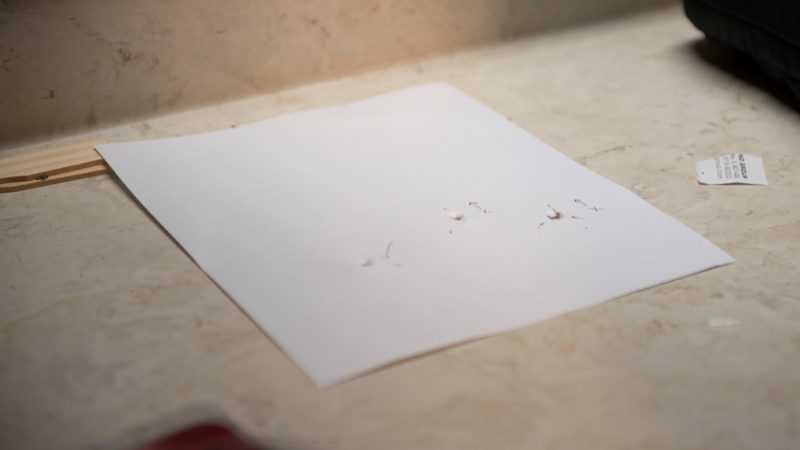
You can make a very simple but effective tuning fixture by cutting a hole in the bottom of a cardboard box and taping a piece of printer paper over the opening. Stand about four to five feet from the box and shoot an arrow through the paper.
You will see a hole or a tear in the paper to indicate how the arrow is flying. Ideally, you will find only a hole with three short cuts radiating outward from the center produced by the fletching.
This is called a “bullet hole”. Any other tear requires some action on your part to correct the problem and produce as close to a bullet hole as possible.
The list of things you can do is very short. You can move the rest side to side, you can move the nocking point up and down, you can increase or decrease your draw weight, you can rotate your nock, you can adjust your cam timing (two-cam bows), you can experiment with different arrows and you can experiment with different rests. That is about it.
I have assembled a table that shows the actions you should take for each different kind of paper tear. If the tear is compound tear, such up and to the left, fix the vertical part of the tear first and then work on the horizontal part.
Quick Reference Guide to Paper Tears
After shooting through paper, you can use the following information to help you determine the best course of action.
Tail high
1. Check cam timing
2. Move nock point down
3. Check fletching clearance, rotate nock
Tail low
1. Check cam timing
2. Move nock point up
Tail left
1. Arrow spine may be too weak. Try using stiffer shaft, lighter point or reduce draw weight
Tail right
1. Arrow spine may be too stiff. Try using a weaker shaft, a heavier point, or increase your draw weight.
A Few Final Tweaks
If you are having trouble getting your bow to tune after trying the adjustments I outlined above and in the table, you can also experiment with a different style and stiffness of arrow.
I have seen some mysterious tuning problems clear up simply by trying a different arrow. The best place to do this is at the archery shop where you can likely experiment without having to buy new arrows.
You can also make small changes to your arrow flight by adjusting your bow’s tiller setting. Tiller is the distance between the back of the limb, just outside of the limb pocket, and the string.
If the bow has a different sized cam and idler wheel combination, you will need to tie a thread from one axle to the other and use this as your reference when measuring tiller.
In most cases, equal tiller will produce the best arrow flight and accuracy, but you can sometimes change the way the arrow comes out of the bow by adjusting the amount each limb bends when you draw the string.
You do this by adding or removing turns from just one of the limb bolts, effectively making one limb softer than the other. Tiller tuning is dynamic and relies almost entirely on trial and error.
The Real Acid Test
All that really matters in the end is how your broadheads fly. We are hunters first are we not?
You may never get your broadhead-tipped hunting arrows to hit the same exact holes as your practice arrows carrying field points, but that is the ultimate goal.
If your hunting arrows group in a different part of the target from your practice arrows, your bow is not perfectly tuned. Small differences are fairly common even when you get a bullet hole (or a nearly perfect hole) through paper.
You can pull the groups together by simply moving your rest very slightly in the direction required to bring your hunting arrows closer to your practice arrows.
When the broadhead arrows are impacting to the left of the field point arrows, simply move the rest very slightly to the right. When you’re all done you will probably have to sight-in your bow again.
Nothing says the groups need to be on top of each other. There is nothing wrong with moving your sight head slightly to compensate for hunting arrows that group slightly differently from your practice arrows.
Bow tuning is more than just a good idea, it is required if you hope to reach your potential as an accurate bowhunter. It isn’t as hard as it may seem on the surface. Follow this step-by-step process and your bow will be shooting bullet holes in no time.
Special Tips for Two-Cam Shooters
If you shoot a two-cam bow, you absolutely need to check your cam timing. If the cams aren’t synchronized, you will get some wicked tail high or tail low paper tears that you can’t eliminate any other way.
Both cams should reach their full draw positions at the same time. You may want to take the bow to an archery shop if you are not sure how to check and set timing, but I will do my best to explain the standard procedure here.
Look at the track that the harness wraps up in (not the string). Watch the point where the harness touches this track as you draw the bow – of course the point will be changing as the cam turns.
At the end of the draw, you will notice that the harness settles into a long straight portion of track. Now as you draw, move your gaze from cam to the other.
Both harnesses should bottom in this straight portion of track at the same time.
If not, you need to shorten one harness – the one attached to the cam that is getting to full draw first. This step requires a bow press – so if you notice that your timing is off, you may need to take it in at this point.
To shorten that harness, simply give it one or two twists in the same direction it is already twisted and then take the bow out of the press and check the timing again.
You may have to get down to half a twist to eventually nail the timing exactly, but it is worth the effort.
Bow Tuning Tips for Finger Shooters
Finger shooters have used bare shaft tuning for years. It is a very reliable method to fine-tune arrow flight.
If you wish to try this proven technique, you will need to remove the fletching from at least three arrows. While standing 20 yards from the target, first shoot a group using fletched shafts and mark the center.
Next, from the same distance, shoot a group using bare shafts and mark this center. If both groups have essentially the same center, your bow is acceptably well tuned for finger shooting purposes.
However, if the bare shafts plane off-line and have a noticeably different group center, you’ll have to make corrections.
If the bare shaft group is to the left, try a more flexible shaft, increase point weight or increase your bow poundage. If the bare shaft group is below, move the nock point down, check fletching contact with the rest and check wheel timing.
If the bare shaft group is to the right, try a stiffer shaft, a lighter point or reduce your draw weight. If the bare shaft group hits high, check wheel timing or move your nock point up.