As sad as it may be I’m pretty sure my hunting boot collection is beginning to rival my wife’s shoe collection. Although in all fairness my collection certainly gets a much tougher workout than the majority of her shoes which simply occupy space in our closet. And with that added use comes a little bit of abuse and some signs of wear & tear.
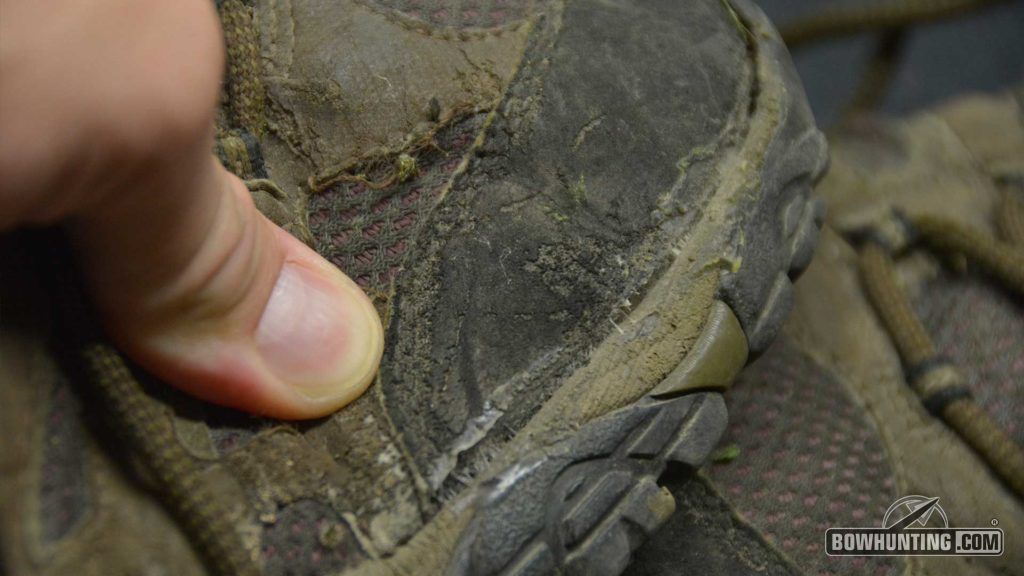
One of the most common wear points for any pair of boots I’ve ever owned has been the soles, which can tend to separate from the upper part of the shoe/boot after prolonged use. I just so happen to have a pair of general purpose hikers that were in need of a repair when I happened upon a product called Freesole from the folks at Gear Aid.
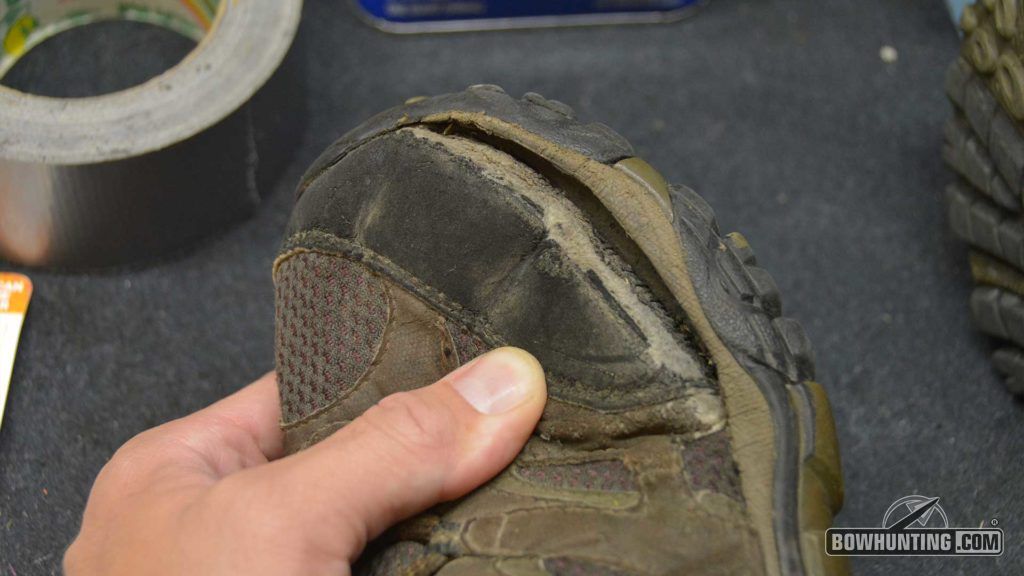
It’s pretty safe to say these hikers were about on their last leg – or would it be last foot?
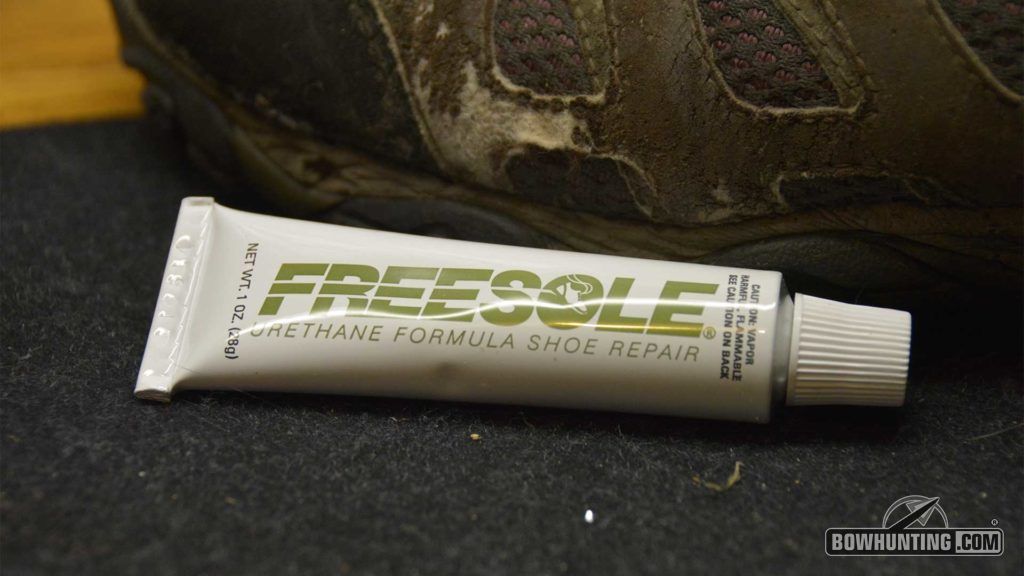
At well under $10 a tube I figured Freesole was worth a try. It certainly beats springing a hundred bucks or more for a new set of hikers.
Freesole is a urethane-based product which retains it’s flexibility even in ultra cold temps. This is part of what makes it perfect for repairing boots and shoes. So one Saturday evening after the kids were in bed I set out to see how well this stuff really worked.
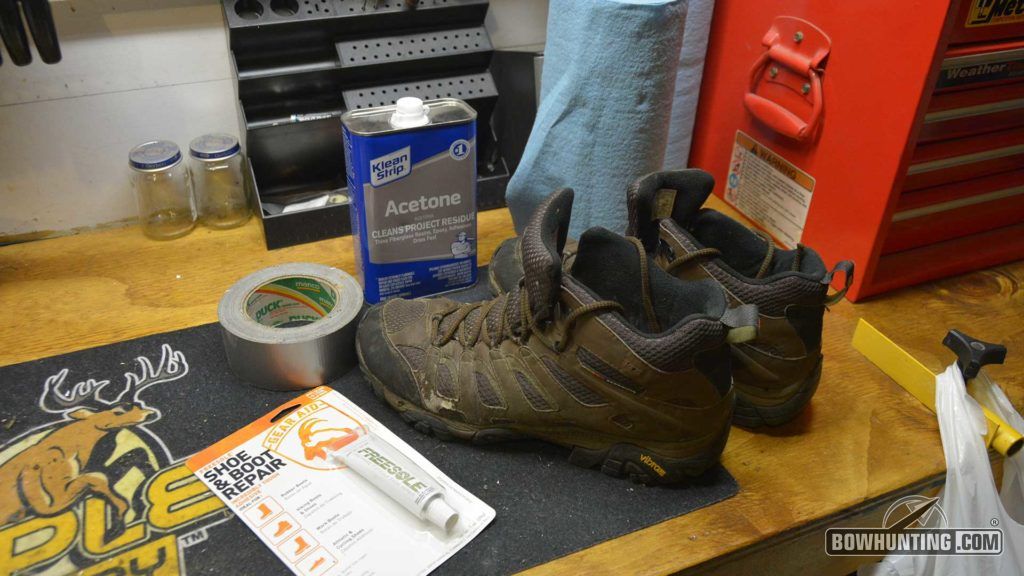
Pictured here is everything I needed to get the job done. While the instructions called for alcohol to clean the boot before repair I used Acetone because it’s all I had handy in the garage. For what it’s worth it seems to have worked just fine.
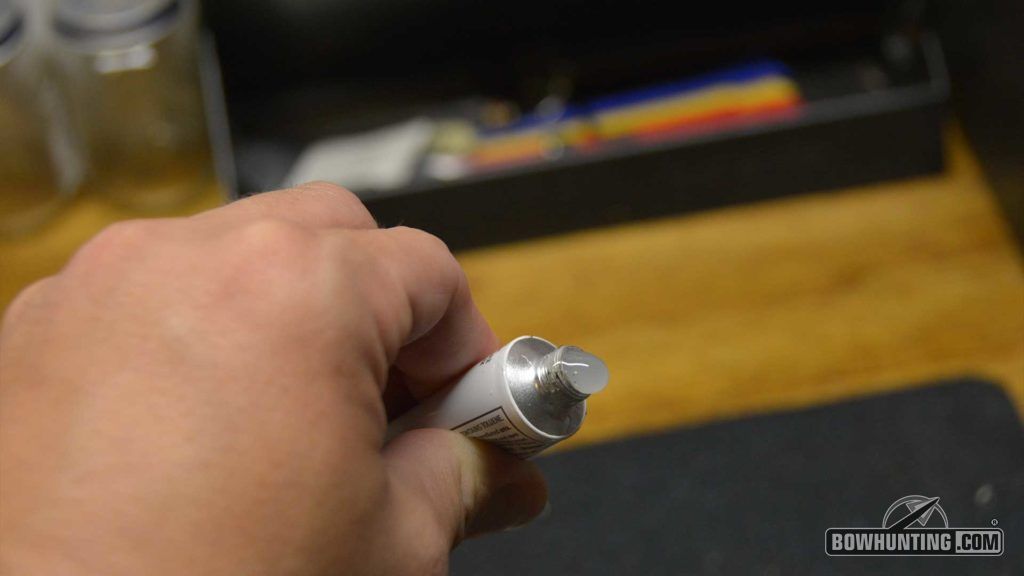
I opted for the clear version. Freesole is also available in black.
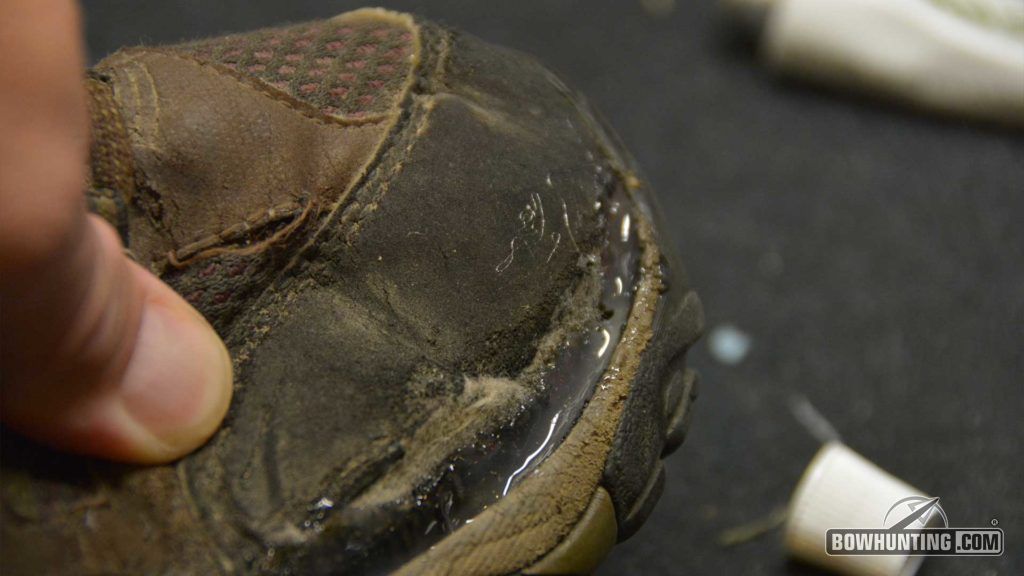
I made sure to apply an ample amount of product in between the upper part of my boot and the sole itself. Just remember to use it in a well ventilated area and wear gloves if you have them handy. Otherwise try to avoid getting it on your skin.
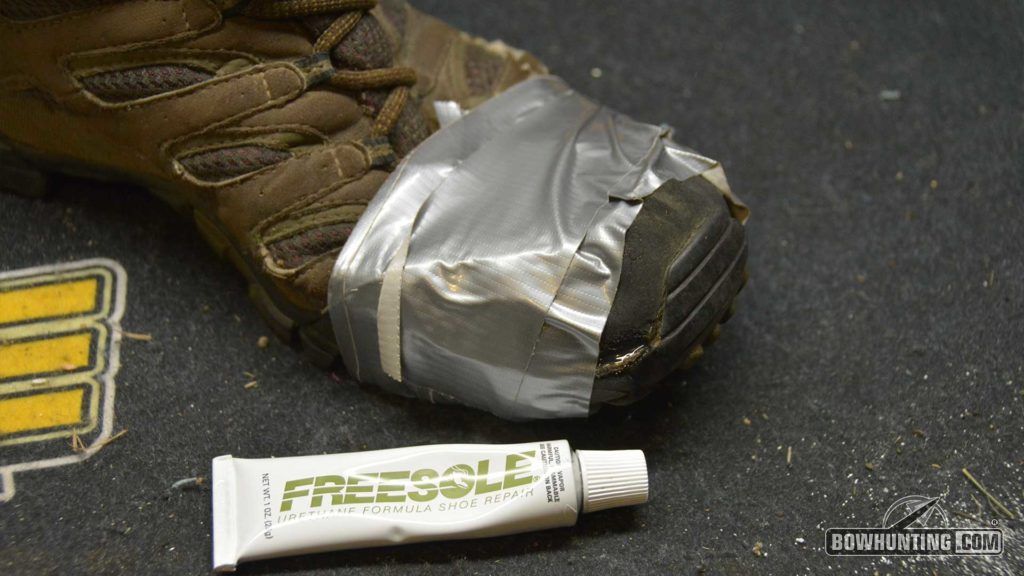
After applying Freesole to all separated areas I duct taped the boot to ensure a snug fit and let it dry overnight. If you’re repairing the heel of your boot you can simply set a bottle of water or something with a little weight to it inside the boot.
The next day I removed the duct tape and immediately tested the sole, which remained firmly affixed to the upper. Success!
After a dozen or so miles on these repaired hikers, including climbing up and down numerous trees and across several creeks, the Freesole is holding up remarkably well. As advertised it’s very flexible and honestly I can’t even tell it’s there. So far so good. This $7 tube of handy adhesive may have just saved me from having to buy (another) new set of boots.