LAST UPDATED: May 8th, 2015
Flying under the whitetail radar, while effectively locating your next trophy from the comfort of your own home, is actually easier than it sounds using these three steps.
Record Books
They may not have the glitz and glamour compared to other methods used to uncover whitetail hotspots, but don’t kid yourself regarding their value. If properly utilized, record books are the next best thing to someone actually telling you where the whitetail hotspots are located. You see, most individuals are reluctant to reveal their exact whereabouts when they experience any type of consistent success; especially when hunting on public land, and without a doubt if the animal is of Pope and Young caliber. However, upon entering their trophy into the record books, they must at least divulge the general area of the harvest. And that is where this entire process begins.
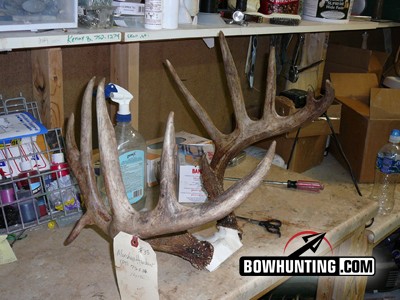
Another good source of information is your local taxidermist. They are witness to a large variety of bucks and usually know the exact details of the kill. (i.e. harvest data: time, date, location)
Searching through the most recent edition of P&Y records will ultimately tell you (among other things), where the best bucks is being taken. Finding a hotspot is as easy as calculating the total number of entries for any given county within the state you are researching. Obviously, when you find a county that is consistently producing a high number of record class bucks, then that is where you will most likely want to concentrate your efforts.
Topo Maps
When using the lay of the land as a guide for stand placement, whether you’re in an entirely new spot or on very familiar hunting ground, the first thing you need to do is realize there are 2 types of terrain features….Positive and Negative. Both will influence deer movement. Your job is to utilize the clues found on your topo map to determine which types your area holds and how the deer are going to respond to them. Then, act accordingly.
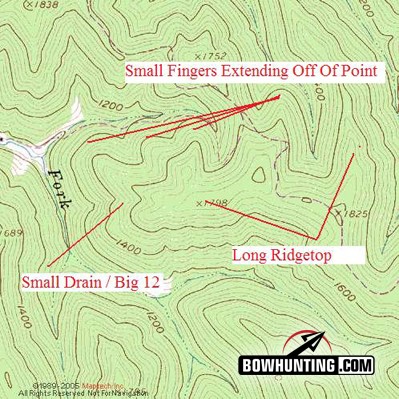
Don’t dismiss the amount of information contained in a topo map. Take your time and study one of your area before actually walking in on foot to further investigate.
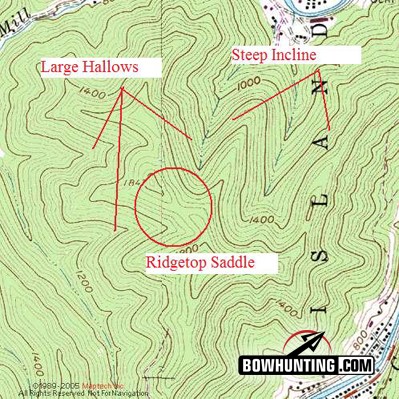
When looking at your map, try to find negative terrain features that funnel deer movement into a pinch point. For example, a small drain possessing steep side-hills that eventually turn into gradual slopes near the top is an excellent illustration of how negative terrain can funnel and influence deer movement. Ideally, any deer moving through the area will most likely cross near the top, where the slope is not as radical. An actual observation of the land should reveal heavy trails at the top which will coincide with the “widely spaced” contour lines from your topo map. For the most part deer are lazy and will often take the path of least resistance; as long as it provides them with the safety needed to get from point A to point B. Use this behavior to your advantage when thinking about possible stand locations.
Positive terrain features on the other hand will include, but not limit themselves to: ridge-top saddles, shallow creek crossings, overgrown logging roads, bench flats, and/or gradually sloping hollows. In the past, I have set up in saddles discovered using only a topo map and long range observation, and struck pay-dirt my first time in the stand; mainly due to a bucks tendency to use a low lying saddle when crossing over a ridge in order to prevent sky-lining himself.
Scouting Cameras
You should already have a good idea about where you are going to hang your camera based on the info (lay of the land) gathered from your maps. Within that chosen area, consider setting up your camera near recently discovered “pinch points”. Ideally, you’ll want to be set up in high traffic areas; somewhere near bedding/feeding locations or along the transition routes in between. However, if you are unfamiliar with the locale, it may take a little more investigating to discover such places.
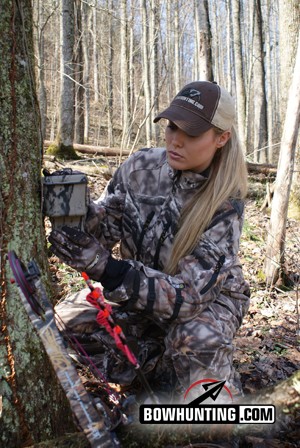
Scouting cameras are your eyes when you are not there. Set them up in the right locations and they can pay off in a big way.
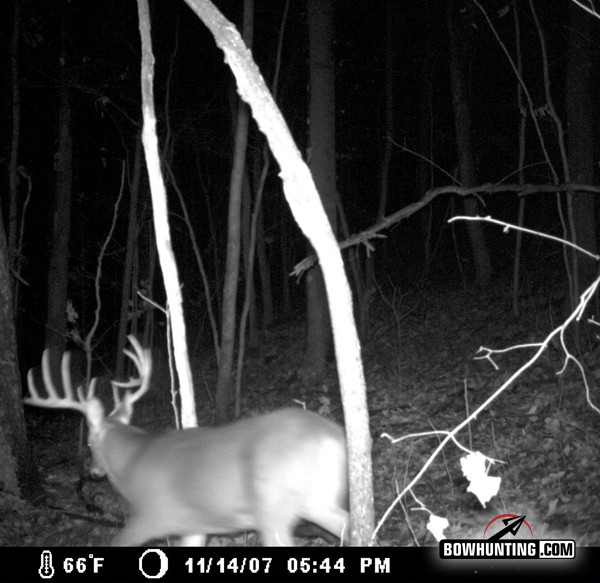
Not only can game cameras reveal travel patterns of target bucks known to frequent your area, they can also provide evidence of NEW bucks that have moved in for any number of reasons.
While conducting your search, look for heavily used trails leading to pinch points that choke deer movement into a confined area; increasing the likelihood that you will capture useful images. Remember though, that the overall goal is to remain under the whitetails radar, so try to conduct your camera hanging/scouting before the season starts. Also, do your best to get the camera location right the first time in order to avoid disturbing the area any more than what is absolutely necessary. If you have thoroughly studied your maps, it shouldn’t be a problem.
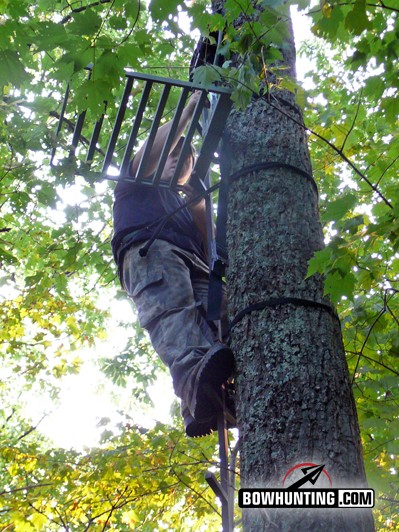
Finding a good location to hang your treestand will be much easier having followed these three tips……

and the rewards will be well worth it!
Conclusion
Locating your next trophy without tipping your hand can be difficult to say the least. However, with a little more homework, and a lot less footwork, you can accomplish far more than you thought possible. Remember to utilize the information found in record books and harvest reports to get you headed in the right direction. Then, obtain a topographic map of the area and study it as if your life depended on it. Lastly, go in and hang a scouting camera based on positive and negative terrain features and see if your hunch was right. My bet is you will be going back very soon to hang a stand. Good luck and God Bless!